VMware vSphere Virtual Machine Backups using Synology Active Backup for Business
While many folks with home labs recognize Synology as a manufacturer of excellent user-friendly network-attached storage (NAS) arrays full of features, many might not realize that these same NAS devices include an excellent built-in suite of Backup and Recovery tools. This suite contains Synology Active Backup for Business, Synology Active Backup for Google Workspace, and Synology Active Backup for Microsoft 365. Synology Active Backup for Business supports backing up PCs, Macs, physical servers, file servers, and virtual machines from VMware vSphere and Microsoft Hyper-V. As you would imagine, Synology Active Backup for Google Workspace supports backing up your Google Workspace environment, including Google Contacts, Google Drive, G-Mail, and Google Calendar. Synology Active Backup for Microsoft 365 supports backing up your Microsoft 365 environment, including OneDrive, Mail, Mail Archives, SharePoint Sites, Contacts, Calendars, and Microsoft Teams.
In this blog post, I will walk through the process of using Synology Active Backup for Business to backup VMware vSphere virtual machines, and in a future post, I will walk through the recovery process. I can’t count the number of times that this solution has saved me from rebuilding virtual machines while working on and making mistakes in my home lab environment. Synology Active Backup for Business has allowed me to instantly recover and power on multiple virtual machines within my lab so that I could immediately get back up and running.
Installing Synology Active Backup for Business
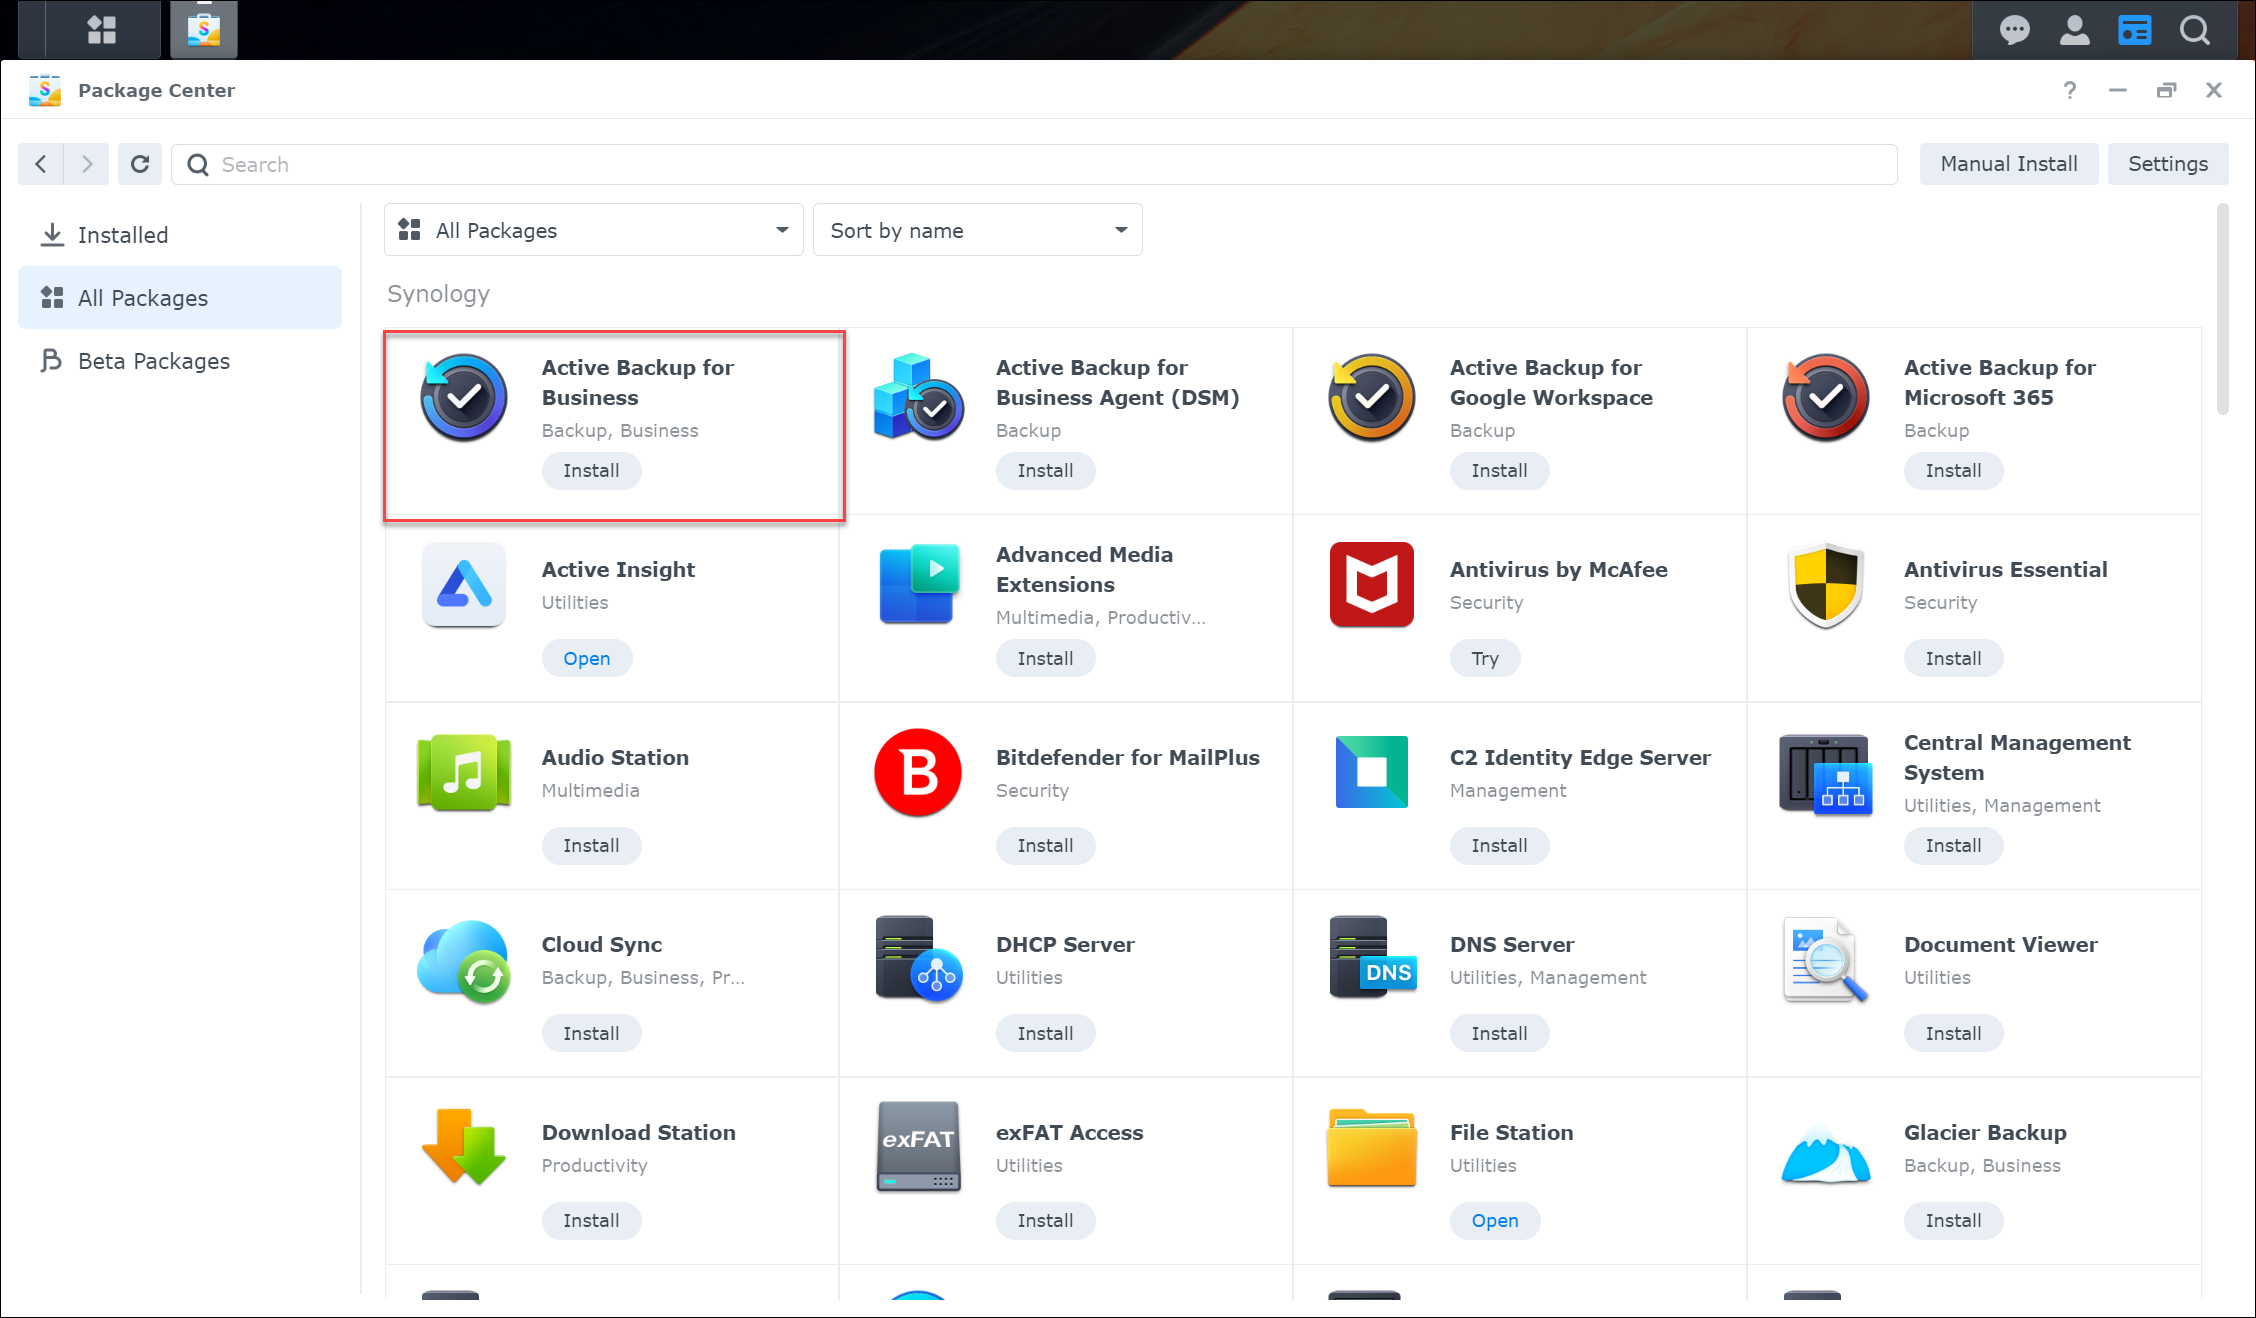
To get started, our Synology NAS must have the Synology Active Backup for Business package installed onto it before we can begin backing up our virtual machines. After logging into the Synology NAS as an administrator, I open the Package Manager. As you can see from the following screenshot, Synology Active Backup for Business is the first package listed for me.
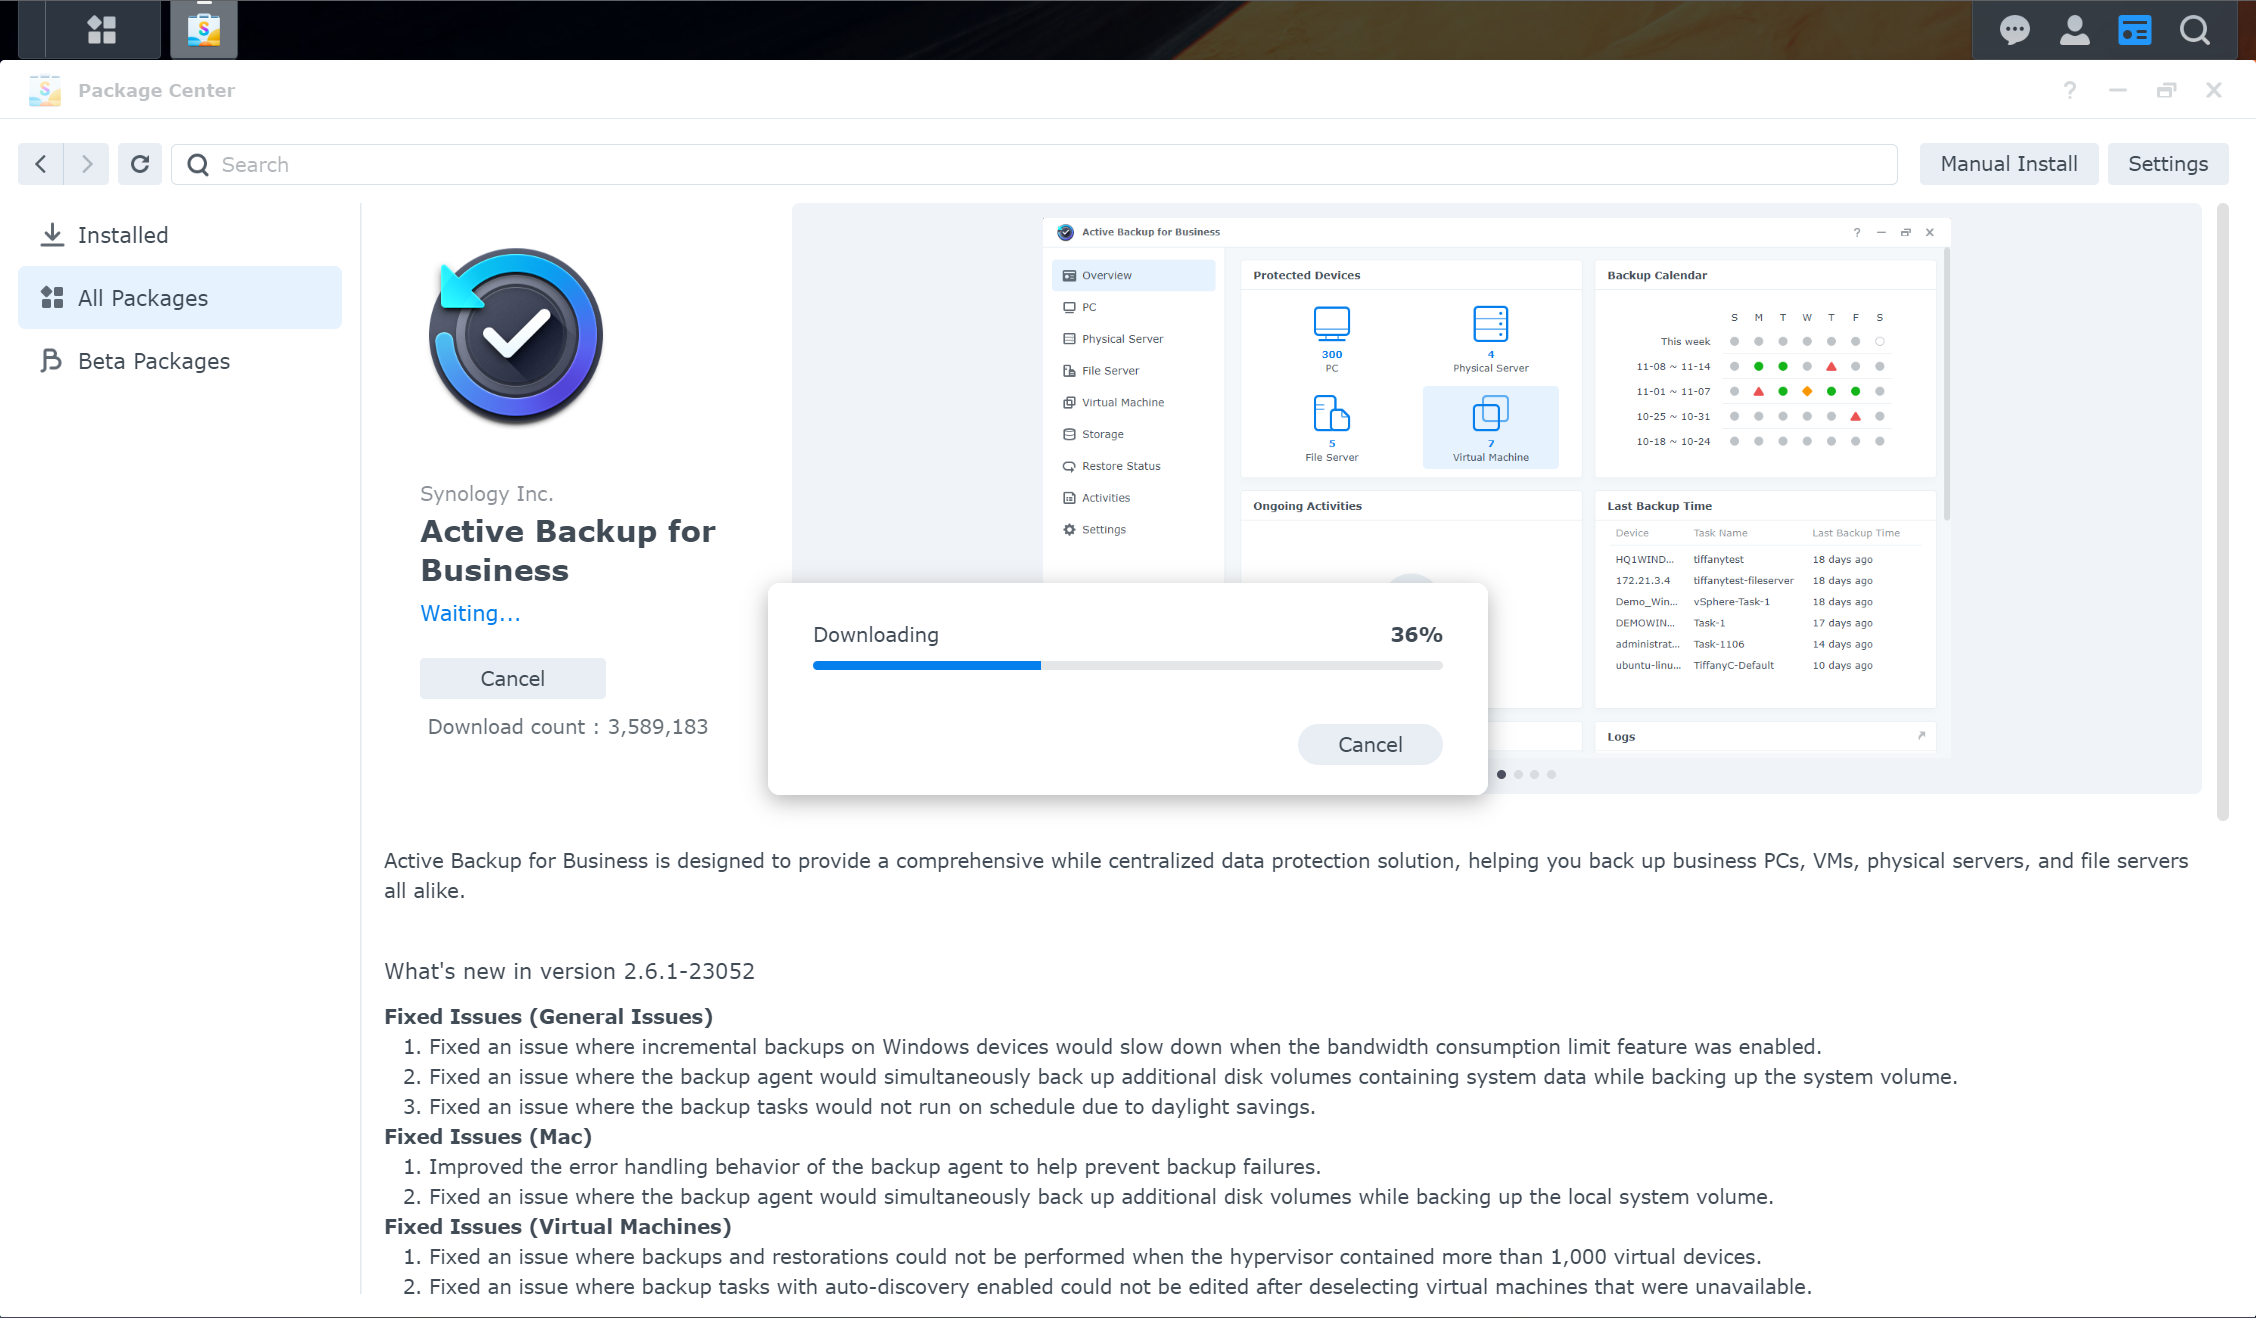
Selecting the package will open up the details for the software package. I click on the Install button to begin the installation process. The Package Manager will display the installation process, as shown in the screenshot below.
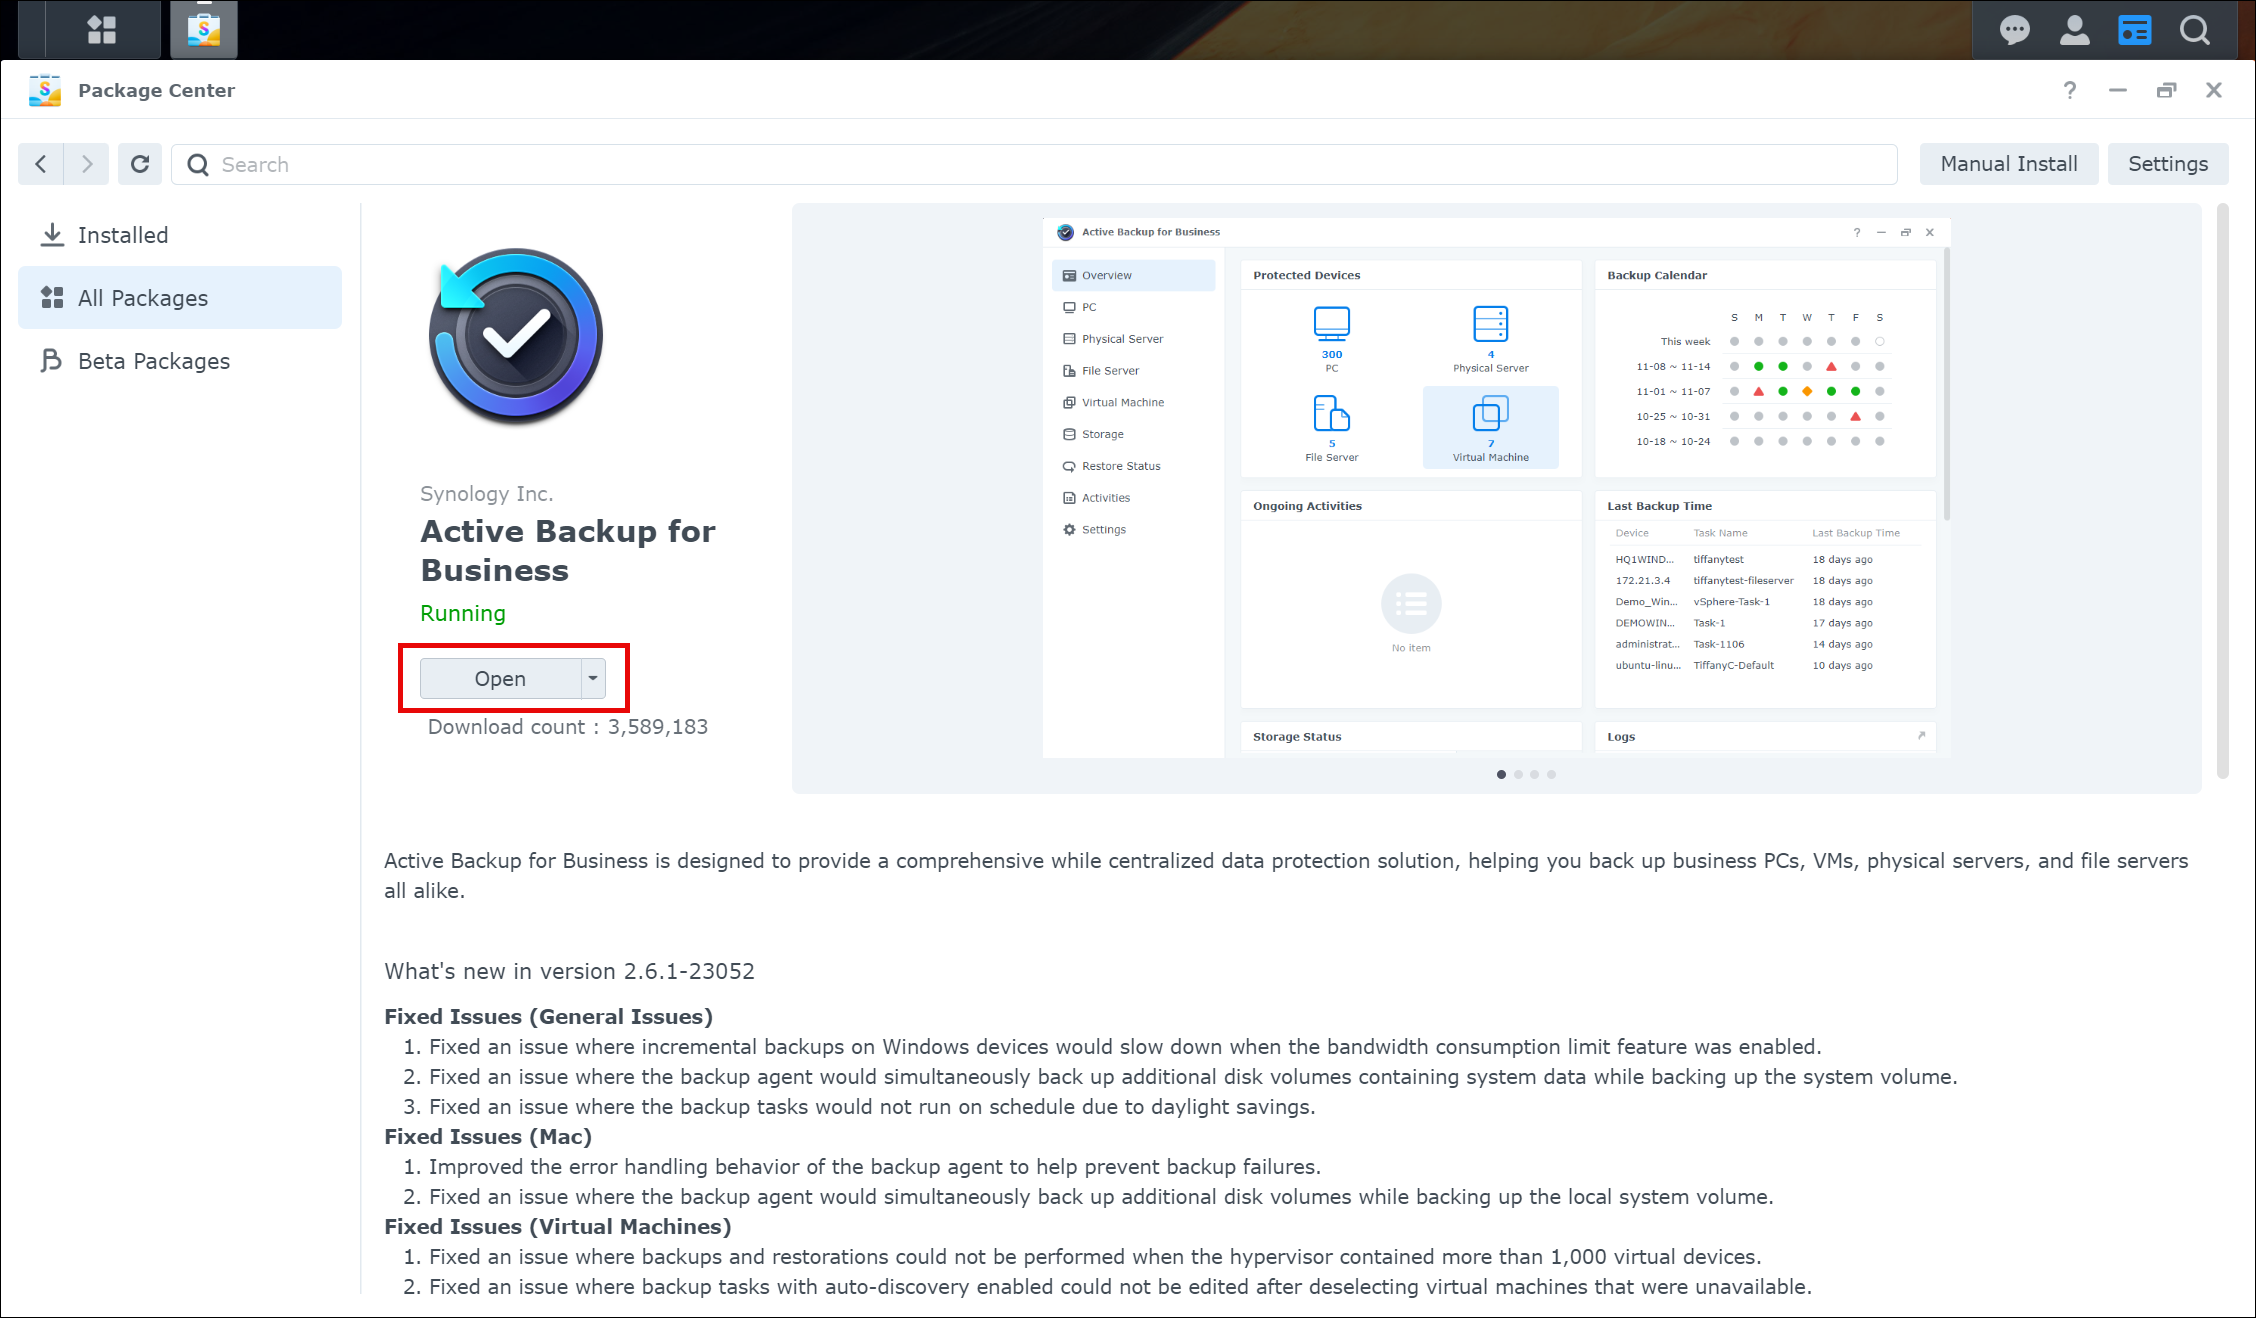
Once the installation is complete, you will be returned to the screen showing the software package details with a running status. Click on the Open button to launch Synology Active Backup for Business.
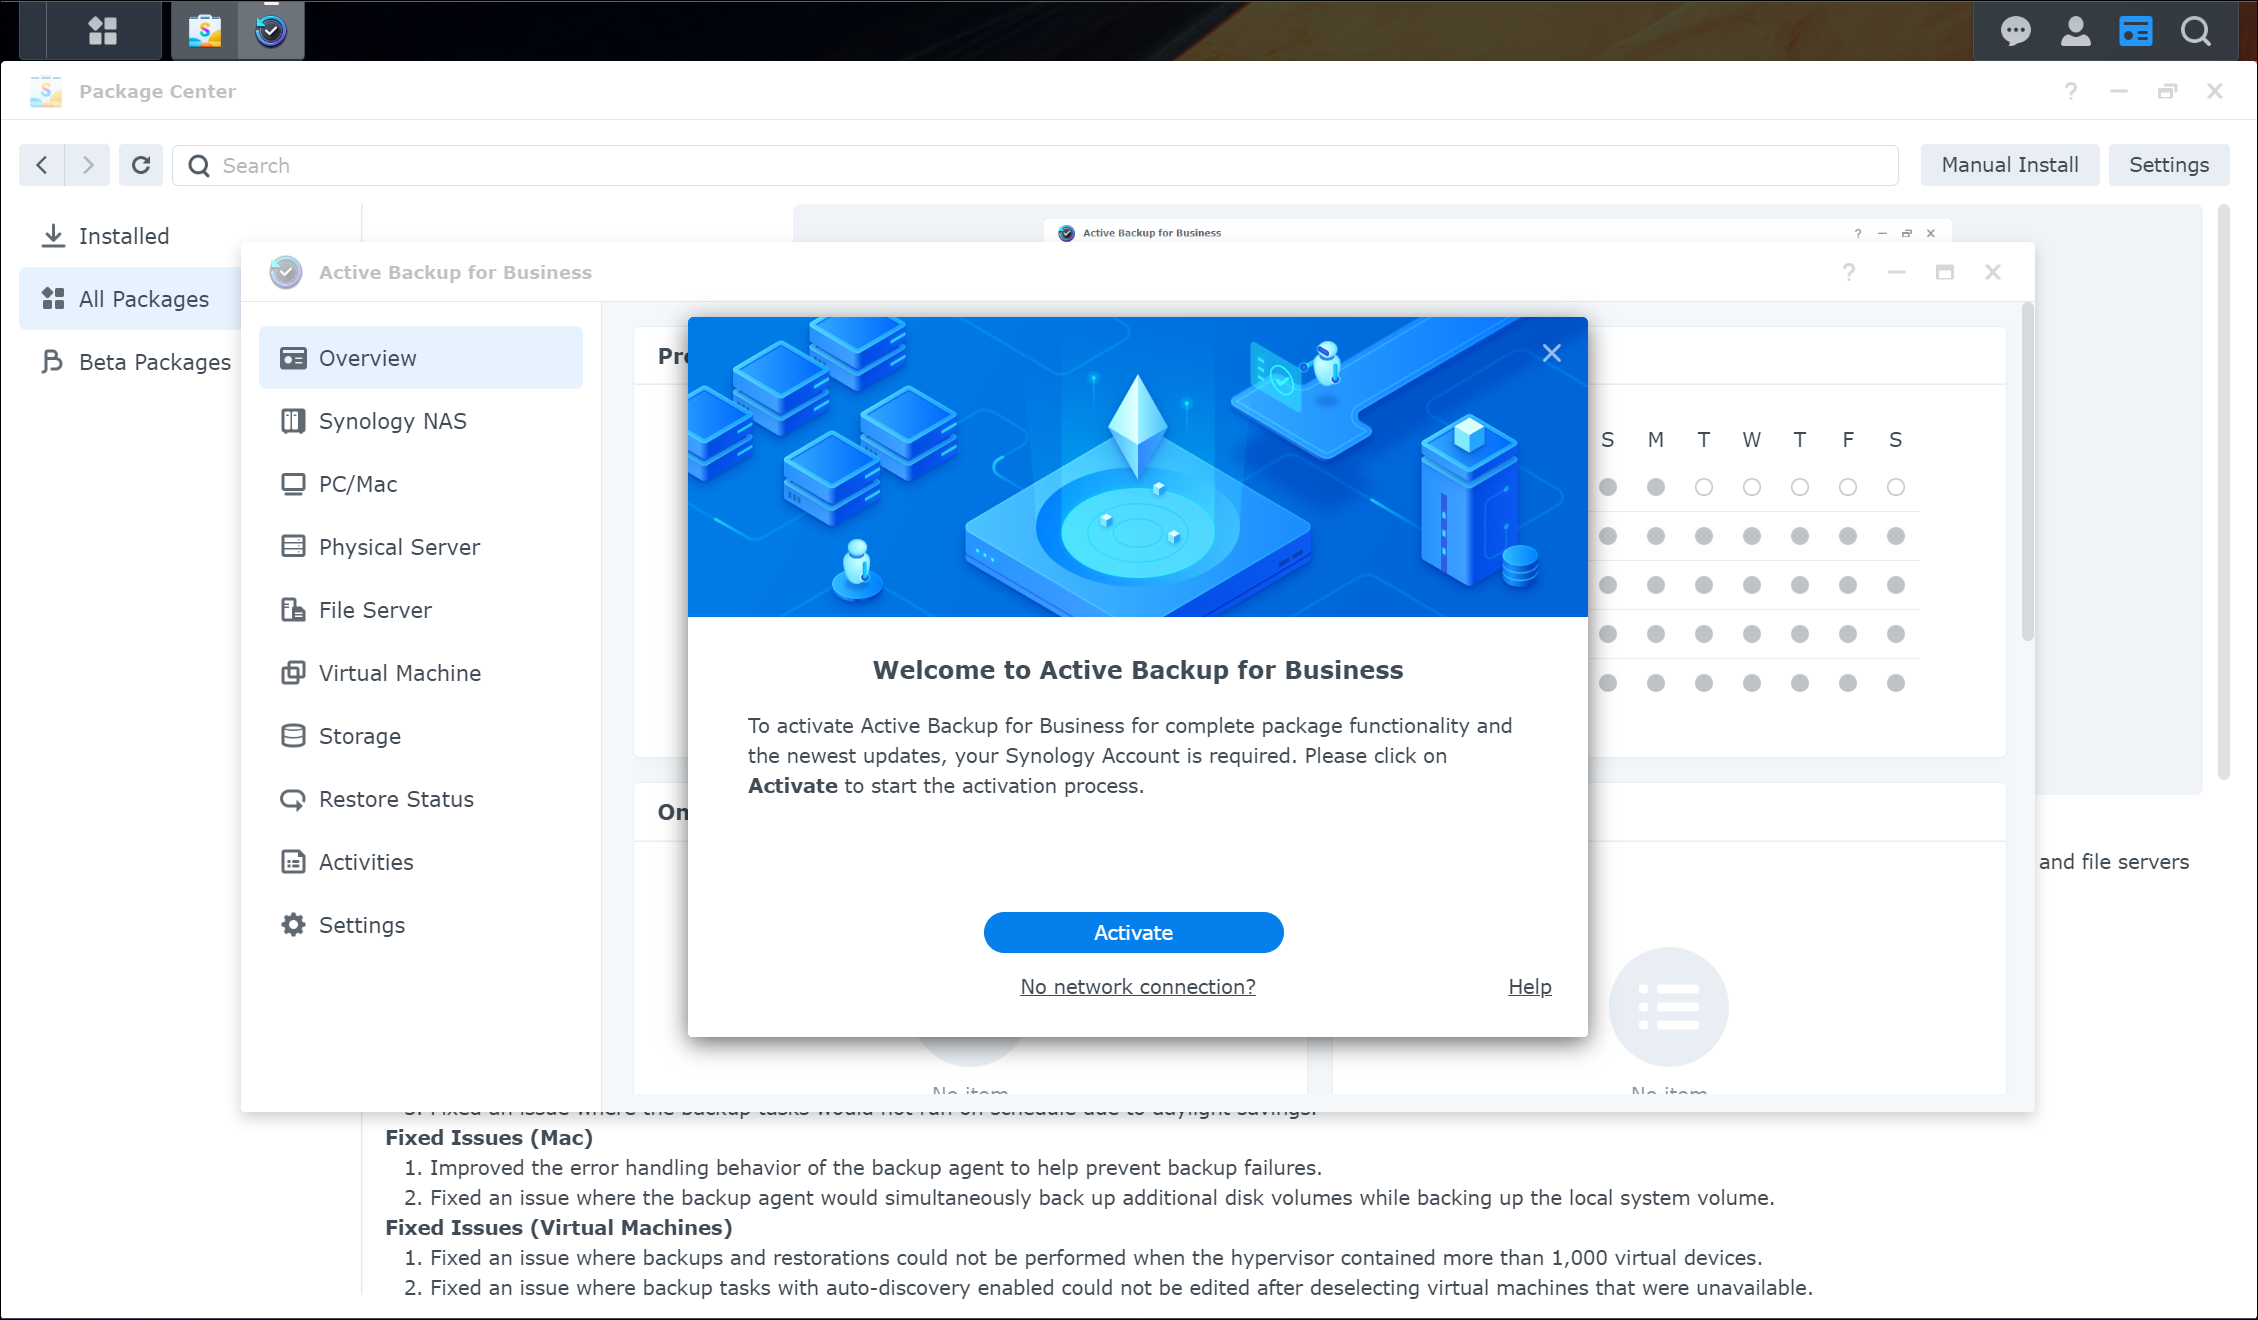
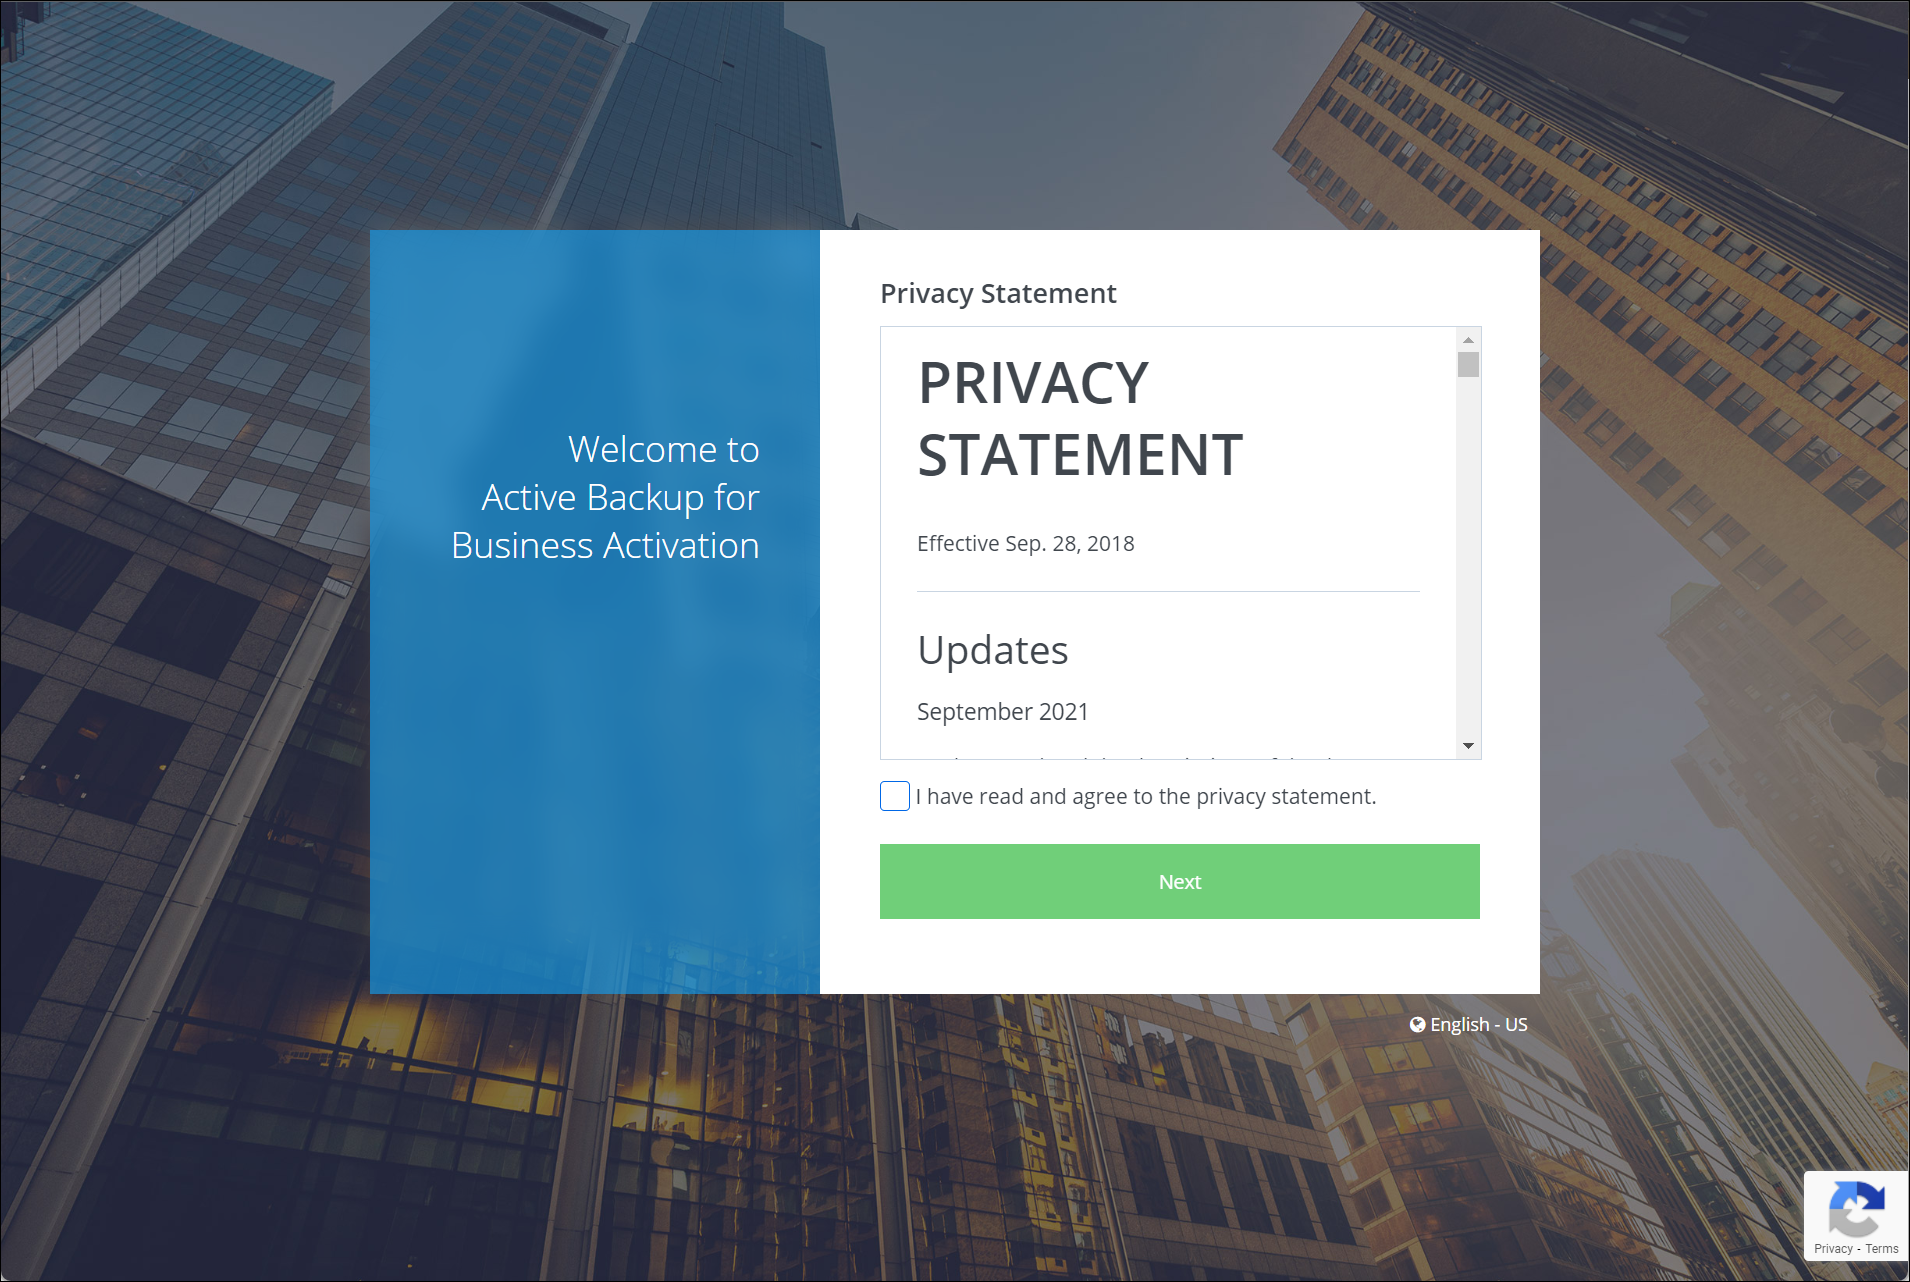
The first time you launch Synology Active Backup for Business on your Synology NAS, you are prompted to activate the software using your Synology Account.
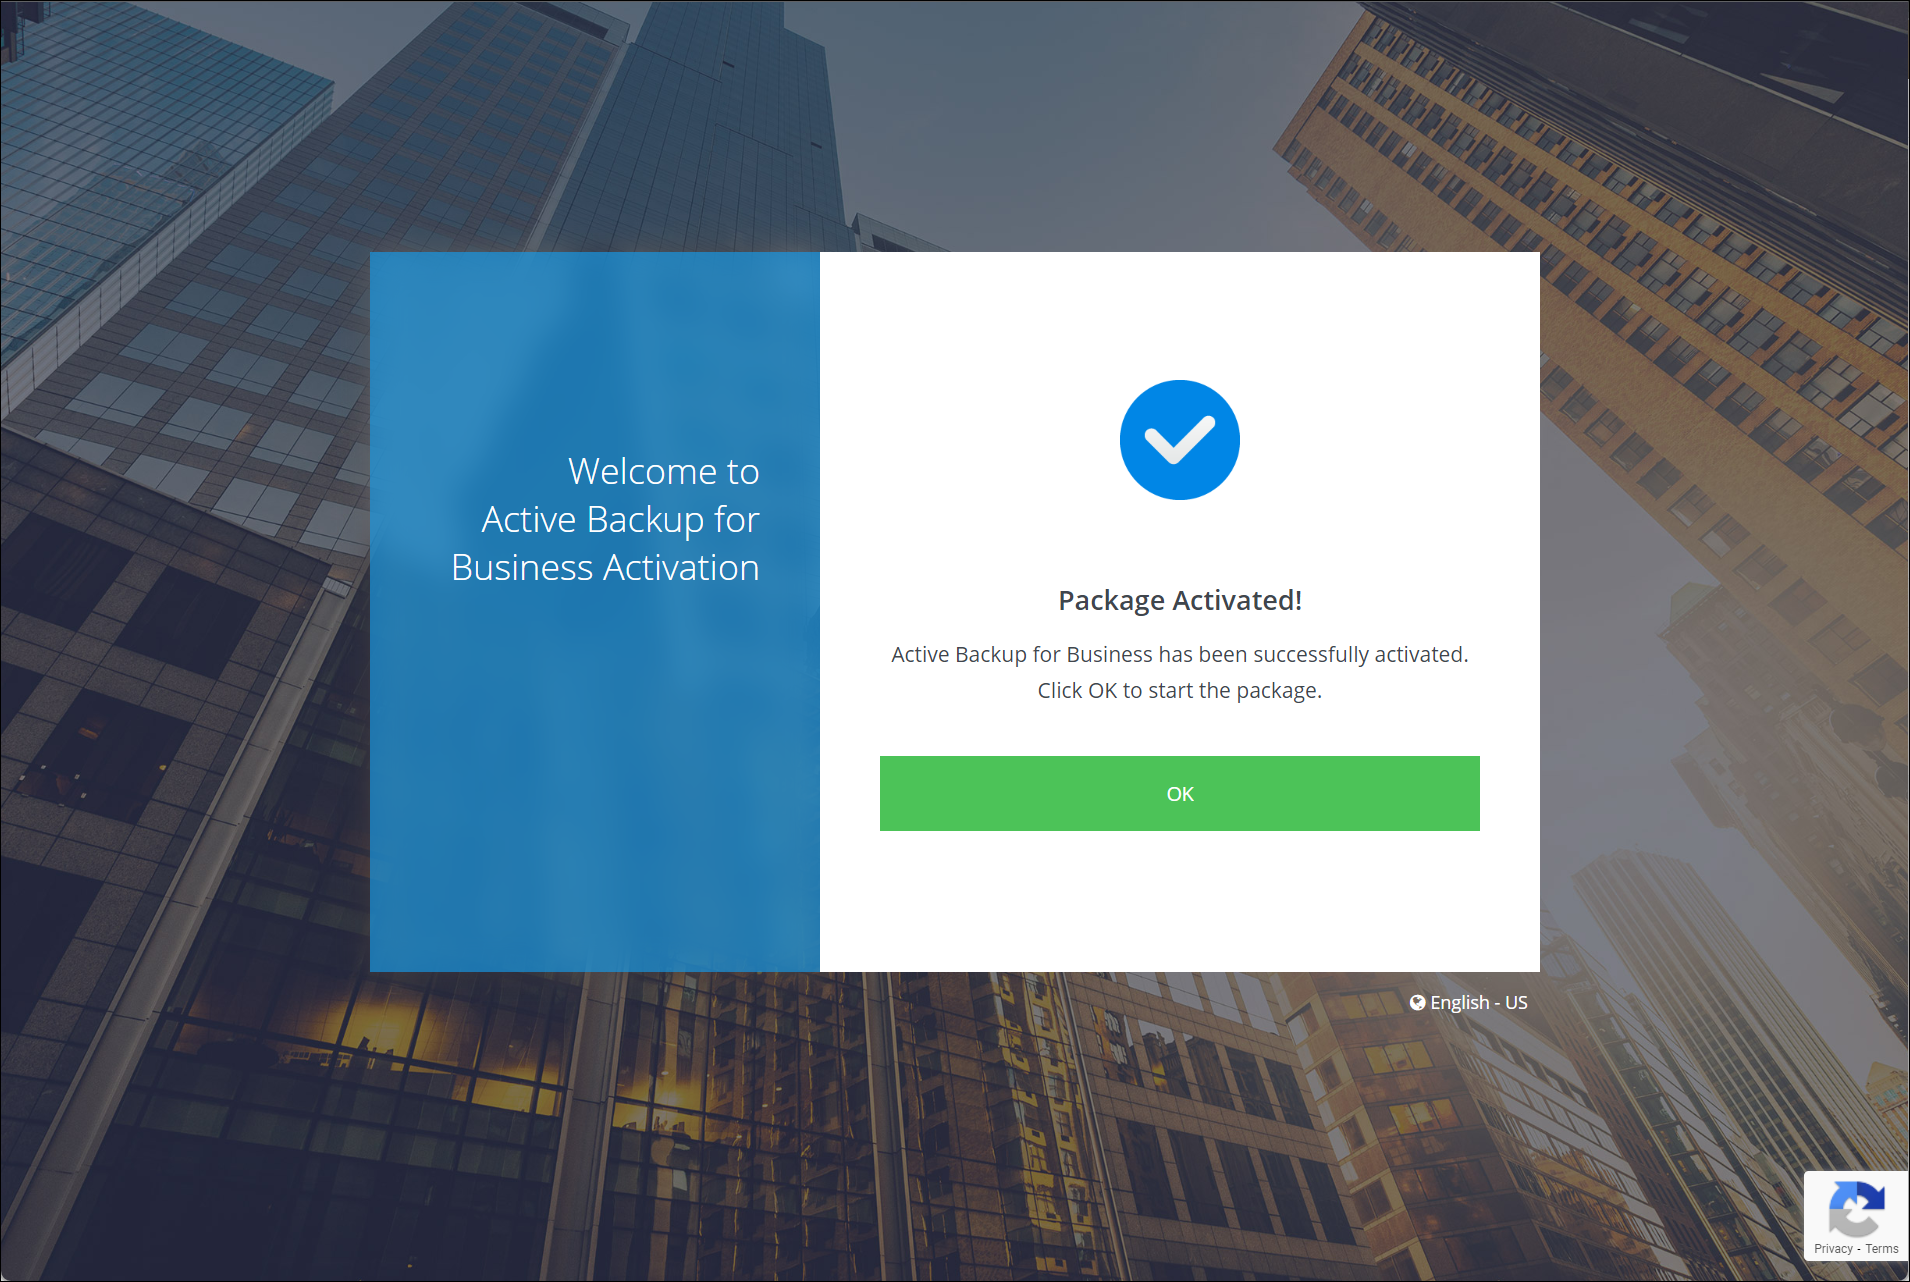
The activation process is relatively simple. You are required to log into your Synology Account and accept the Privacy Statement, and then the software will activate. The following two screenshots show the process.
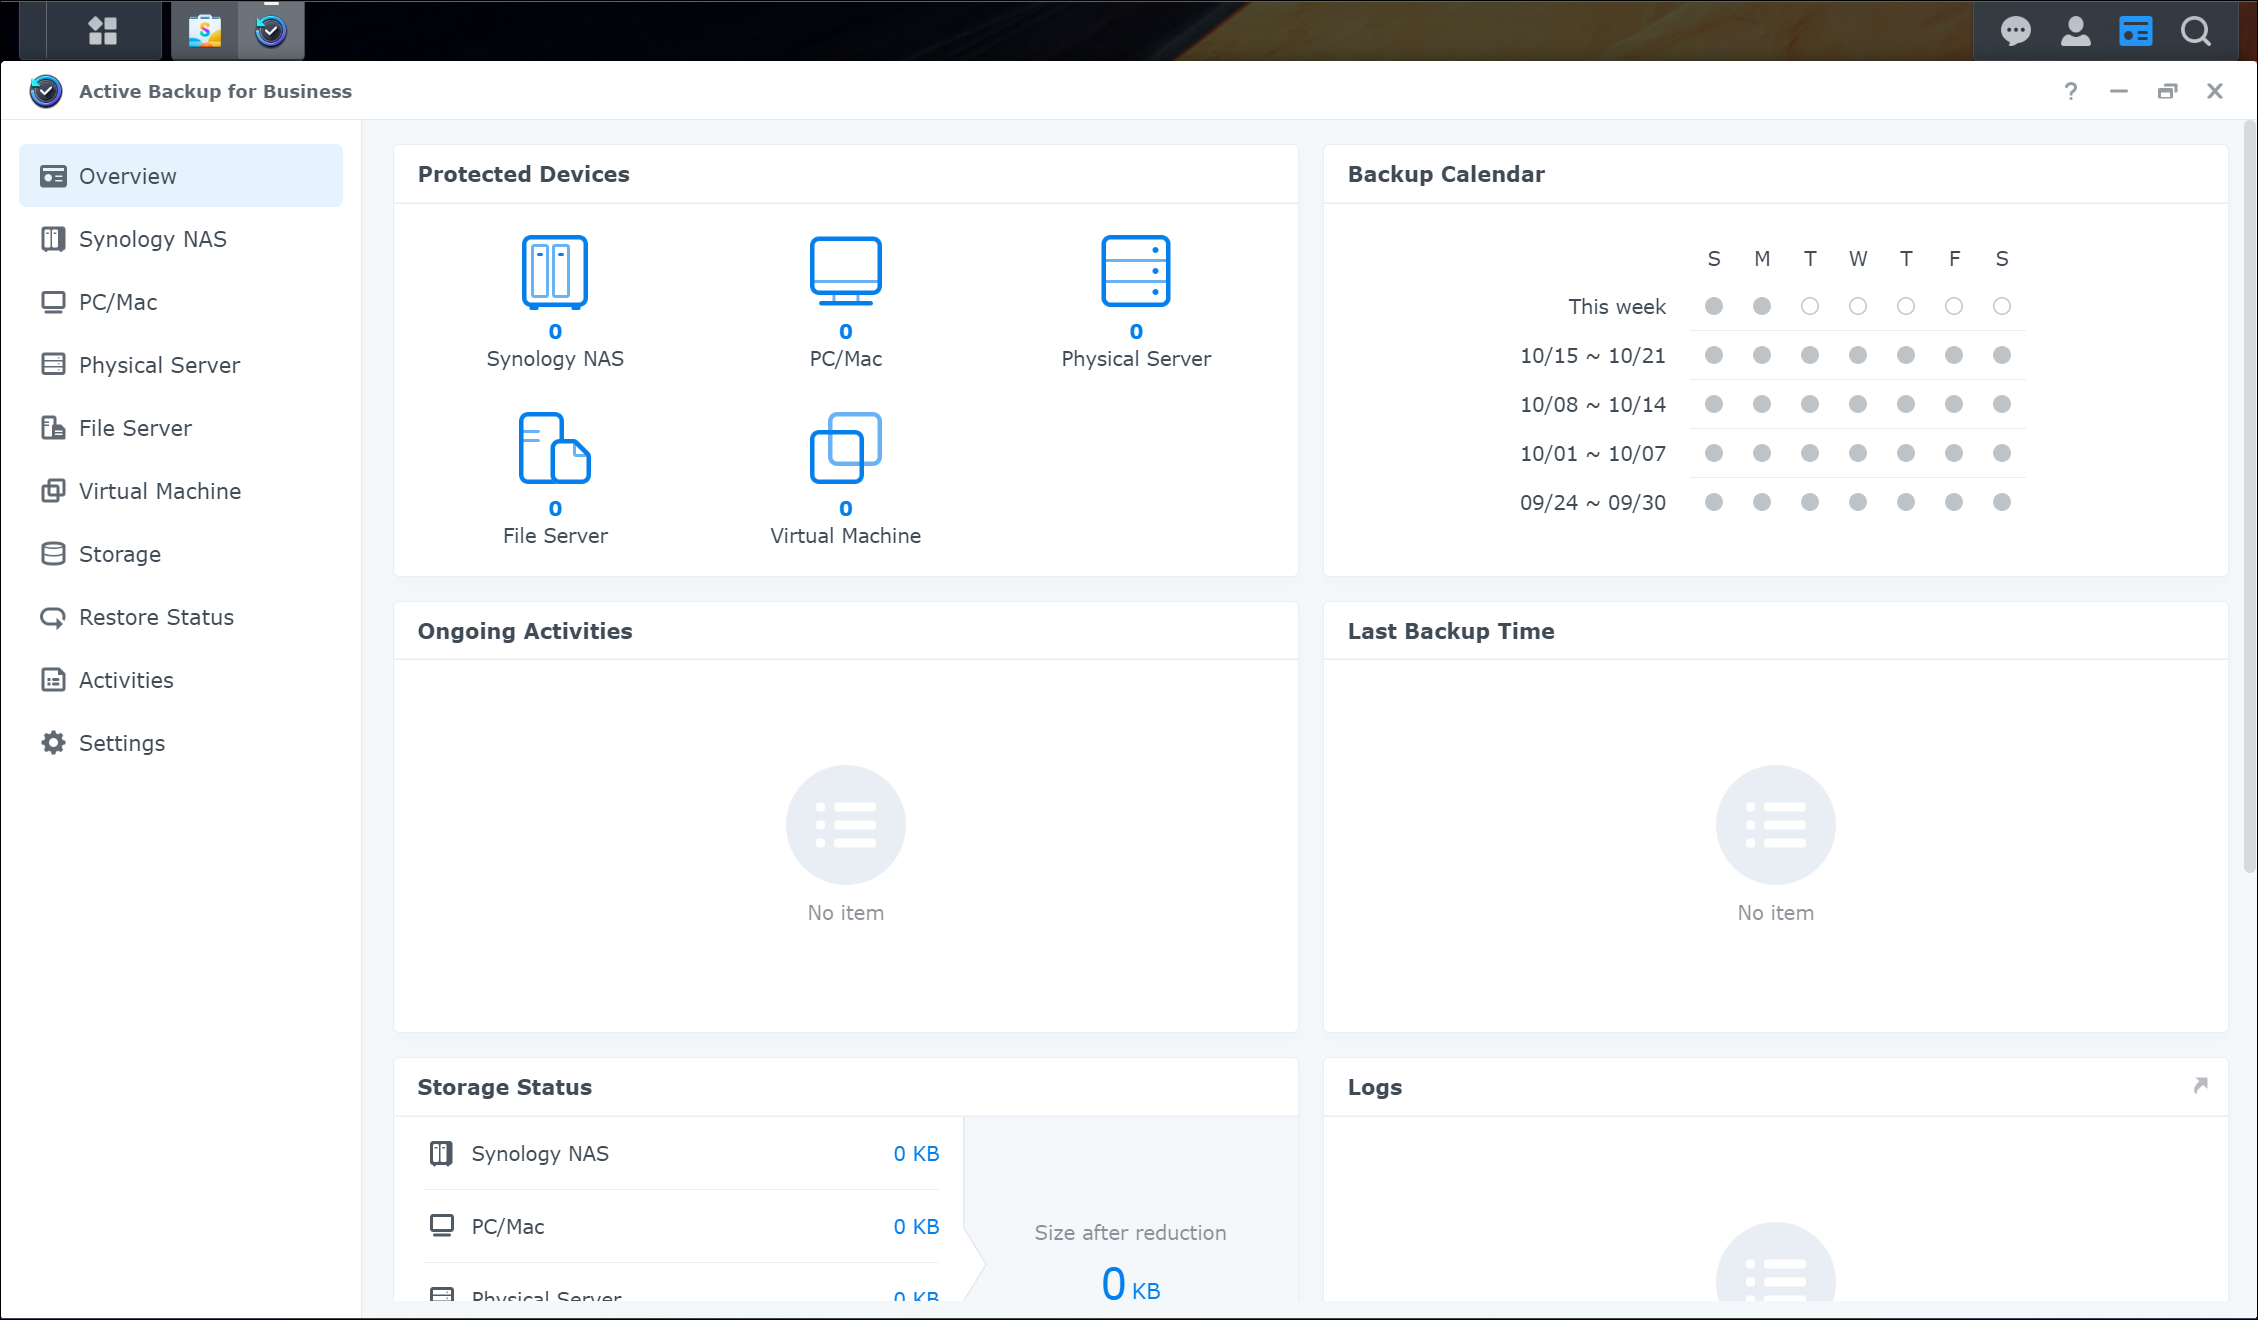
Click the OK button to close the activation process and return you to the Synology Active Backup for Business Overview dashboard.
That is it for the installation process. Next, we can connect Synology Active Backup for Business to our VMware vCenter server to allow us to configure virtual machine backup jobs.
Adding your VMware vCenter or VMware ESXi Host
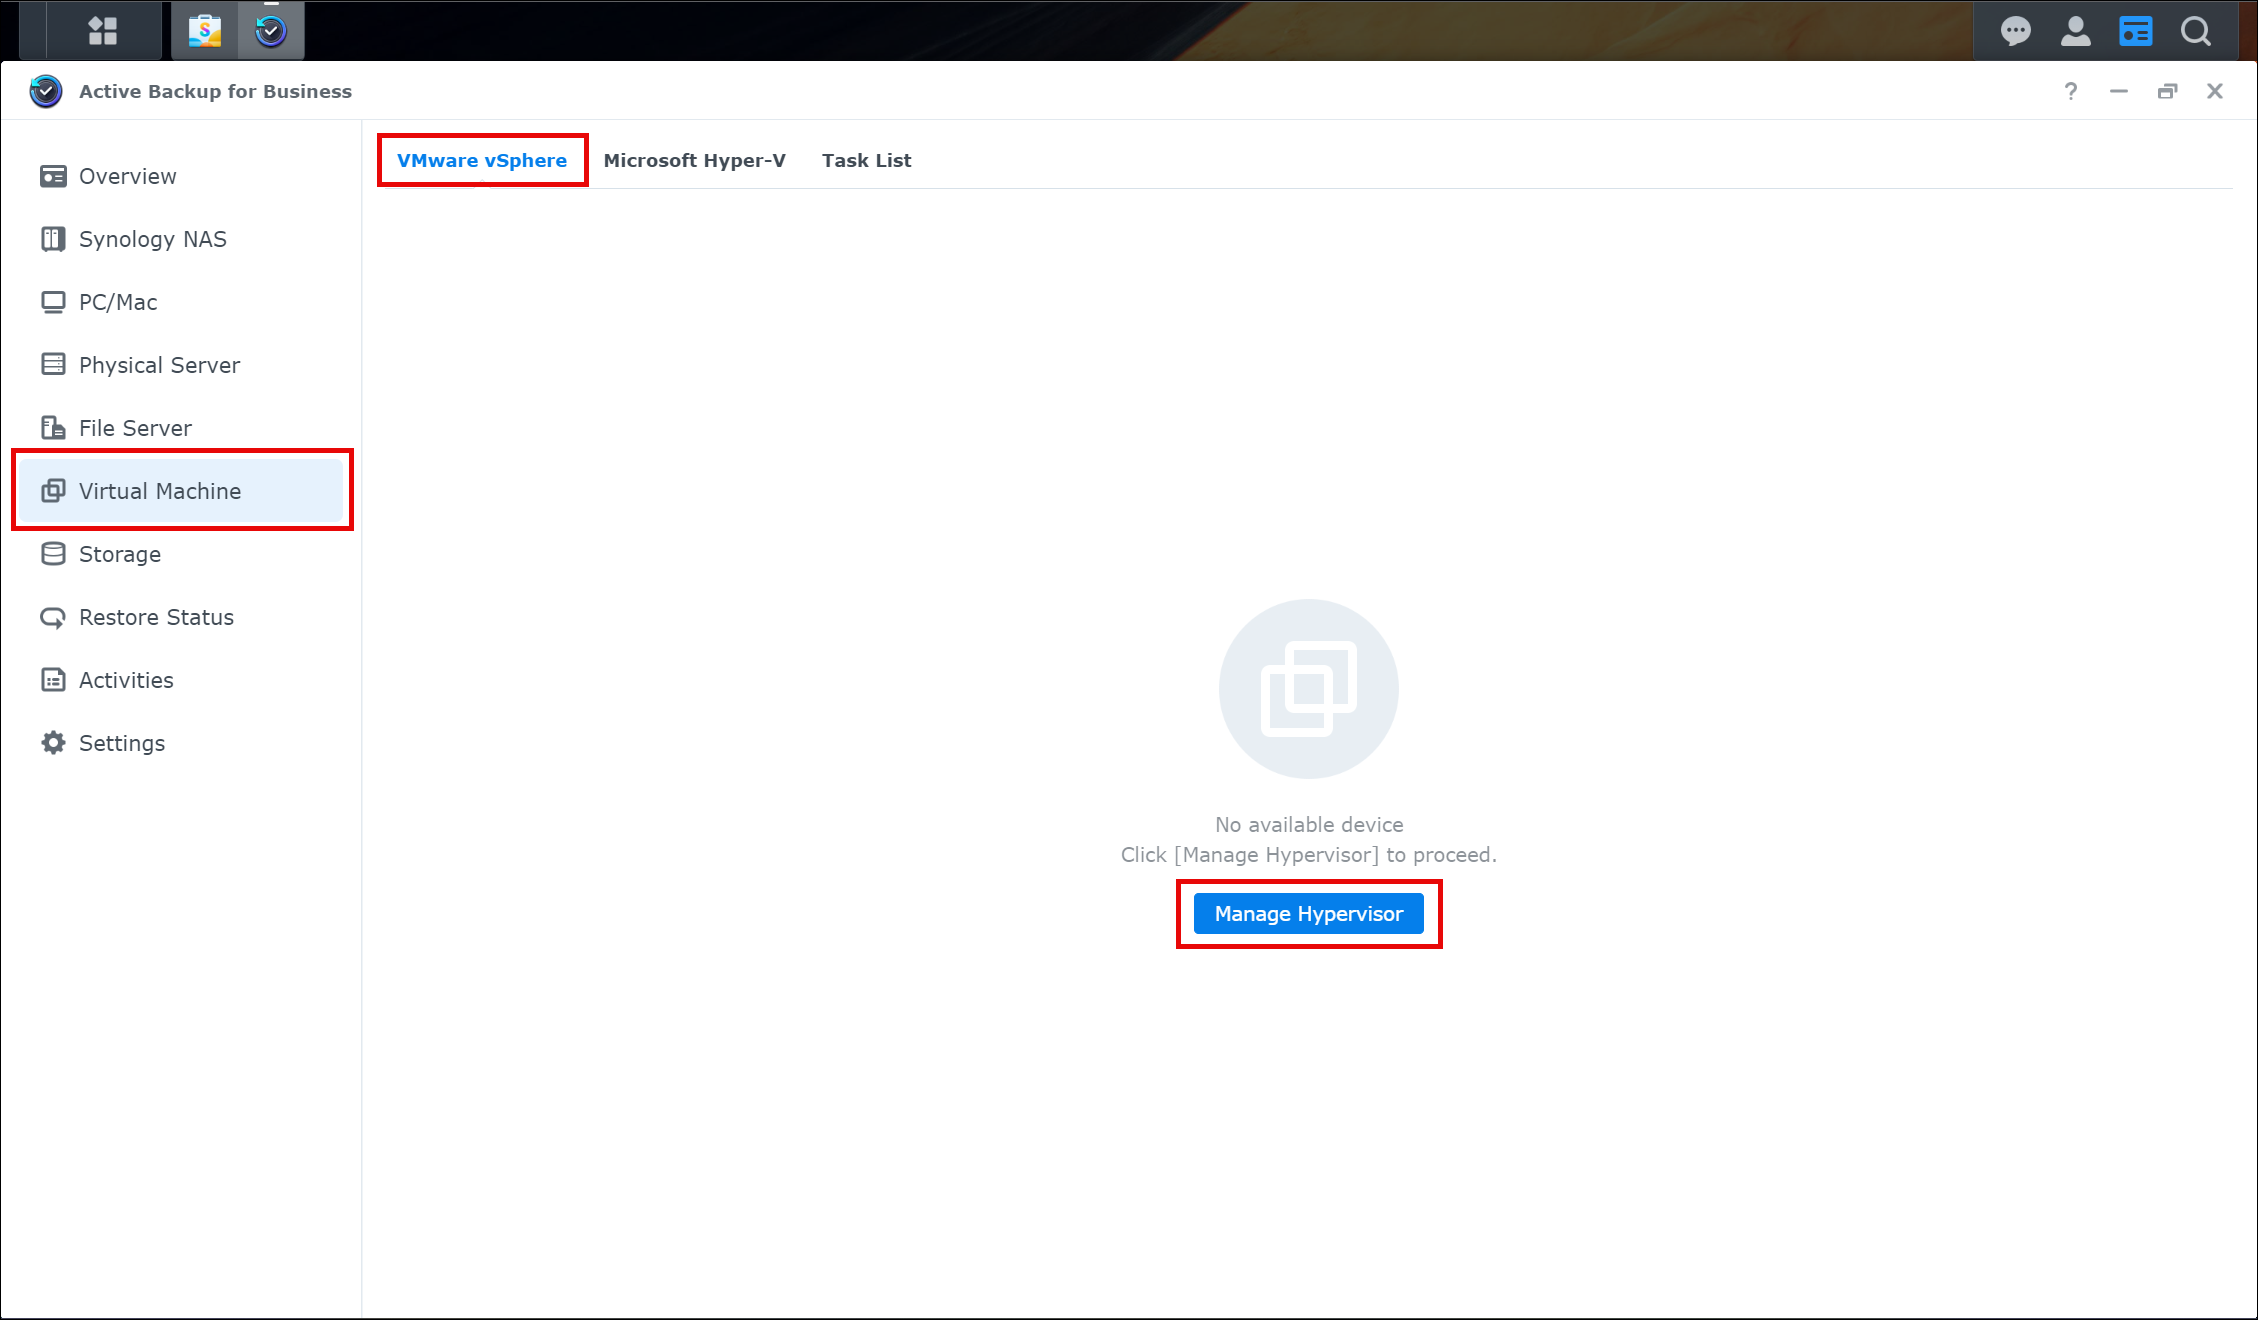
Synology Active Backup for Business supports connections to VMware vCenter Server, VMware ESXi, Microsoft Hyper-V, Microsoft System Center Virtual Machine Manager (SCVMM), and a Microsoft Failover Cluster. I will connect to a VMware vCenter instance in my home lab environment for this walkthrough. I select the Virtual Machine tab on the left side of the Synology Active Backup for Business application to get started. VMware vSphere is the first screen shown after selecting the Virtual Machine. Click on the Manage Hypervisor from here to begin adding the VMware vCenter Server.
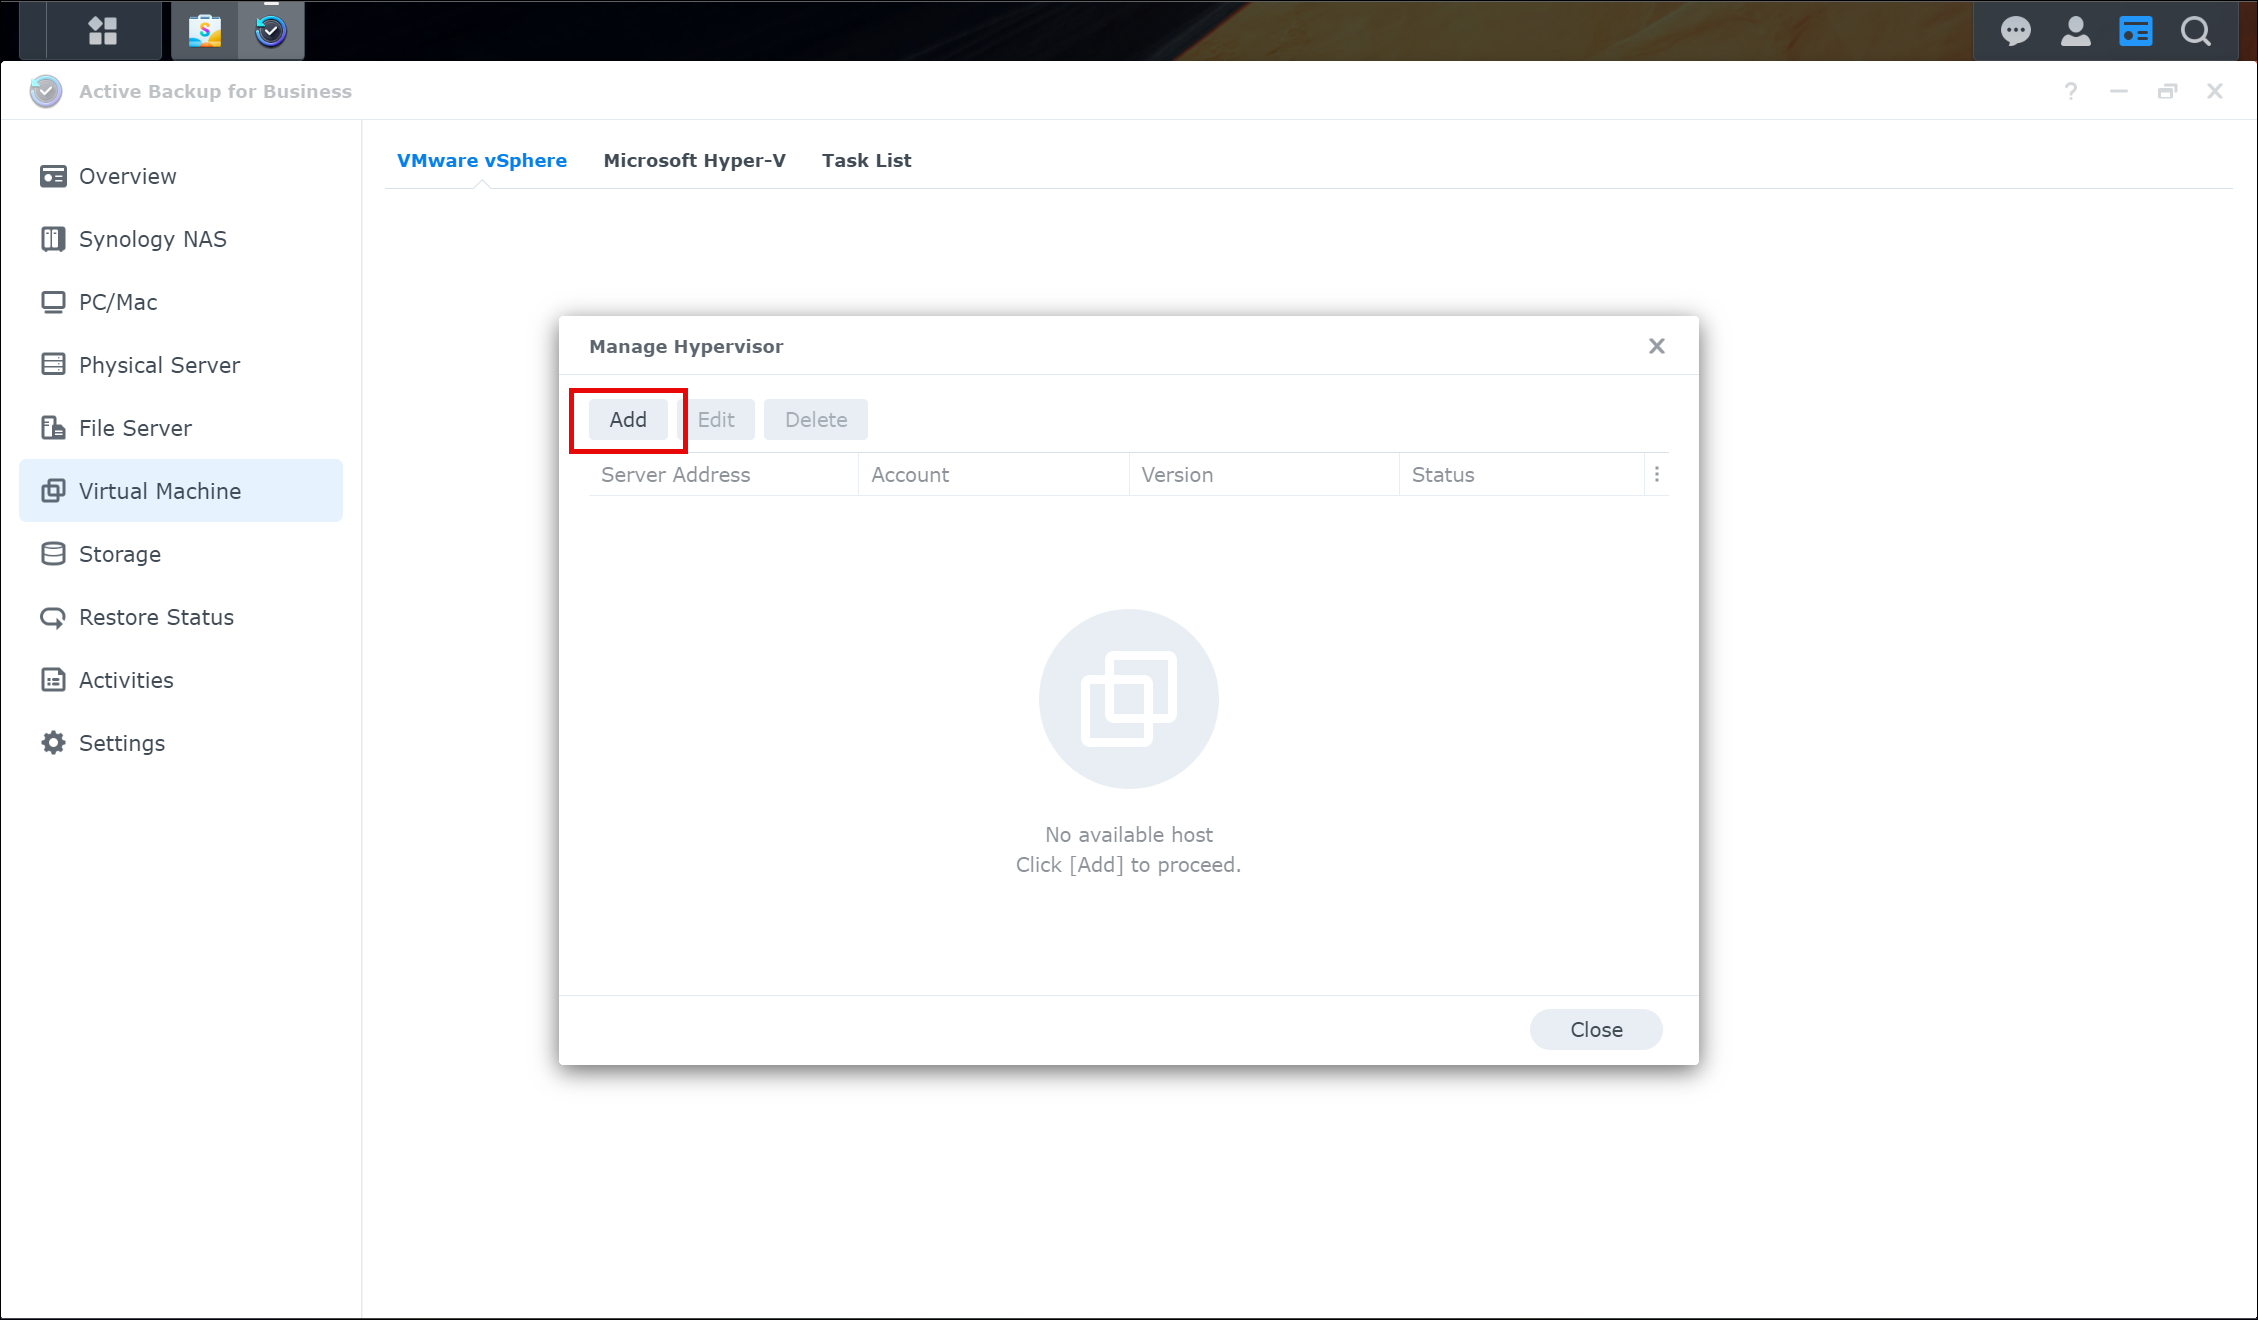
A new screen appears that shows all configuration VMware vSphere hypervisor instances. This screen will be empty since this is our first time configuring a new hypervisor. Click the Add button to begin the wizard for adding a new VMware vSphere hypervisor.
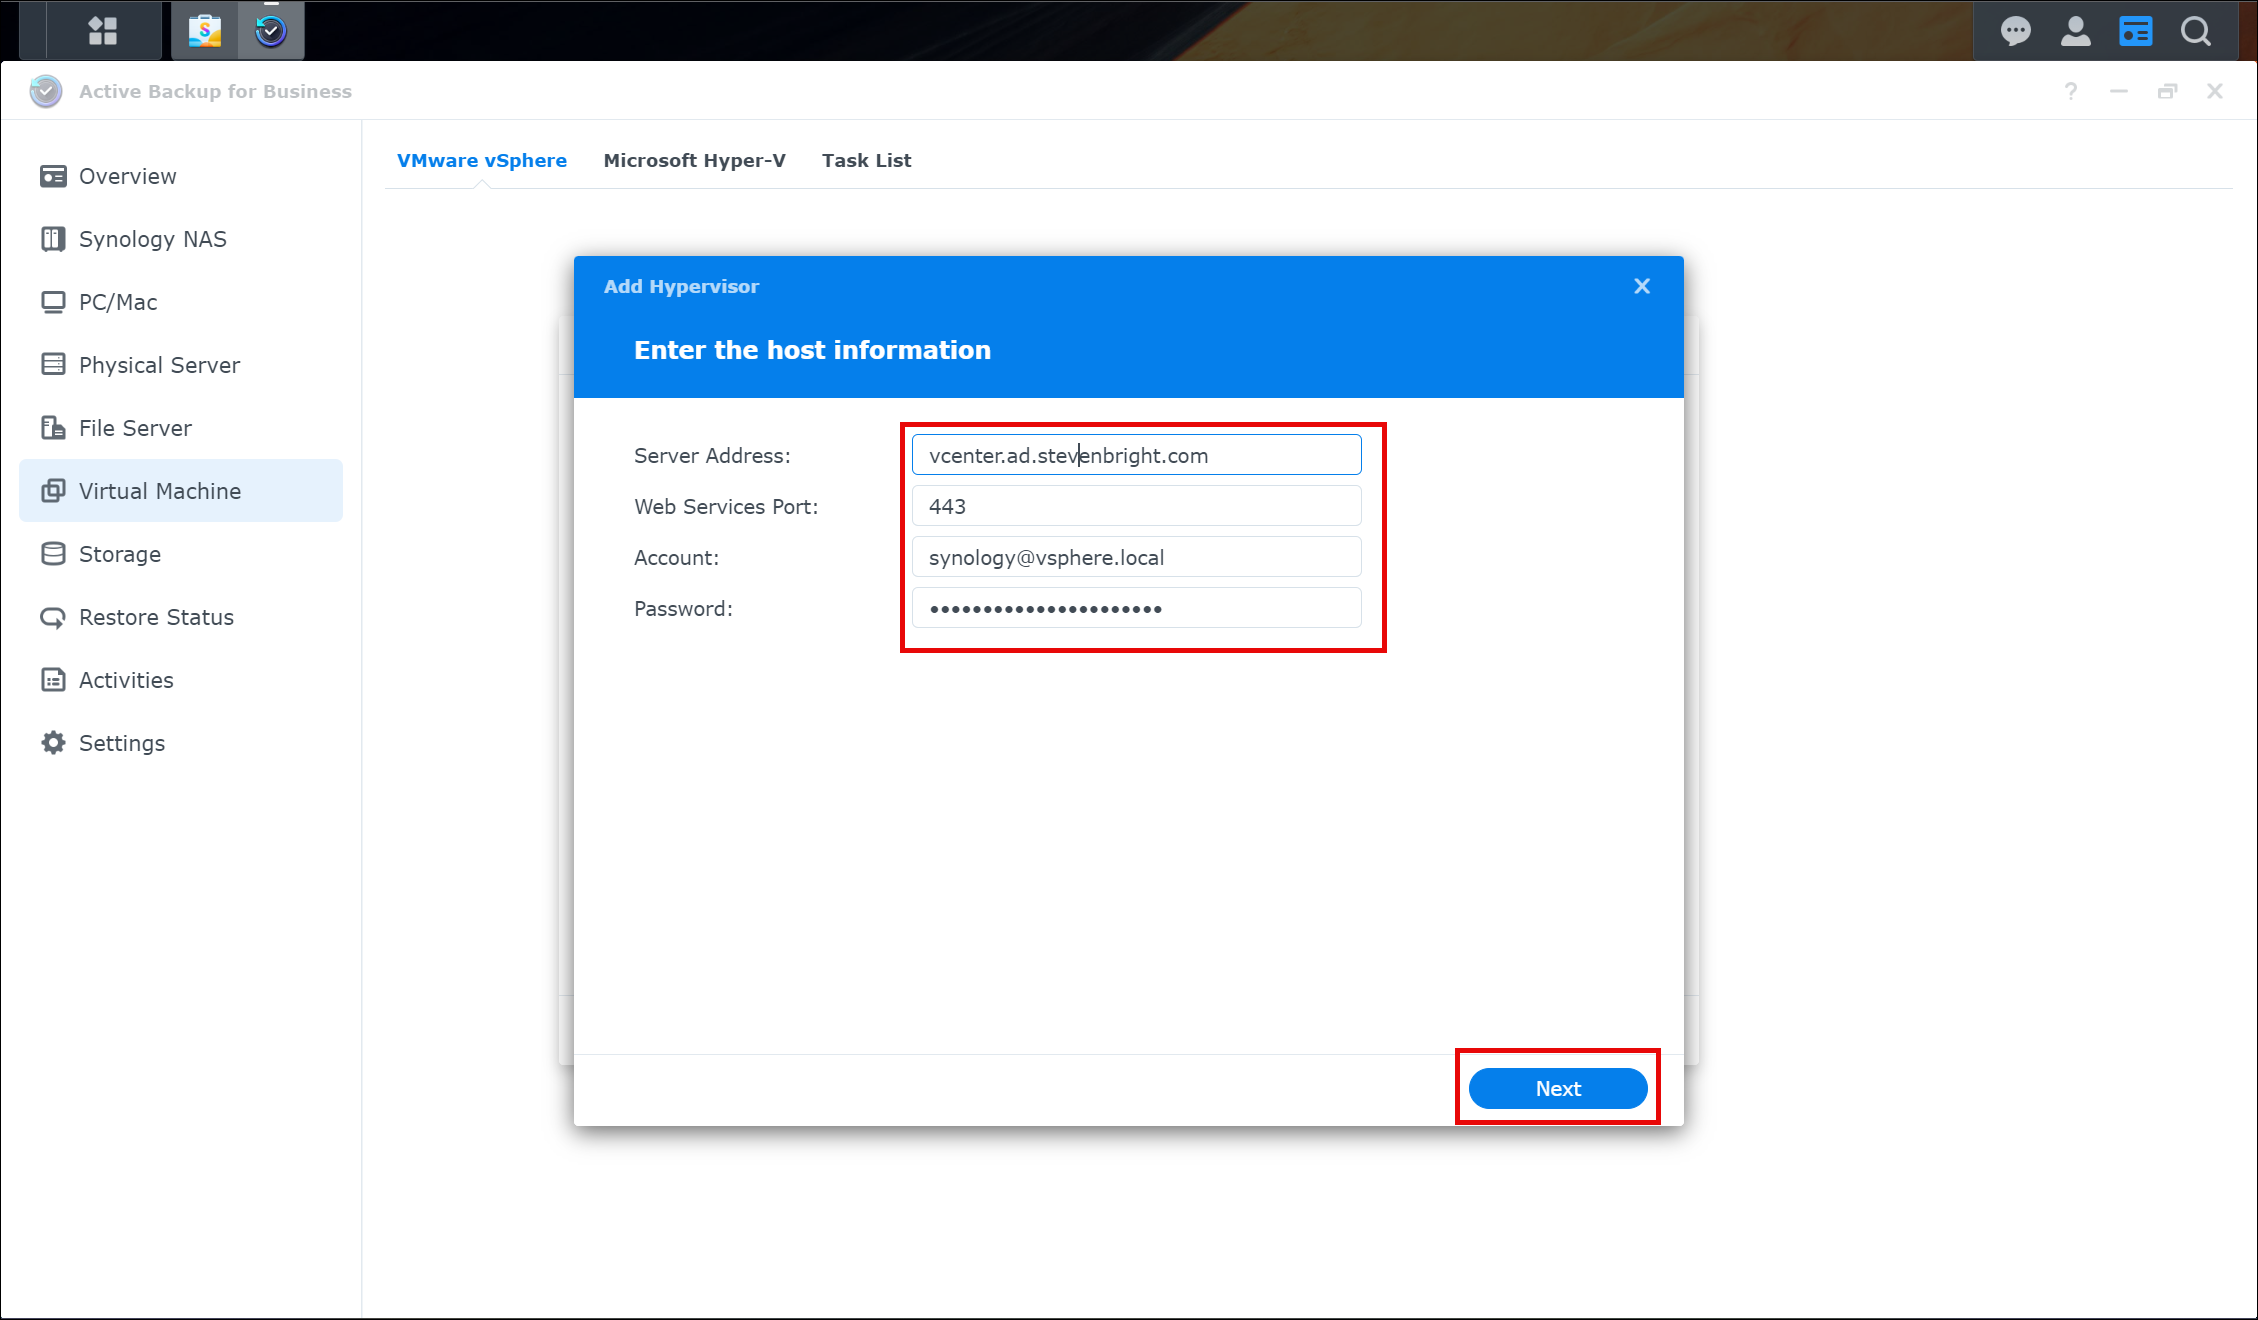
The Add Hypervisor screen will appear requesting connection information. I provide the values to connect to my VMware vCenter Server instance, including the username and password for a local service account with VMware vCenter administrator privileges. Click the Next button to continue.
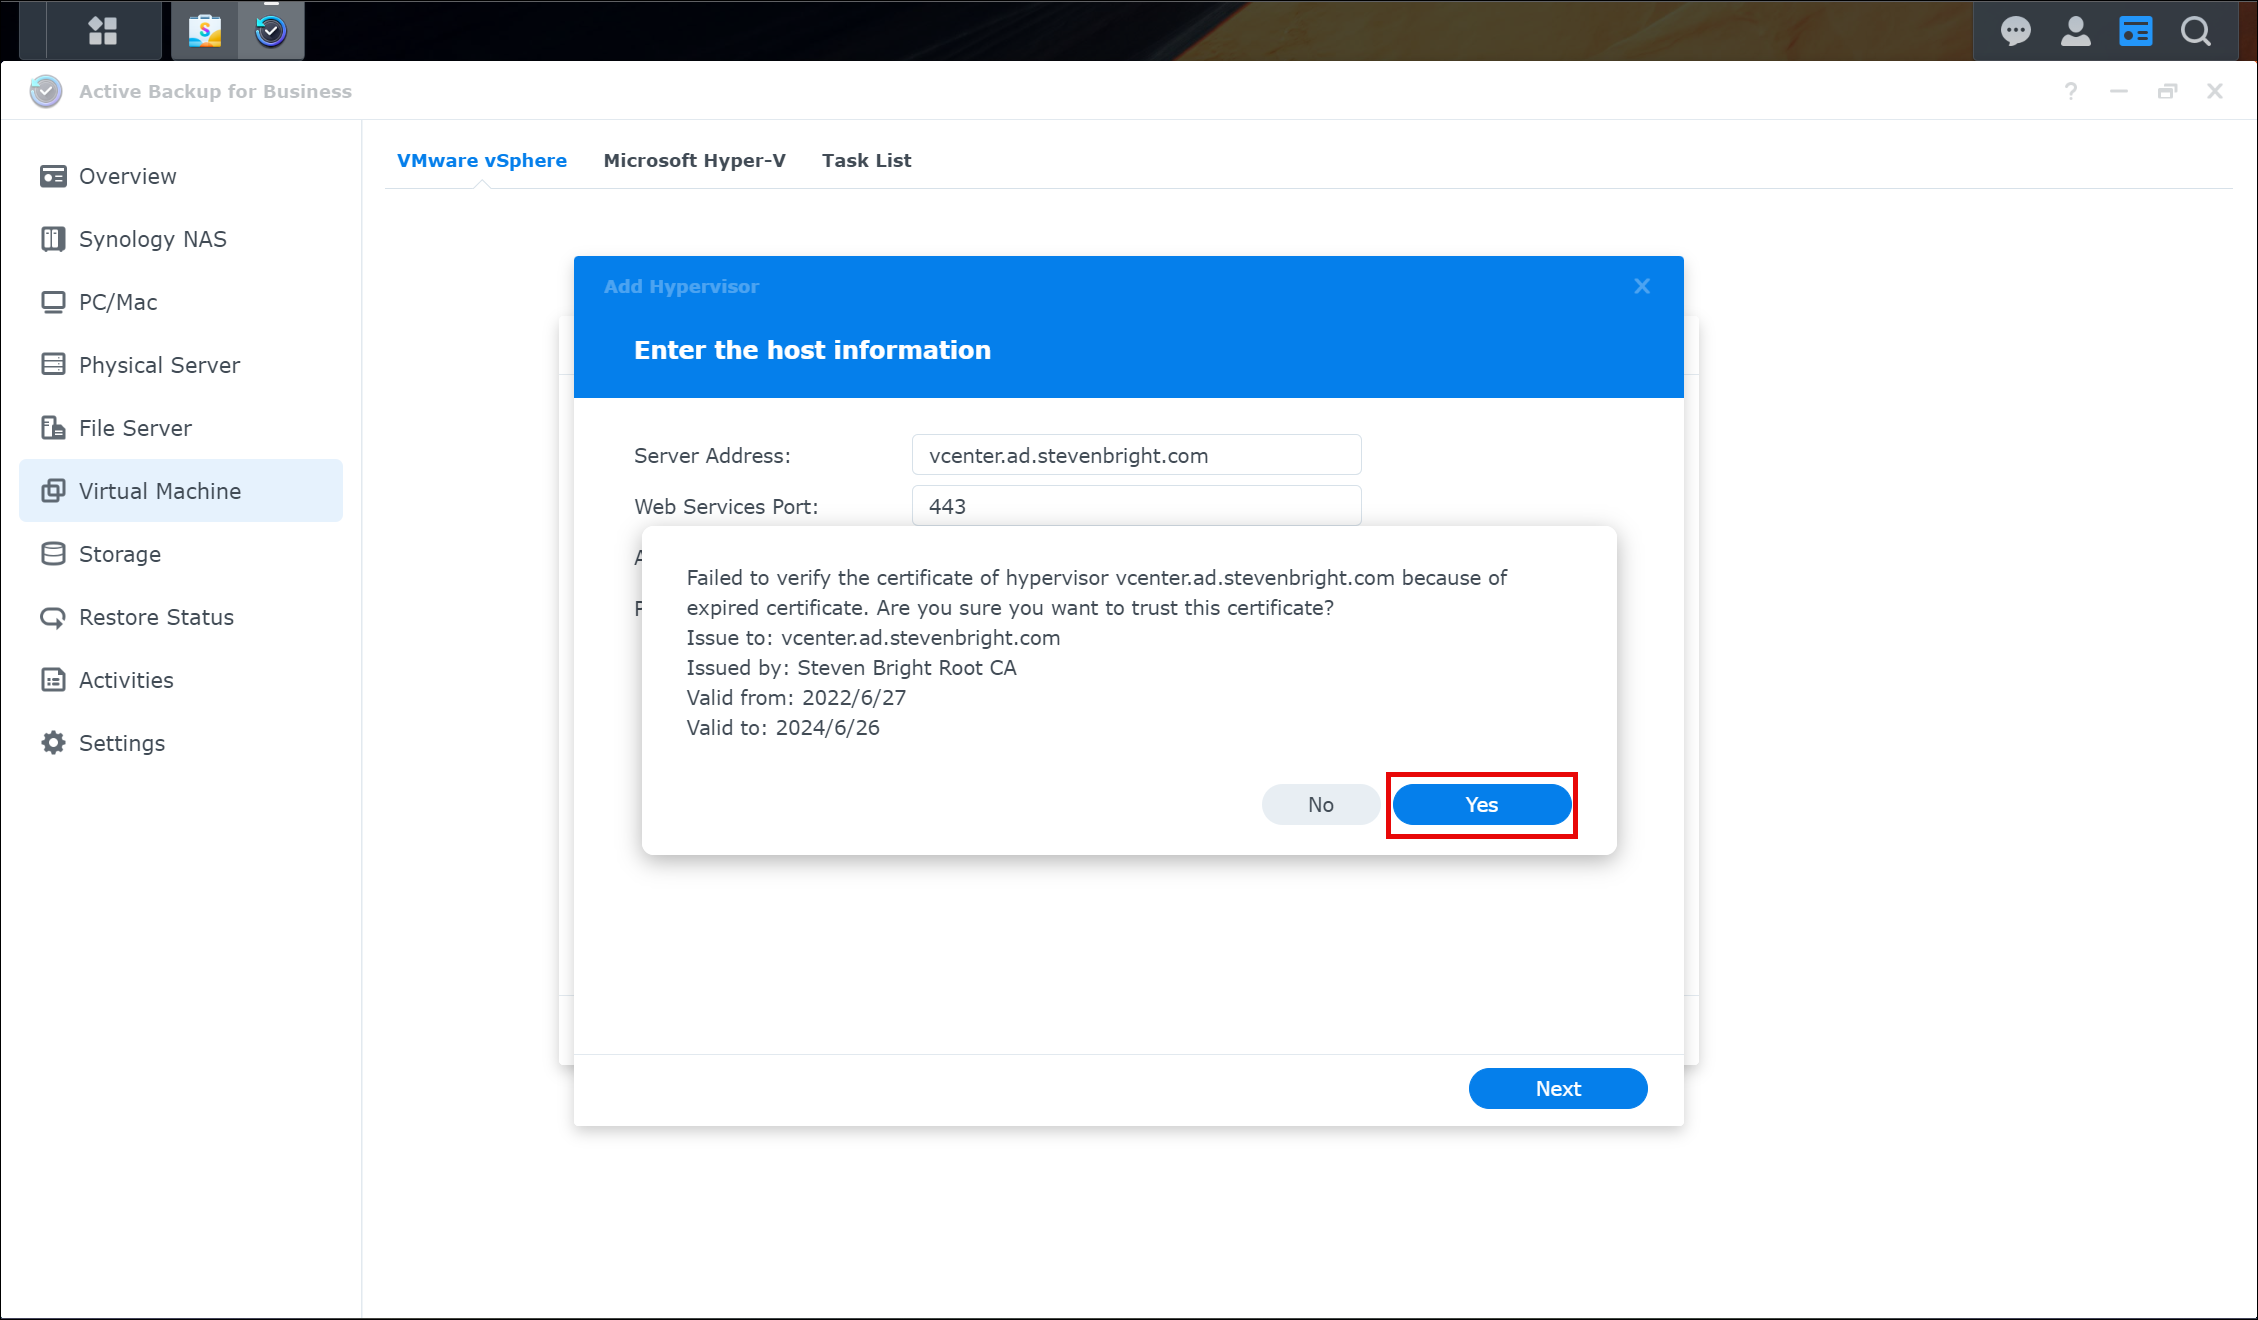
Upon successfully connecting to the VMware vCenter Server, Synology Active Backup for Business prompts me to confirm that I trust the certificate presented to it from the VMware vCenter Server. The screen shows the relevant certificate details. Click the Yes button to trust the certificate and continue the process.
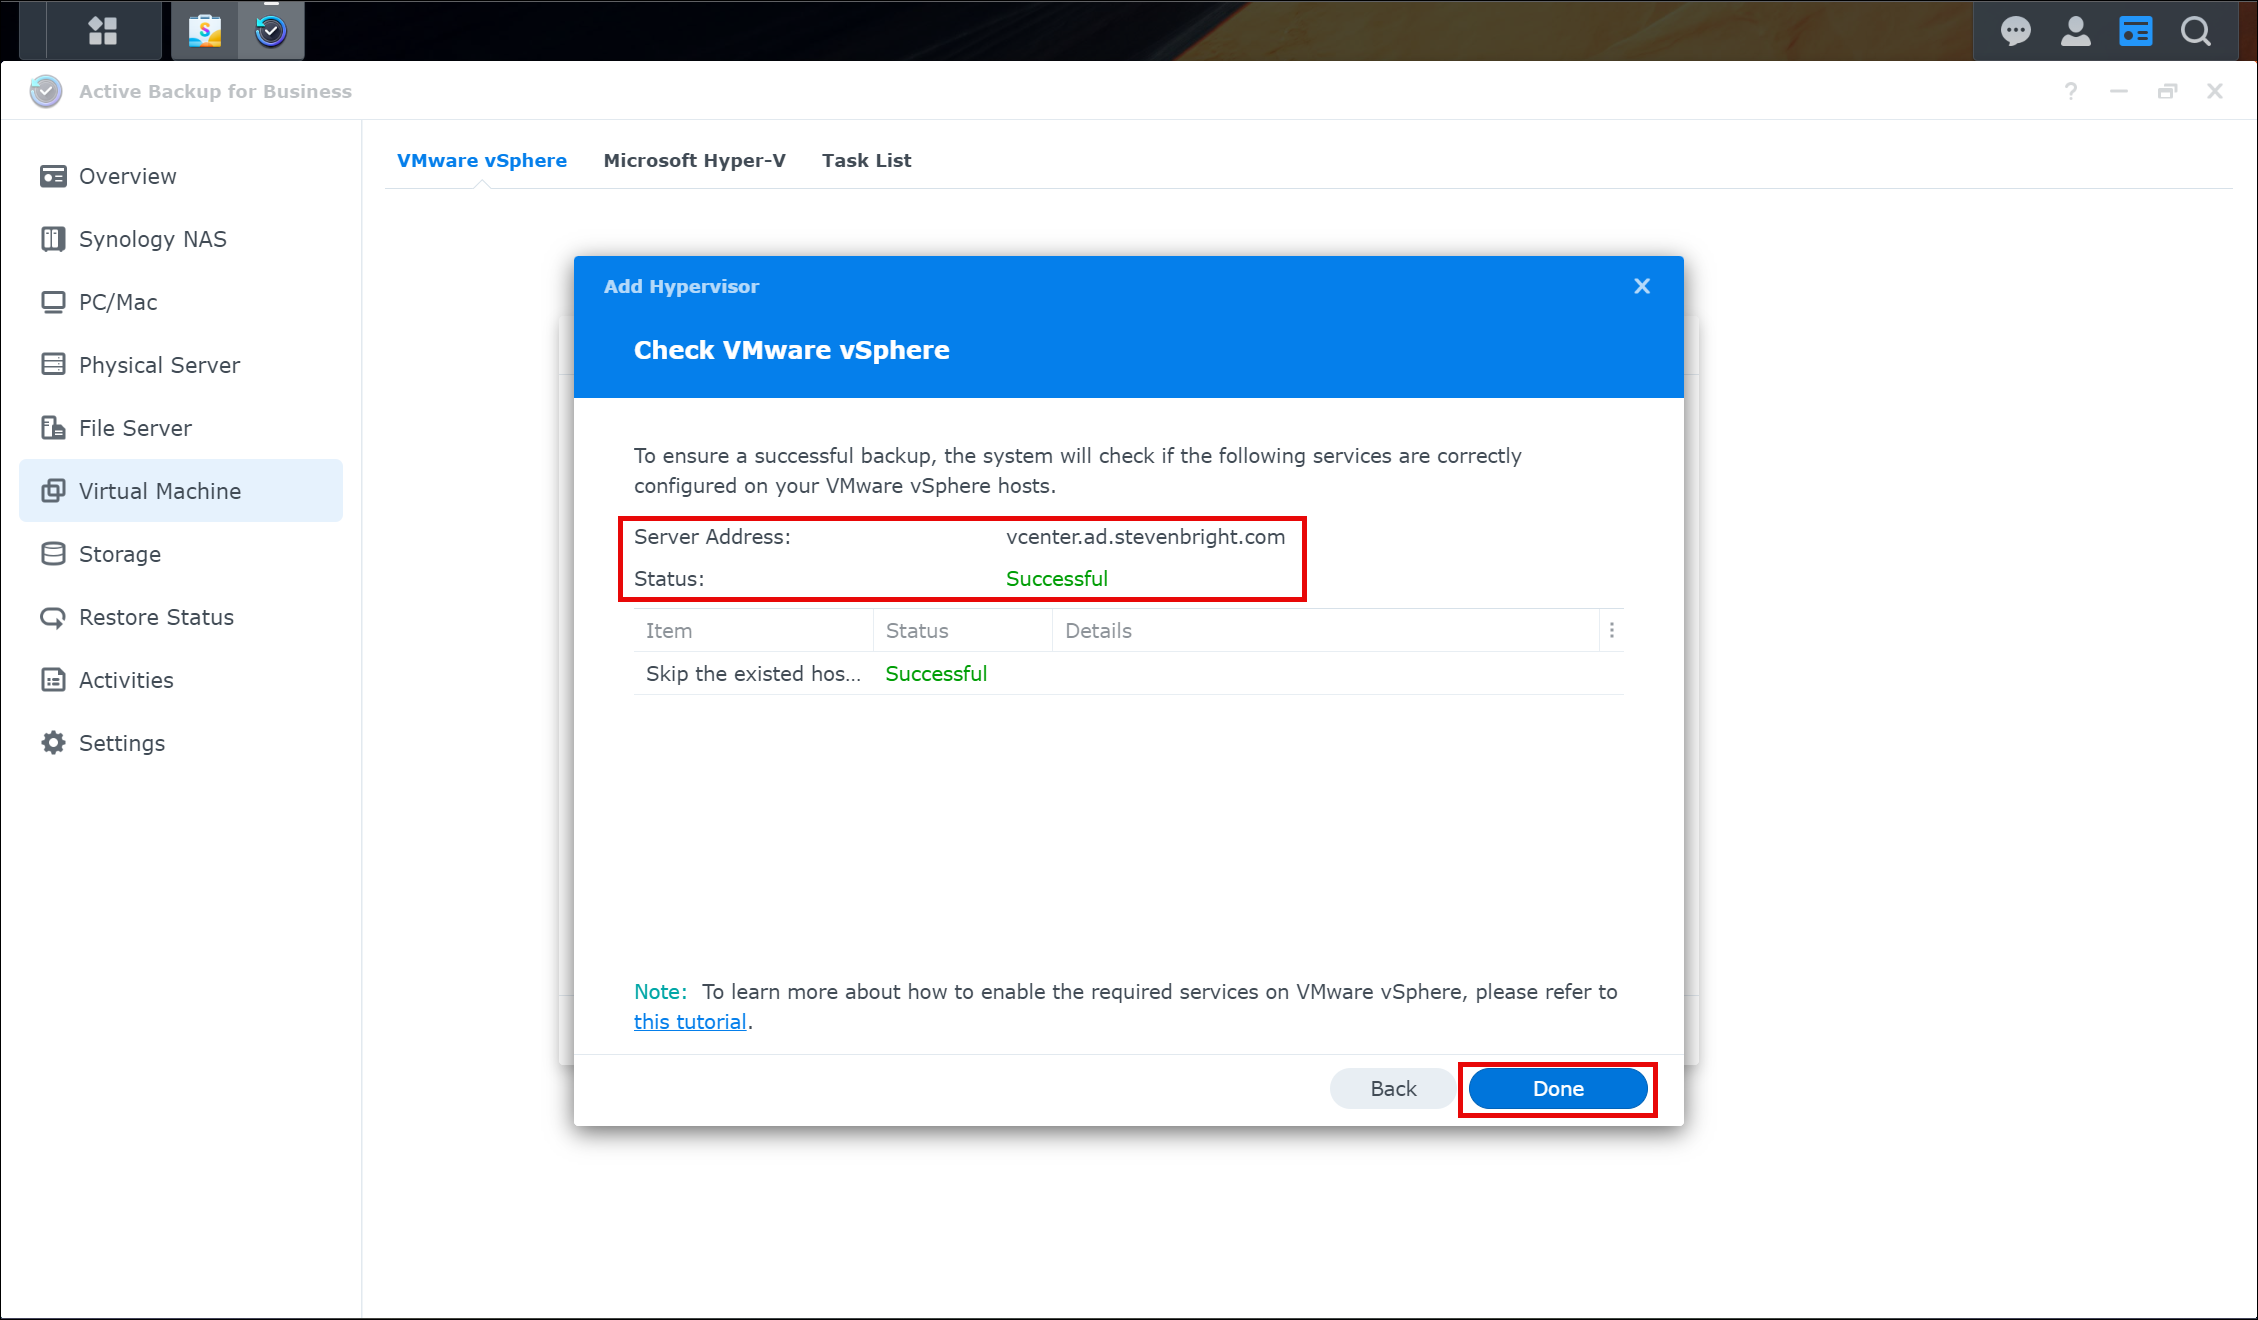
The next screen shows that Synology Active Backup for Business successfully added the VMware vCenter Server instance to its configuration. Click the Done button to close the wizard.
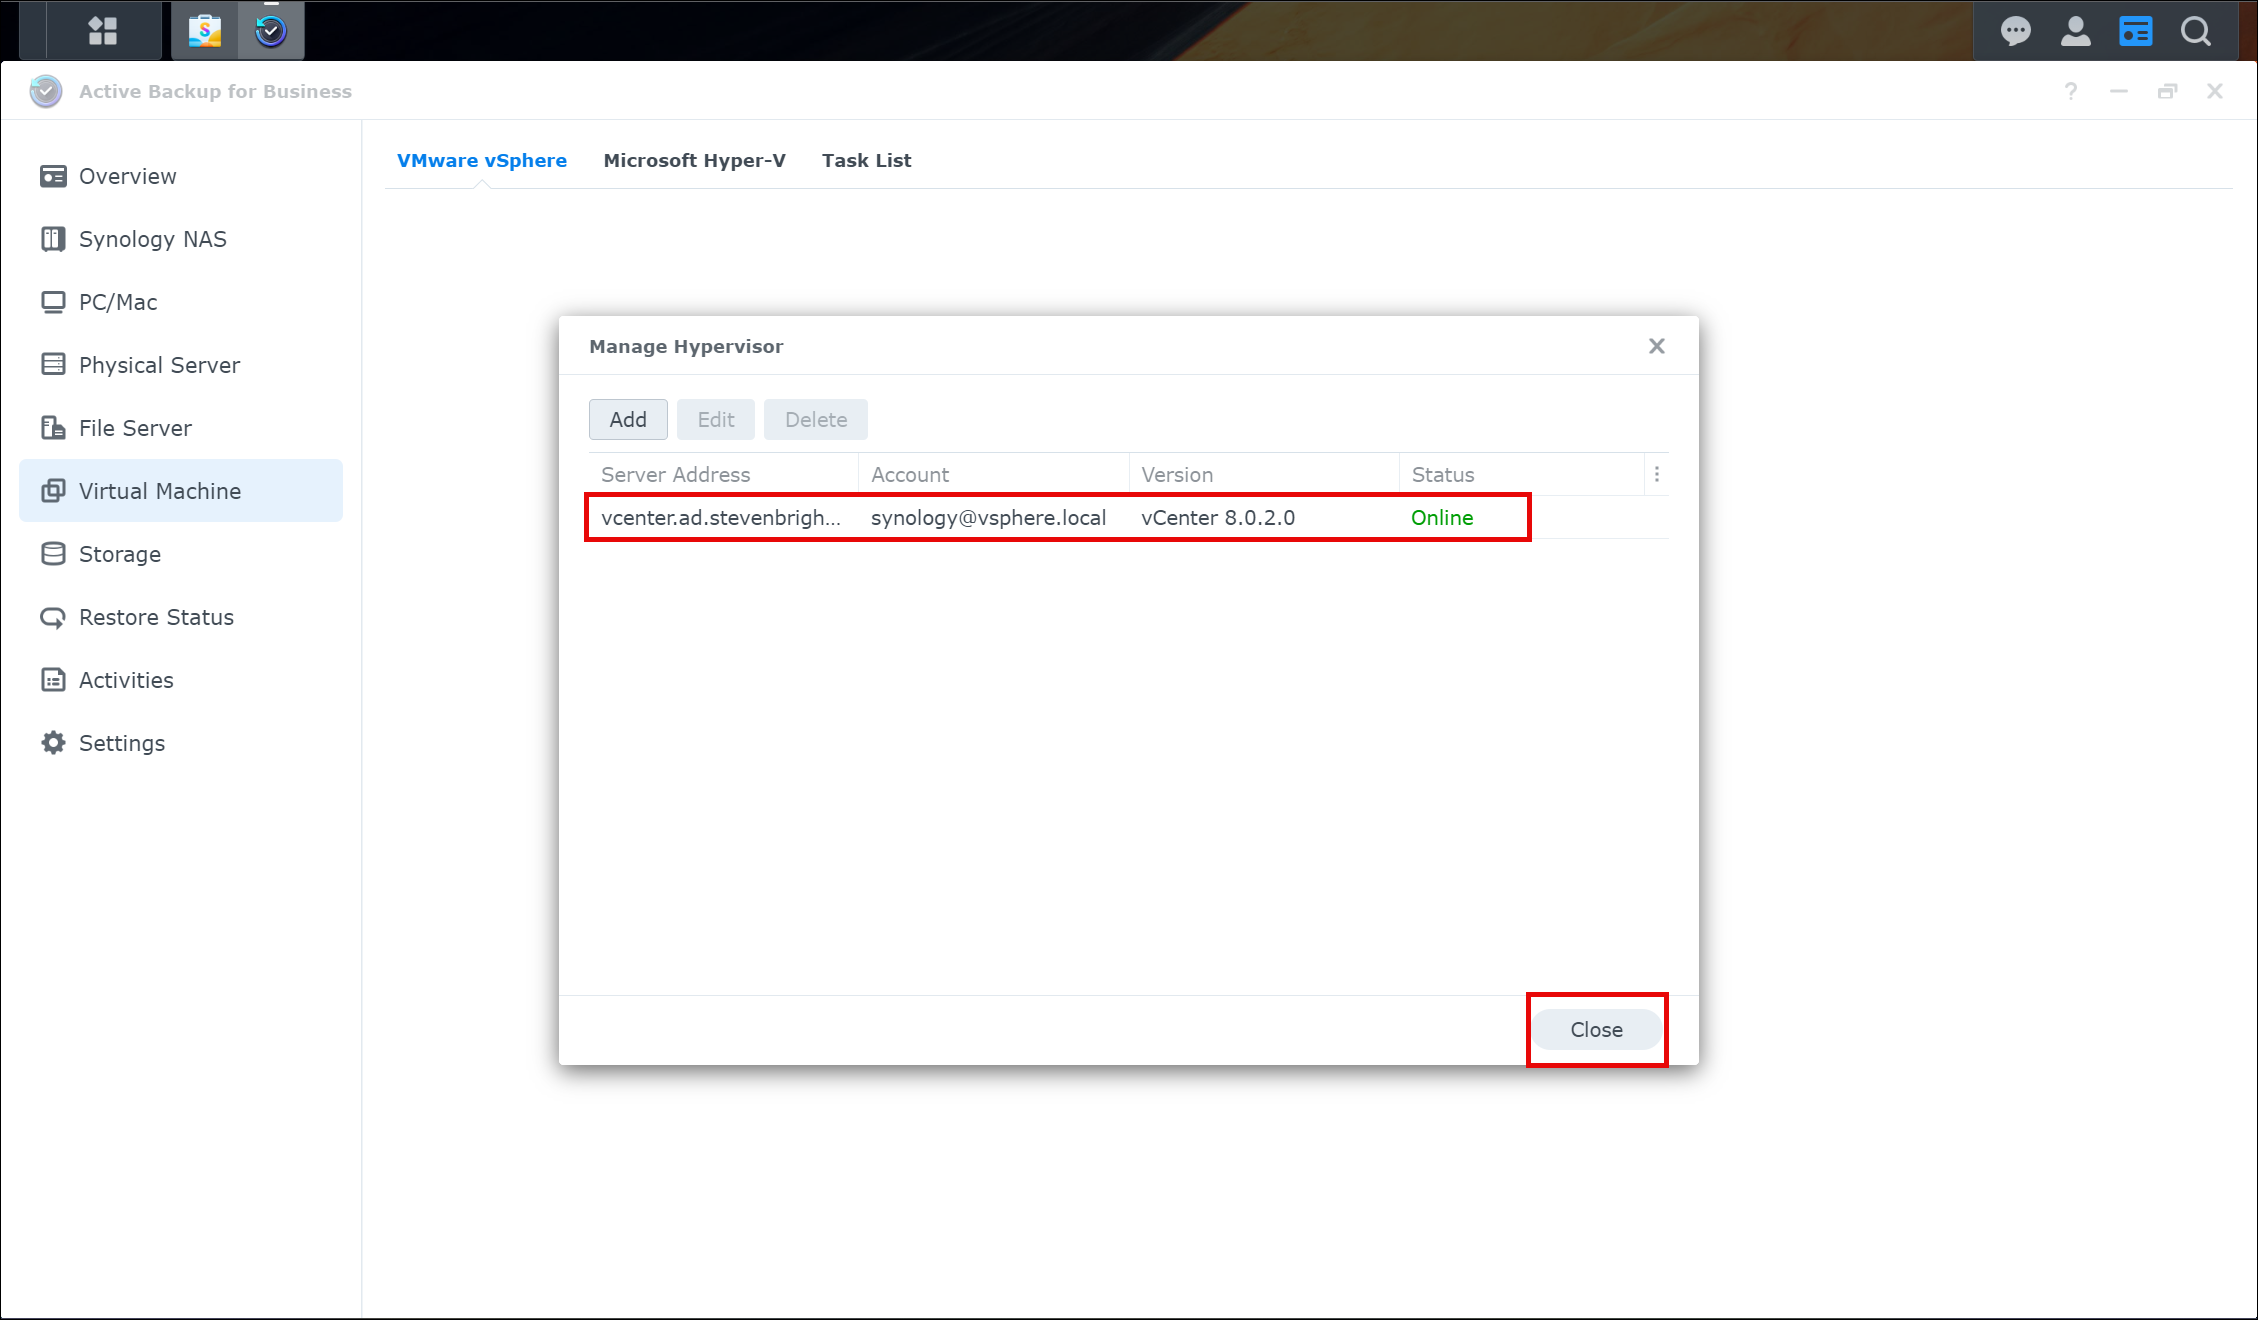
After clicking the Done button, we are returned to the Manage Hypervisor screen, which now shows the VMware vCenter Server instance, the account name used for the connection, the version number of the VMware vCenter Server, and the current status of the connection to the VMware vCenter Server from Active Backup from Business. After verifying everything is correct, click the Close button to return to the main Virtual Machine backup configuration screen within Synology Active Backup for Business.
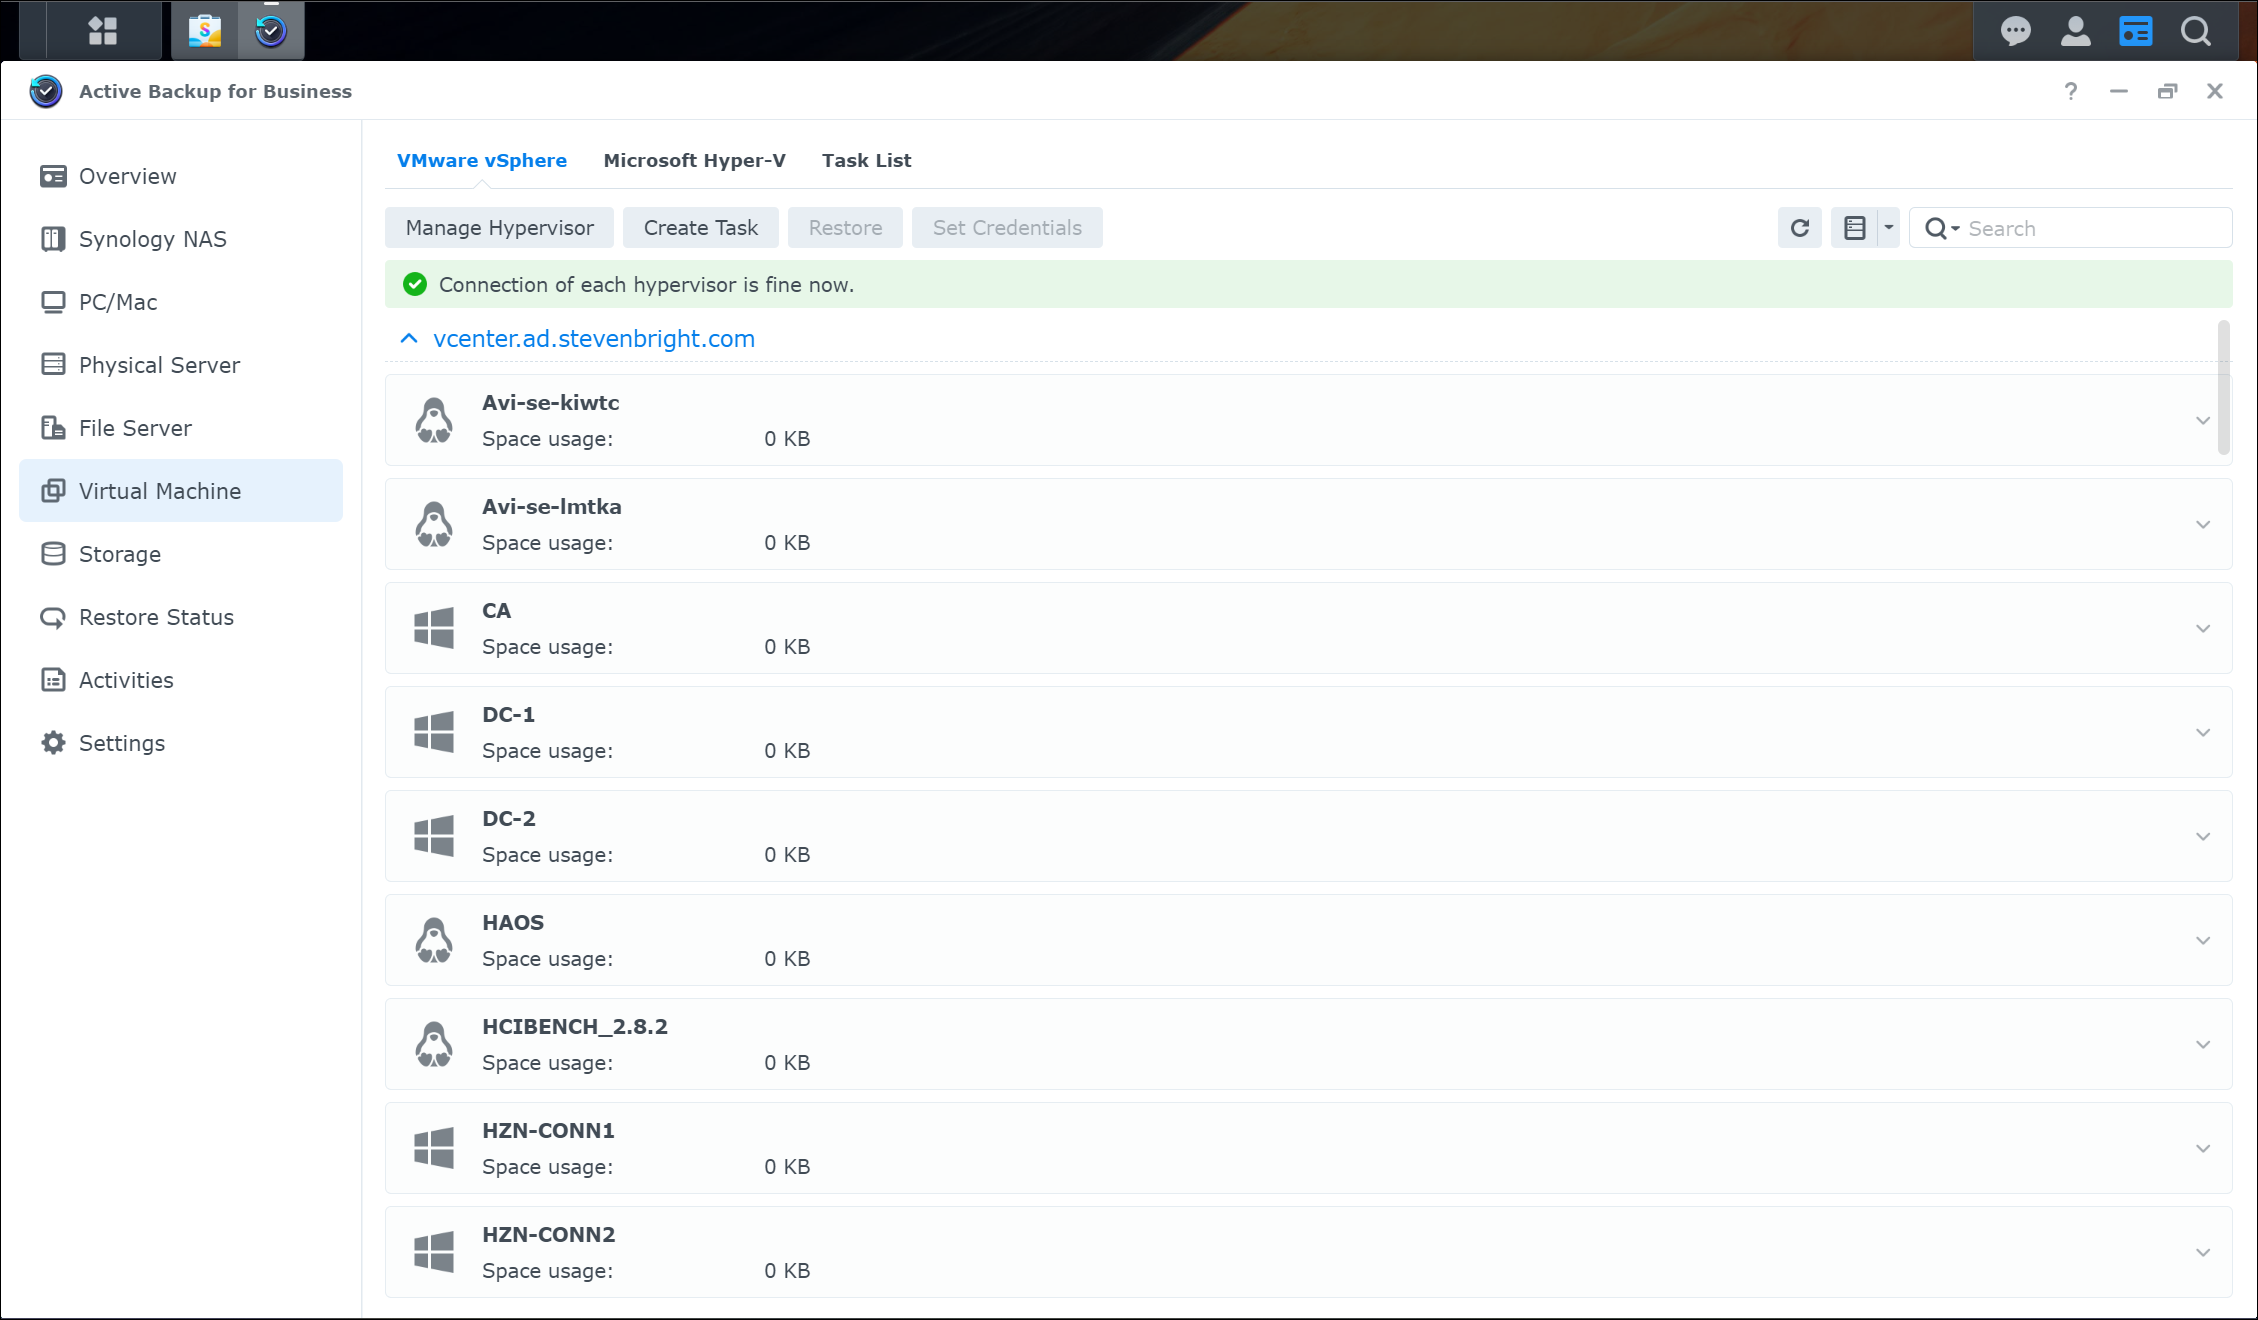
Notice that the Virtual Machine backup configuration screen in Synology Active Backup for Business lists all the virtual machines discovered within the VMware vCenter Server we just added. From here, we will begin creating our first virtual machine backup job.
Creating Your First VMware vSphere Backup Job
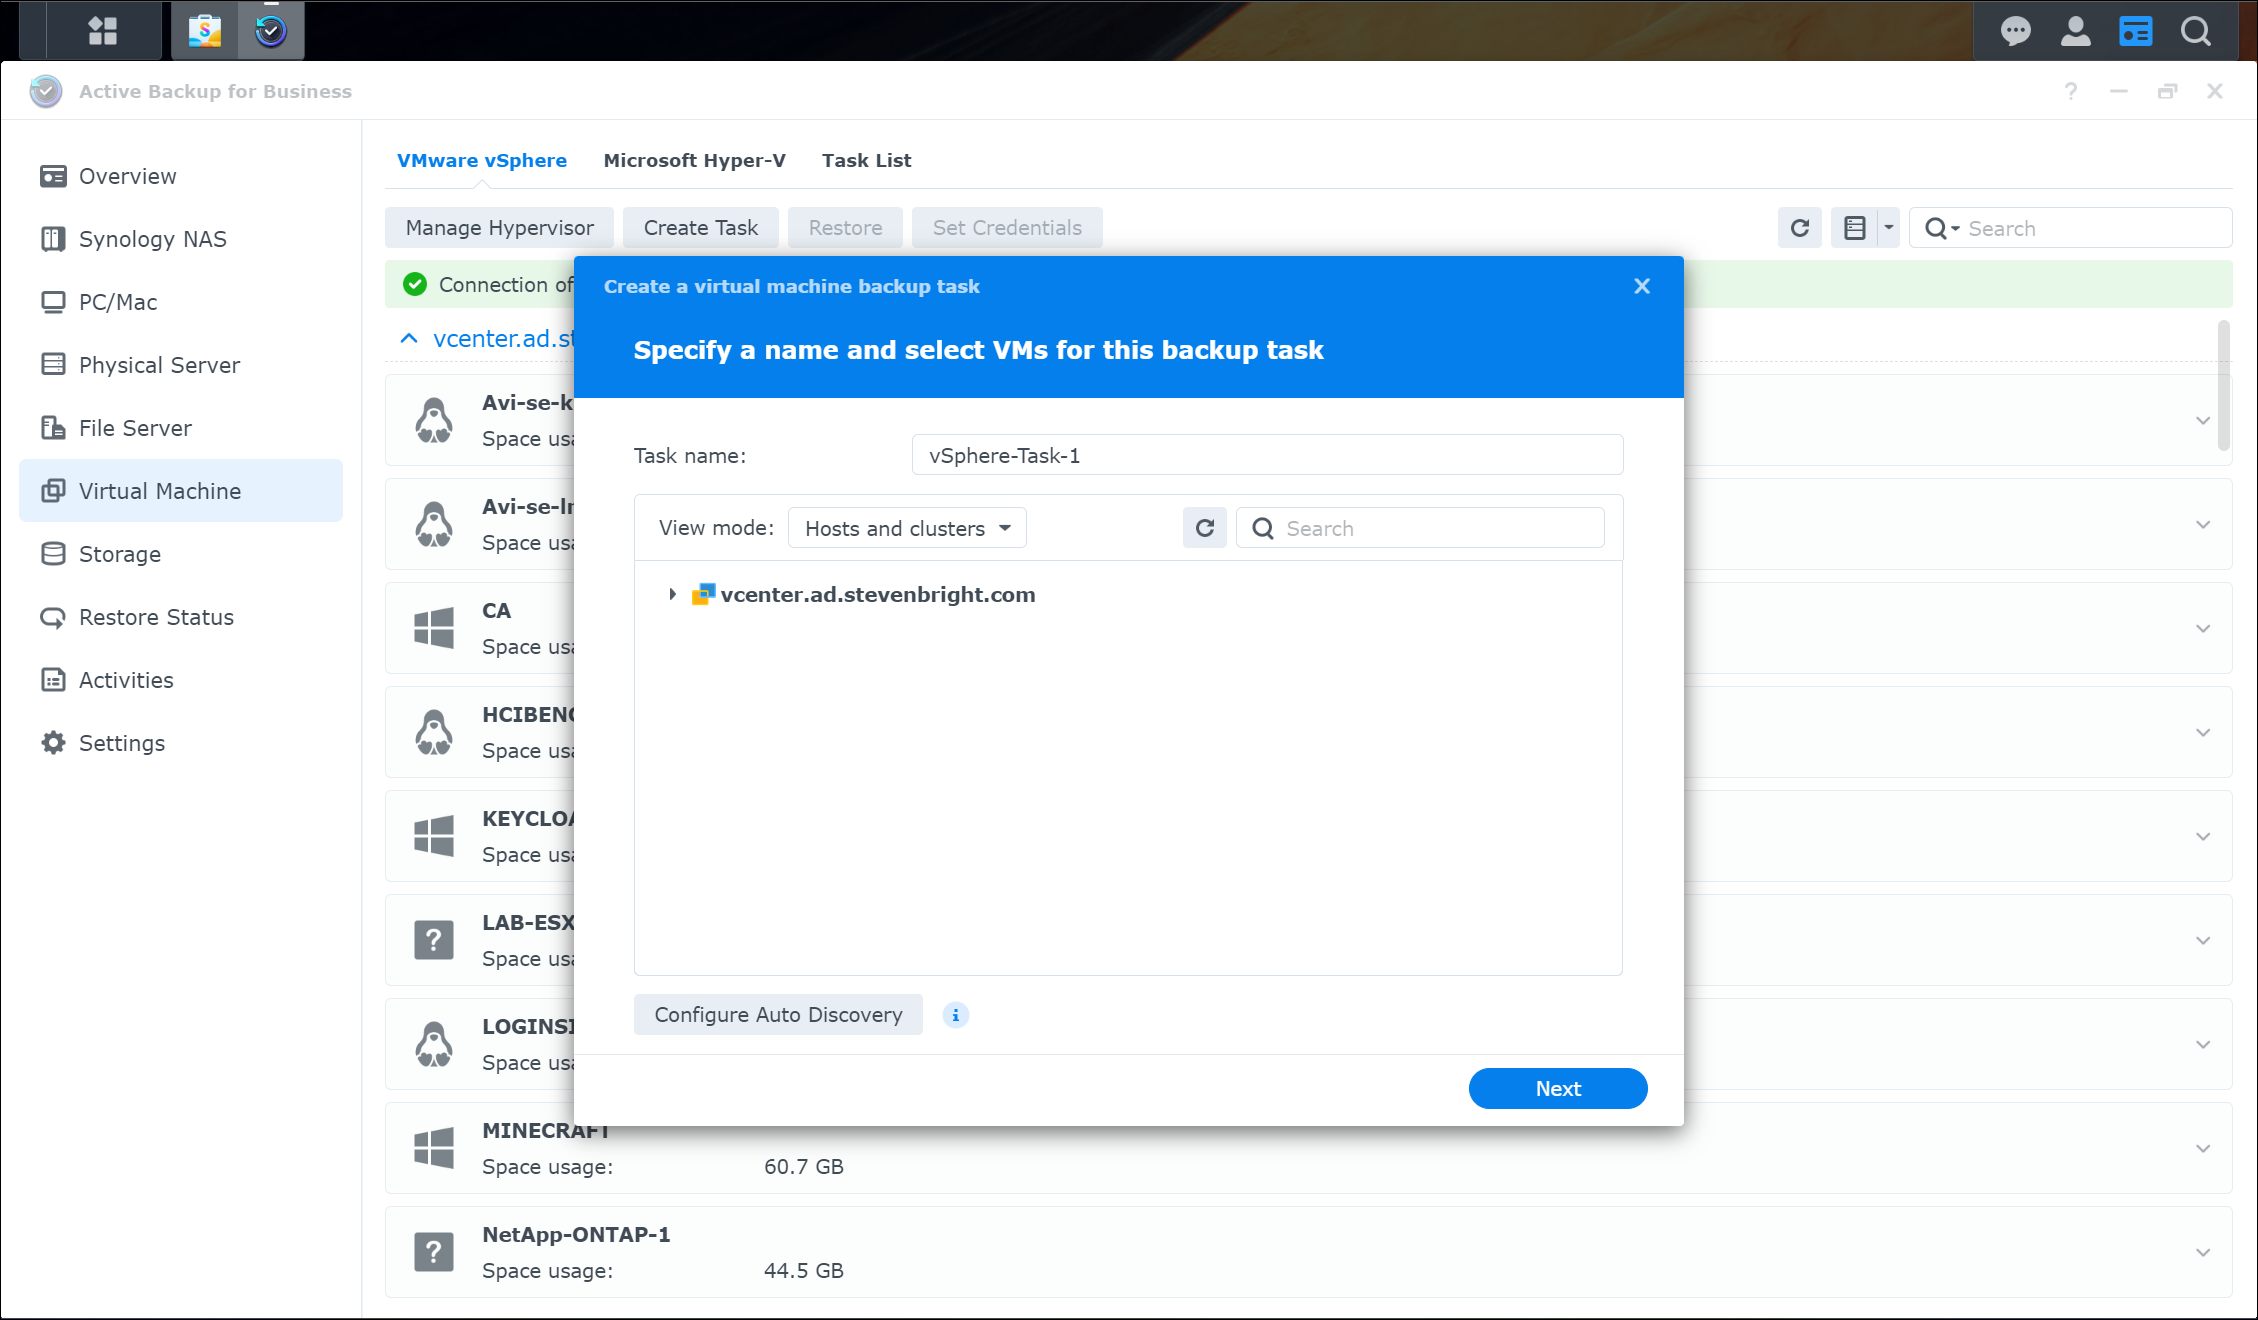
Now that we have Synology Active Backup for Business configured to communicate with our VMware vSphere environment, we can configure our virtual machine backup jobs. To get started, click the Create Task button at the top of the screen. The Create a virtual machine backup task wizard is launched.
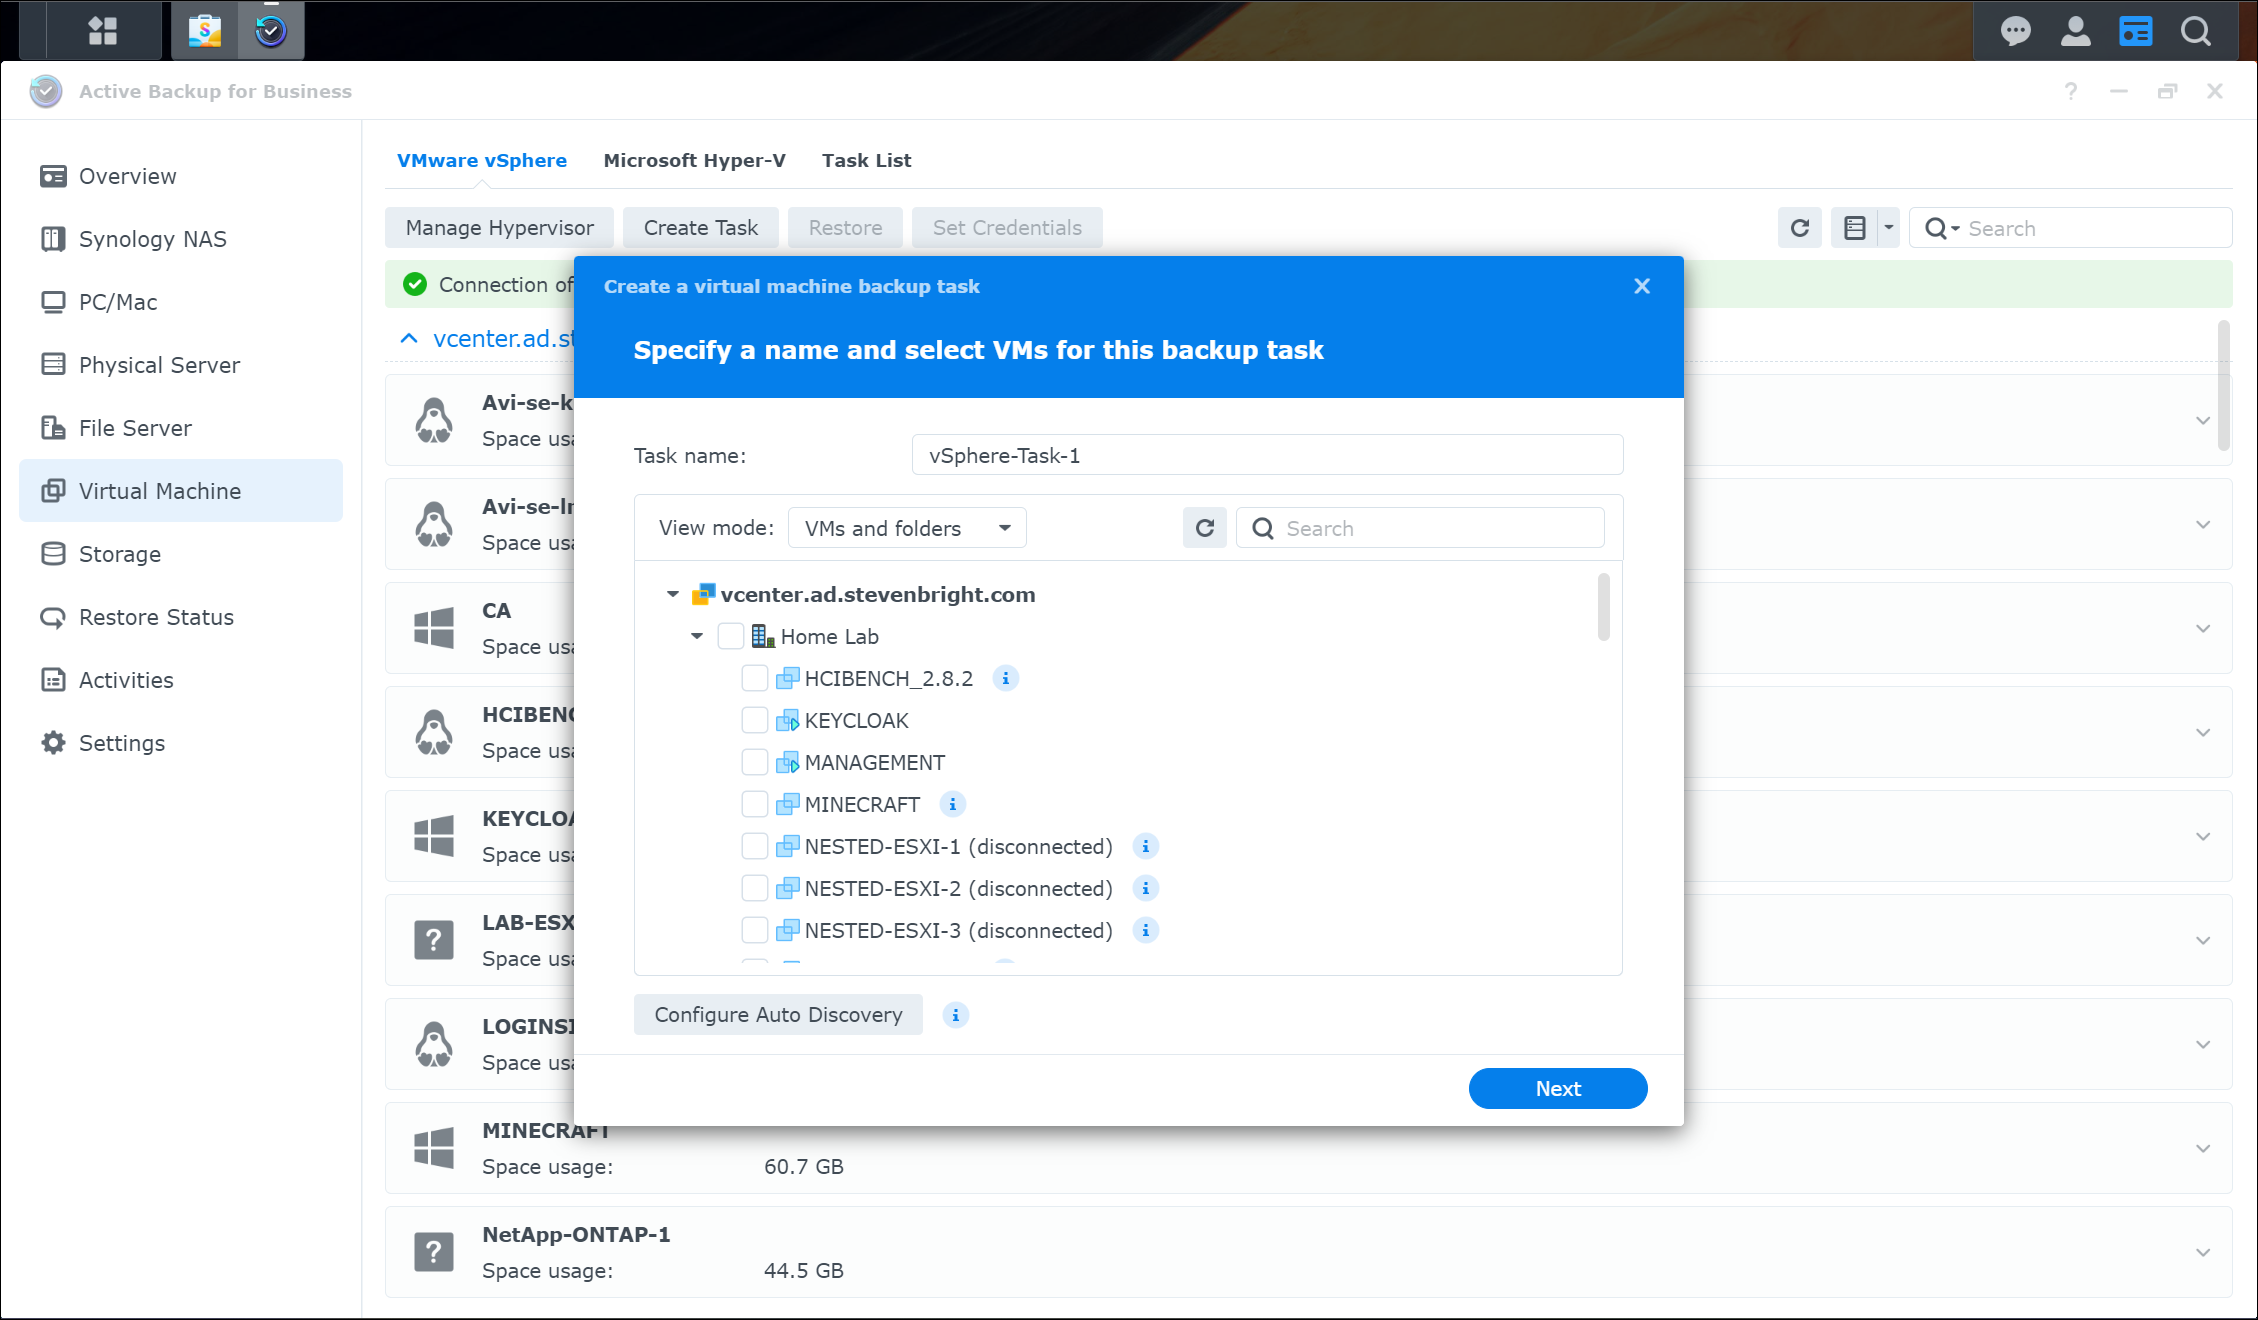
A default title is provided for the backup job. Modify this title to your liking, then expand the vCenter Server entity to select the virtual machines to include in the backup job.
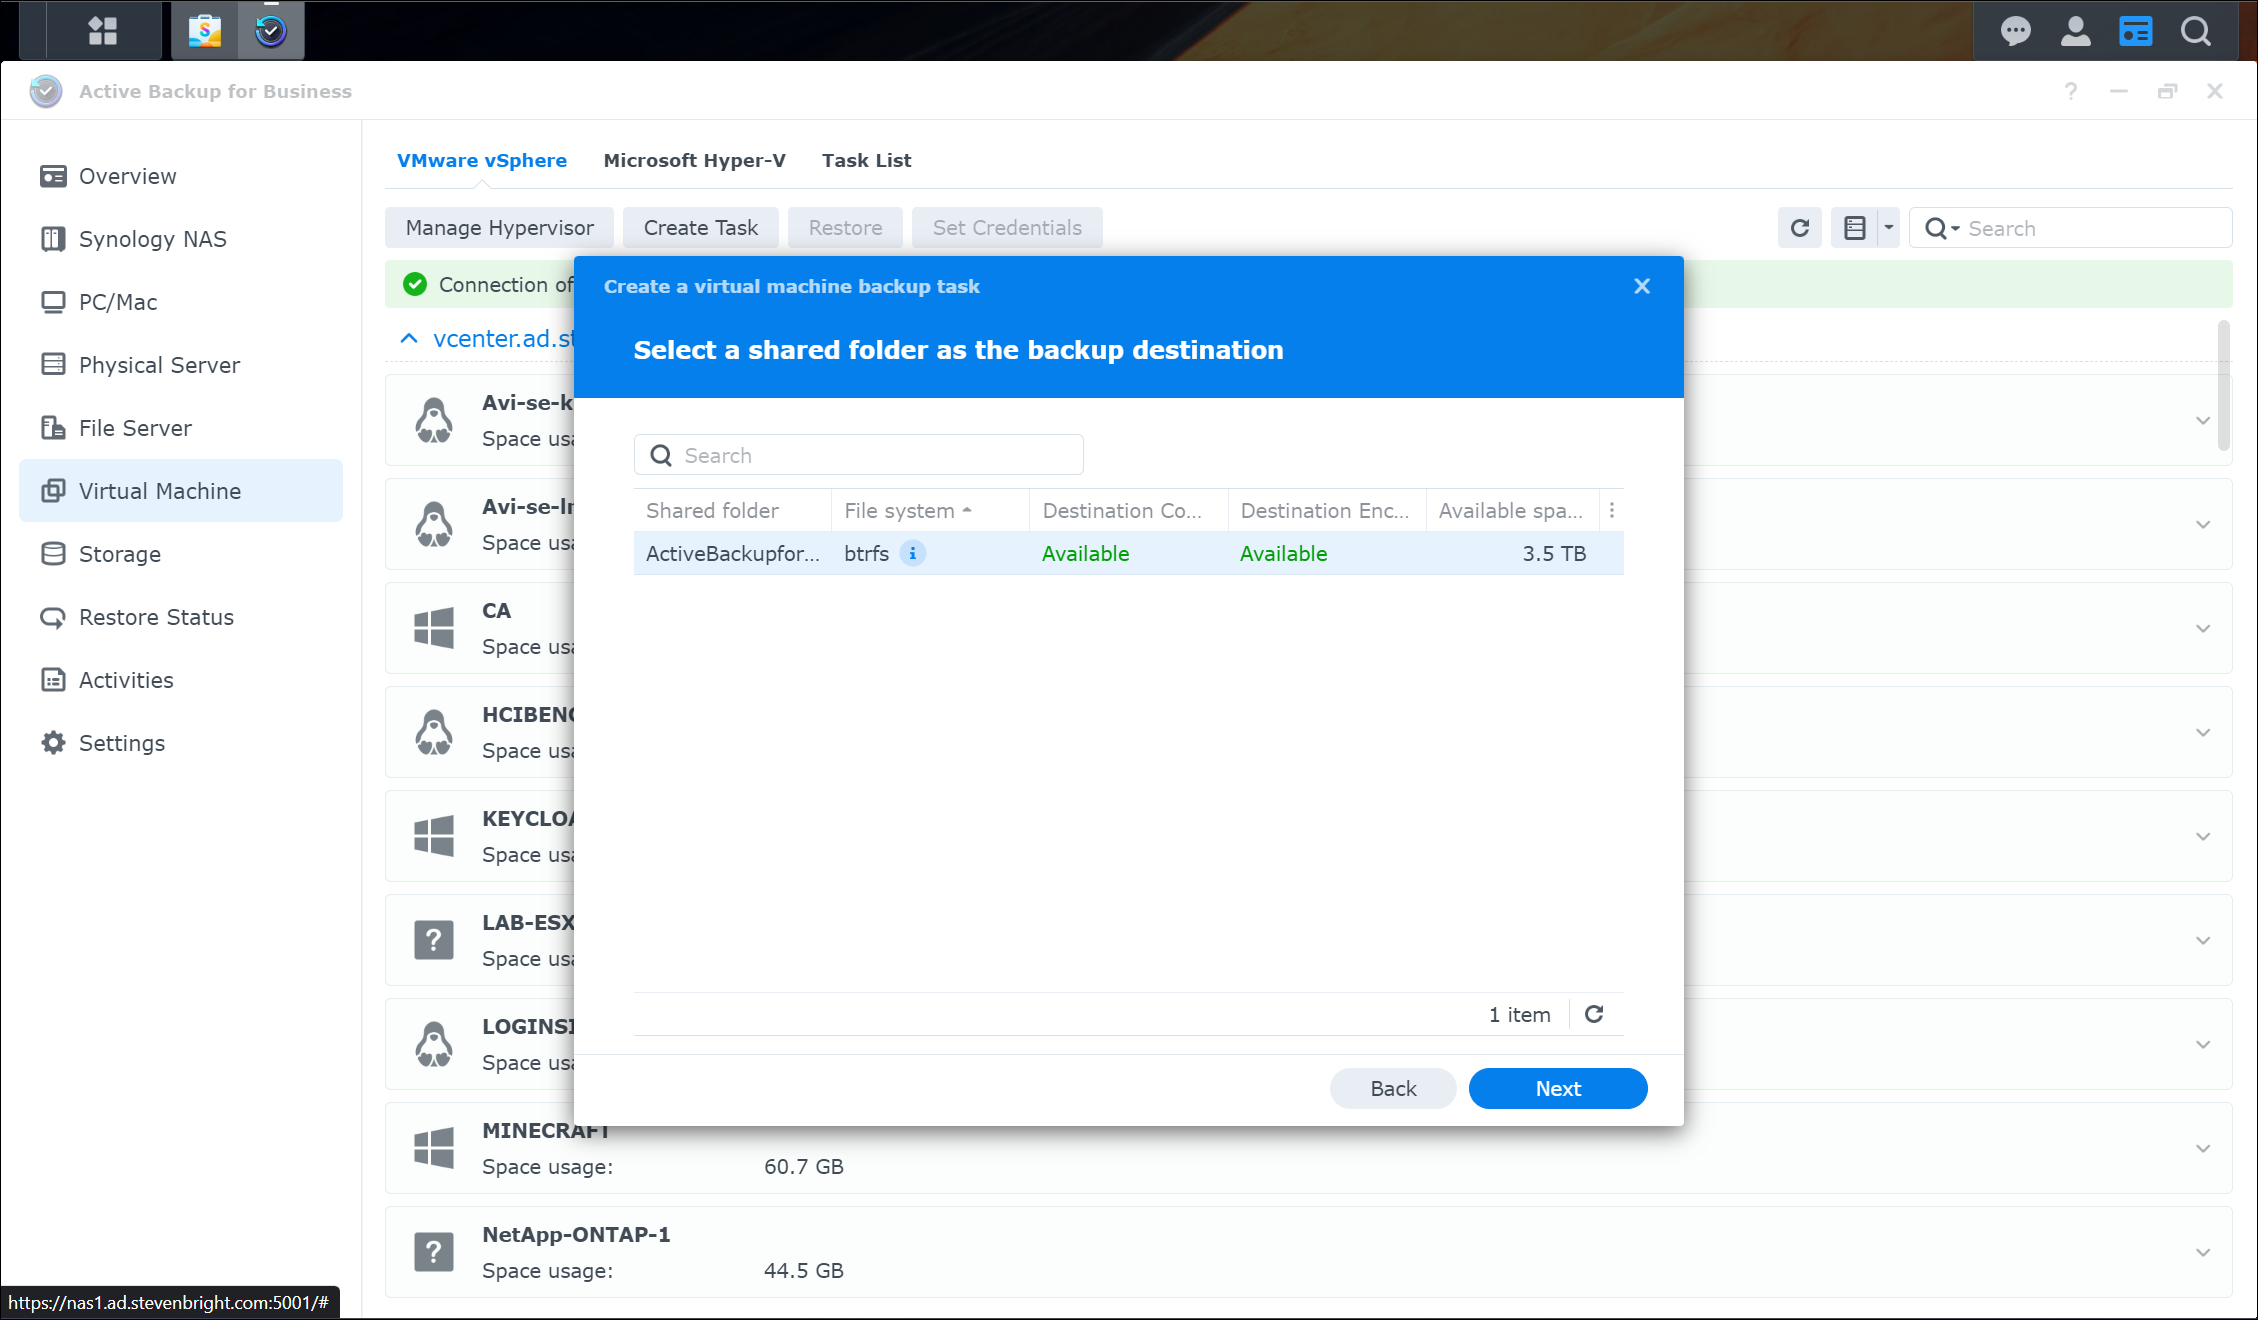
After selecting the desired virtual machines and clicking the Next button, the wizard will prompt you for the destination location for the backup job. By default, the destination location is the shared folder that is created automatically by Synology Active Backup for Business during the installation.
Note: If your Synology NAS is also responsible for providing the storage your VMs use, you should configure replication of your ActiveBackupforBusiness shared folder to an external device or cloud storage provider to prevent data loss if your Synology NAS were to fail.
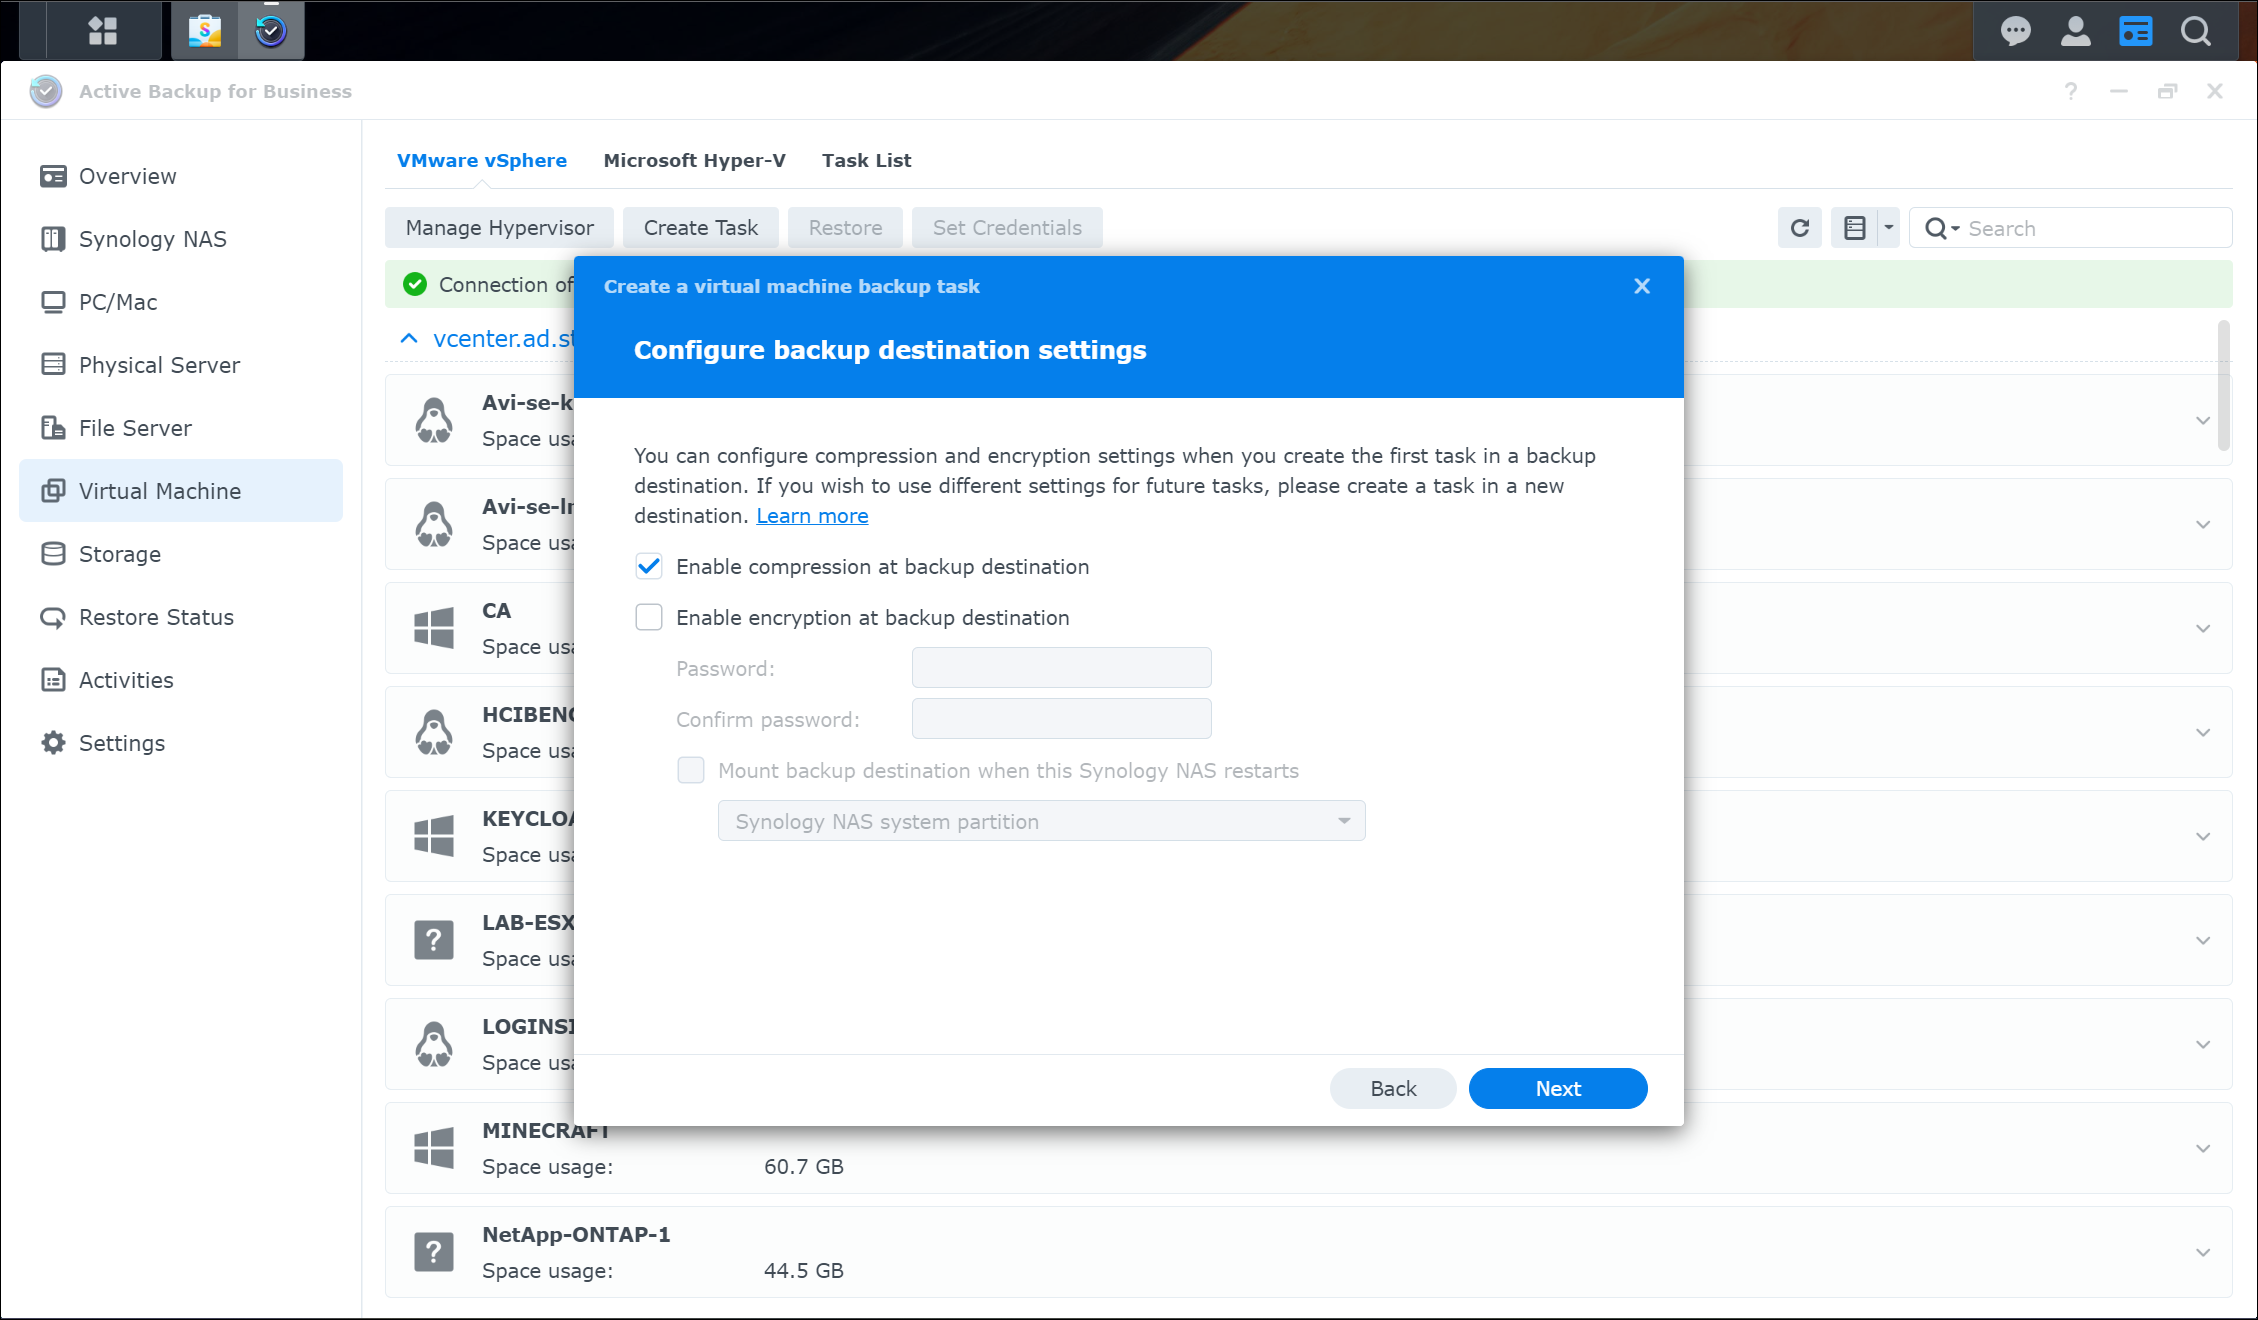
After selecting the backup destination and clicking the Next button, we are prompted to configure backup destination settings. These settings include enabling compression at the backup destination and enabling encryption at the backup destination. Select the applicable settings, then click Next to continue.
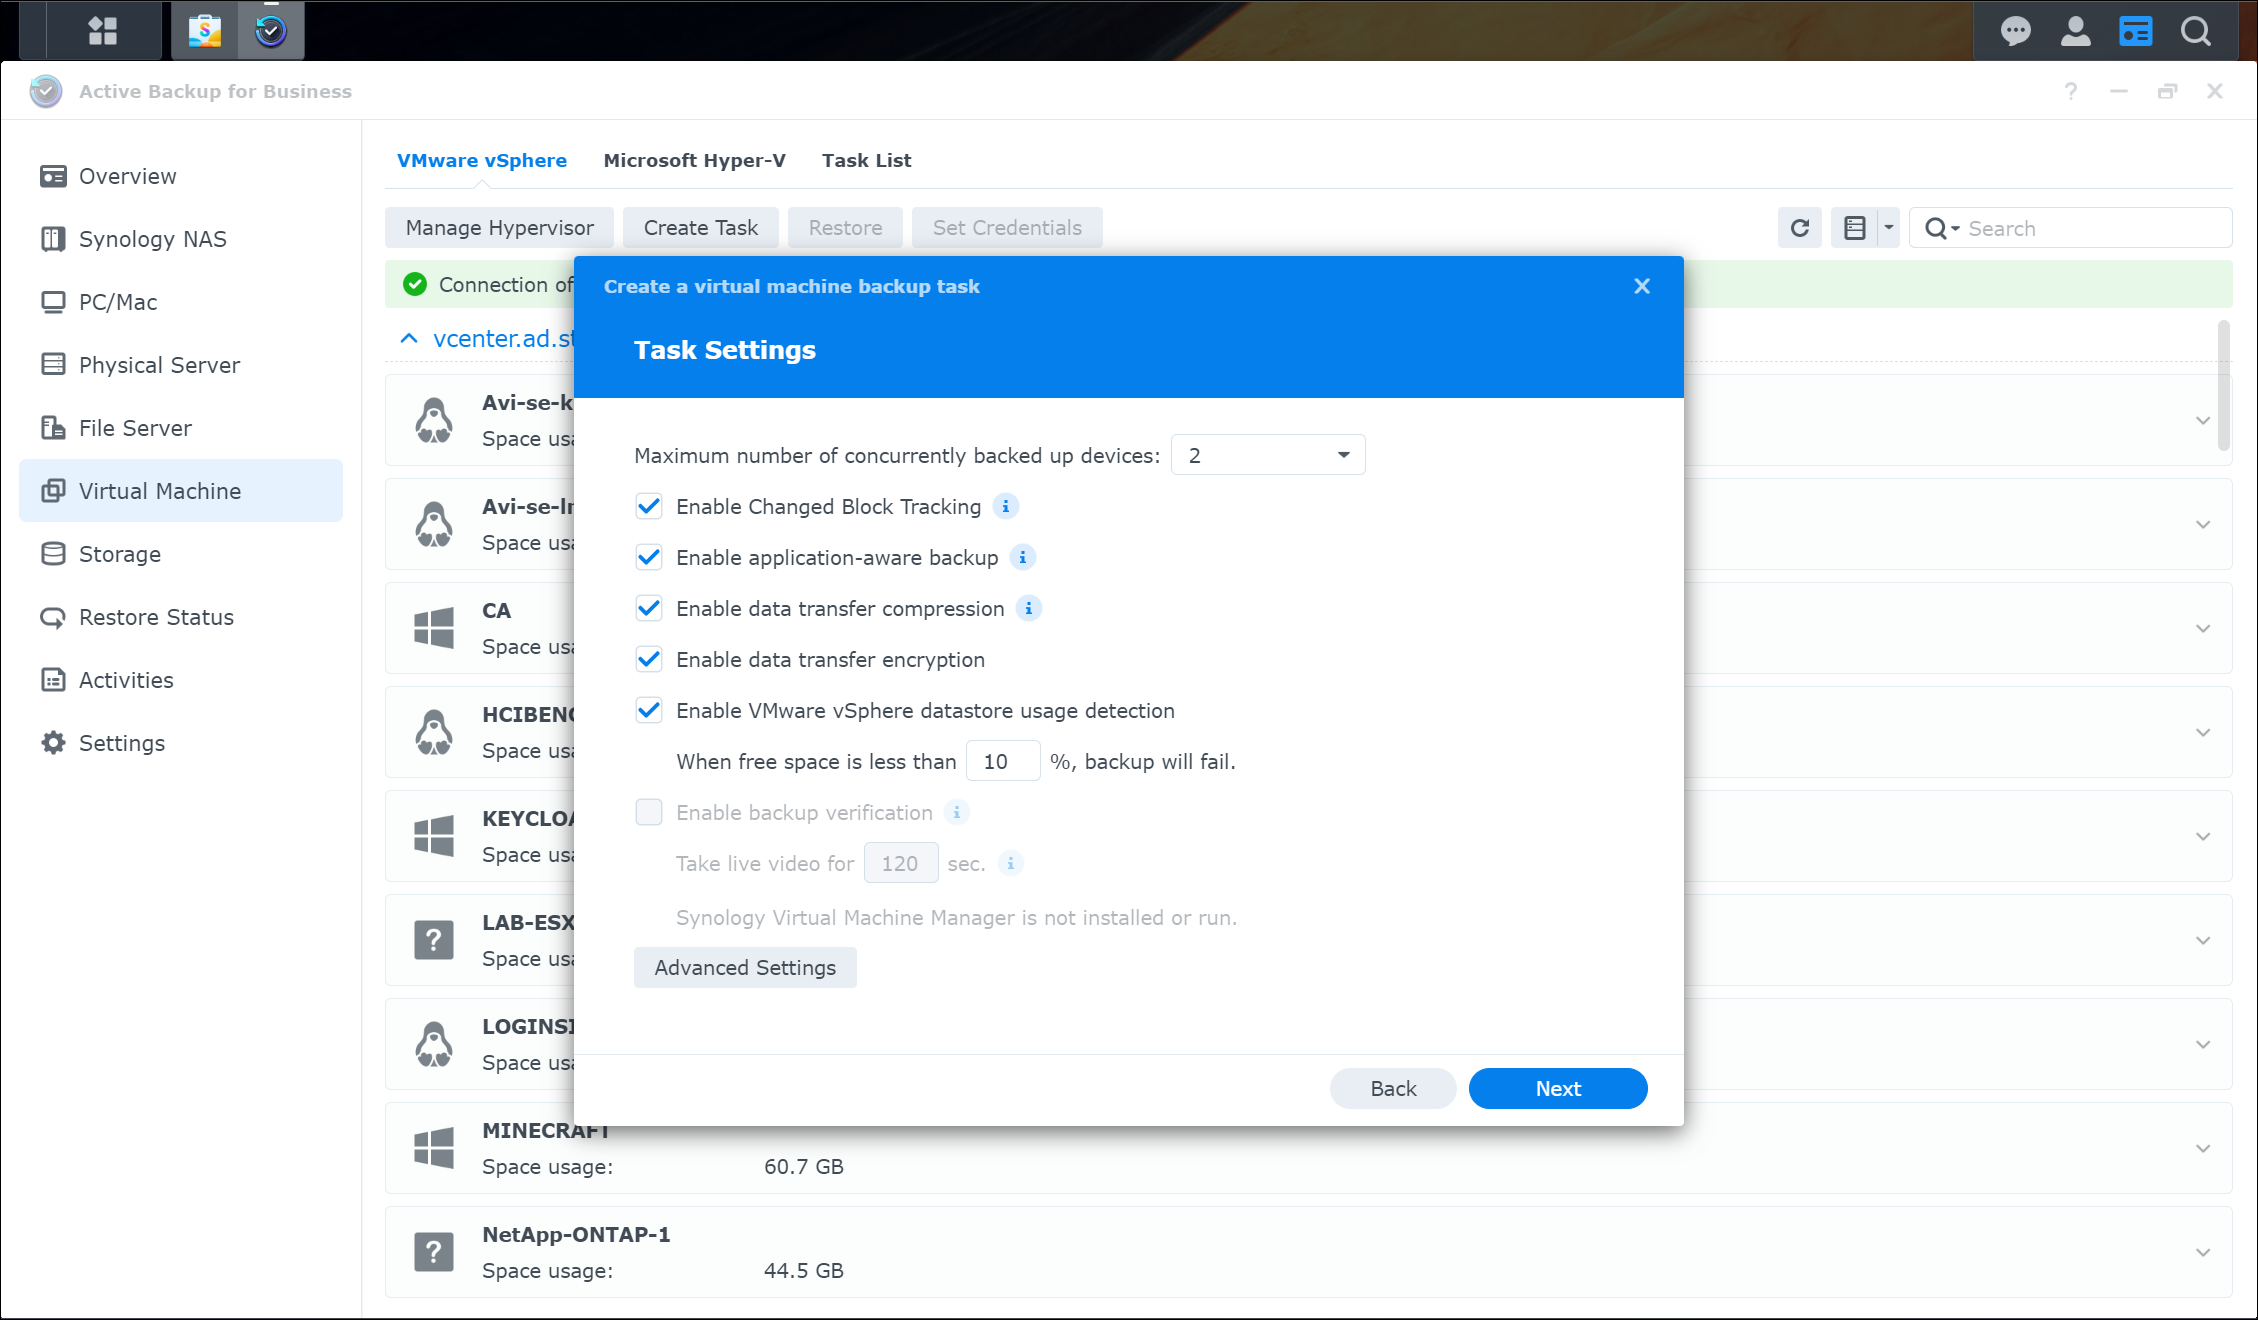
Next up, we see a screen of Task Settings. These settings include various options related to items such as change block tracking, application-aware backups, data compression during transfer, data encryption during transfer, etc. Select all options that apply to your needs then click Next to continue.
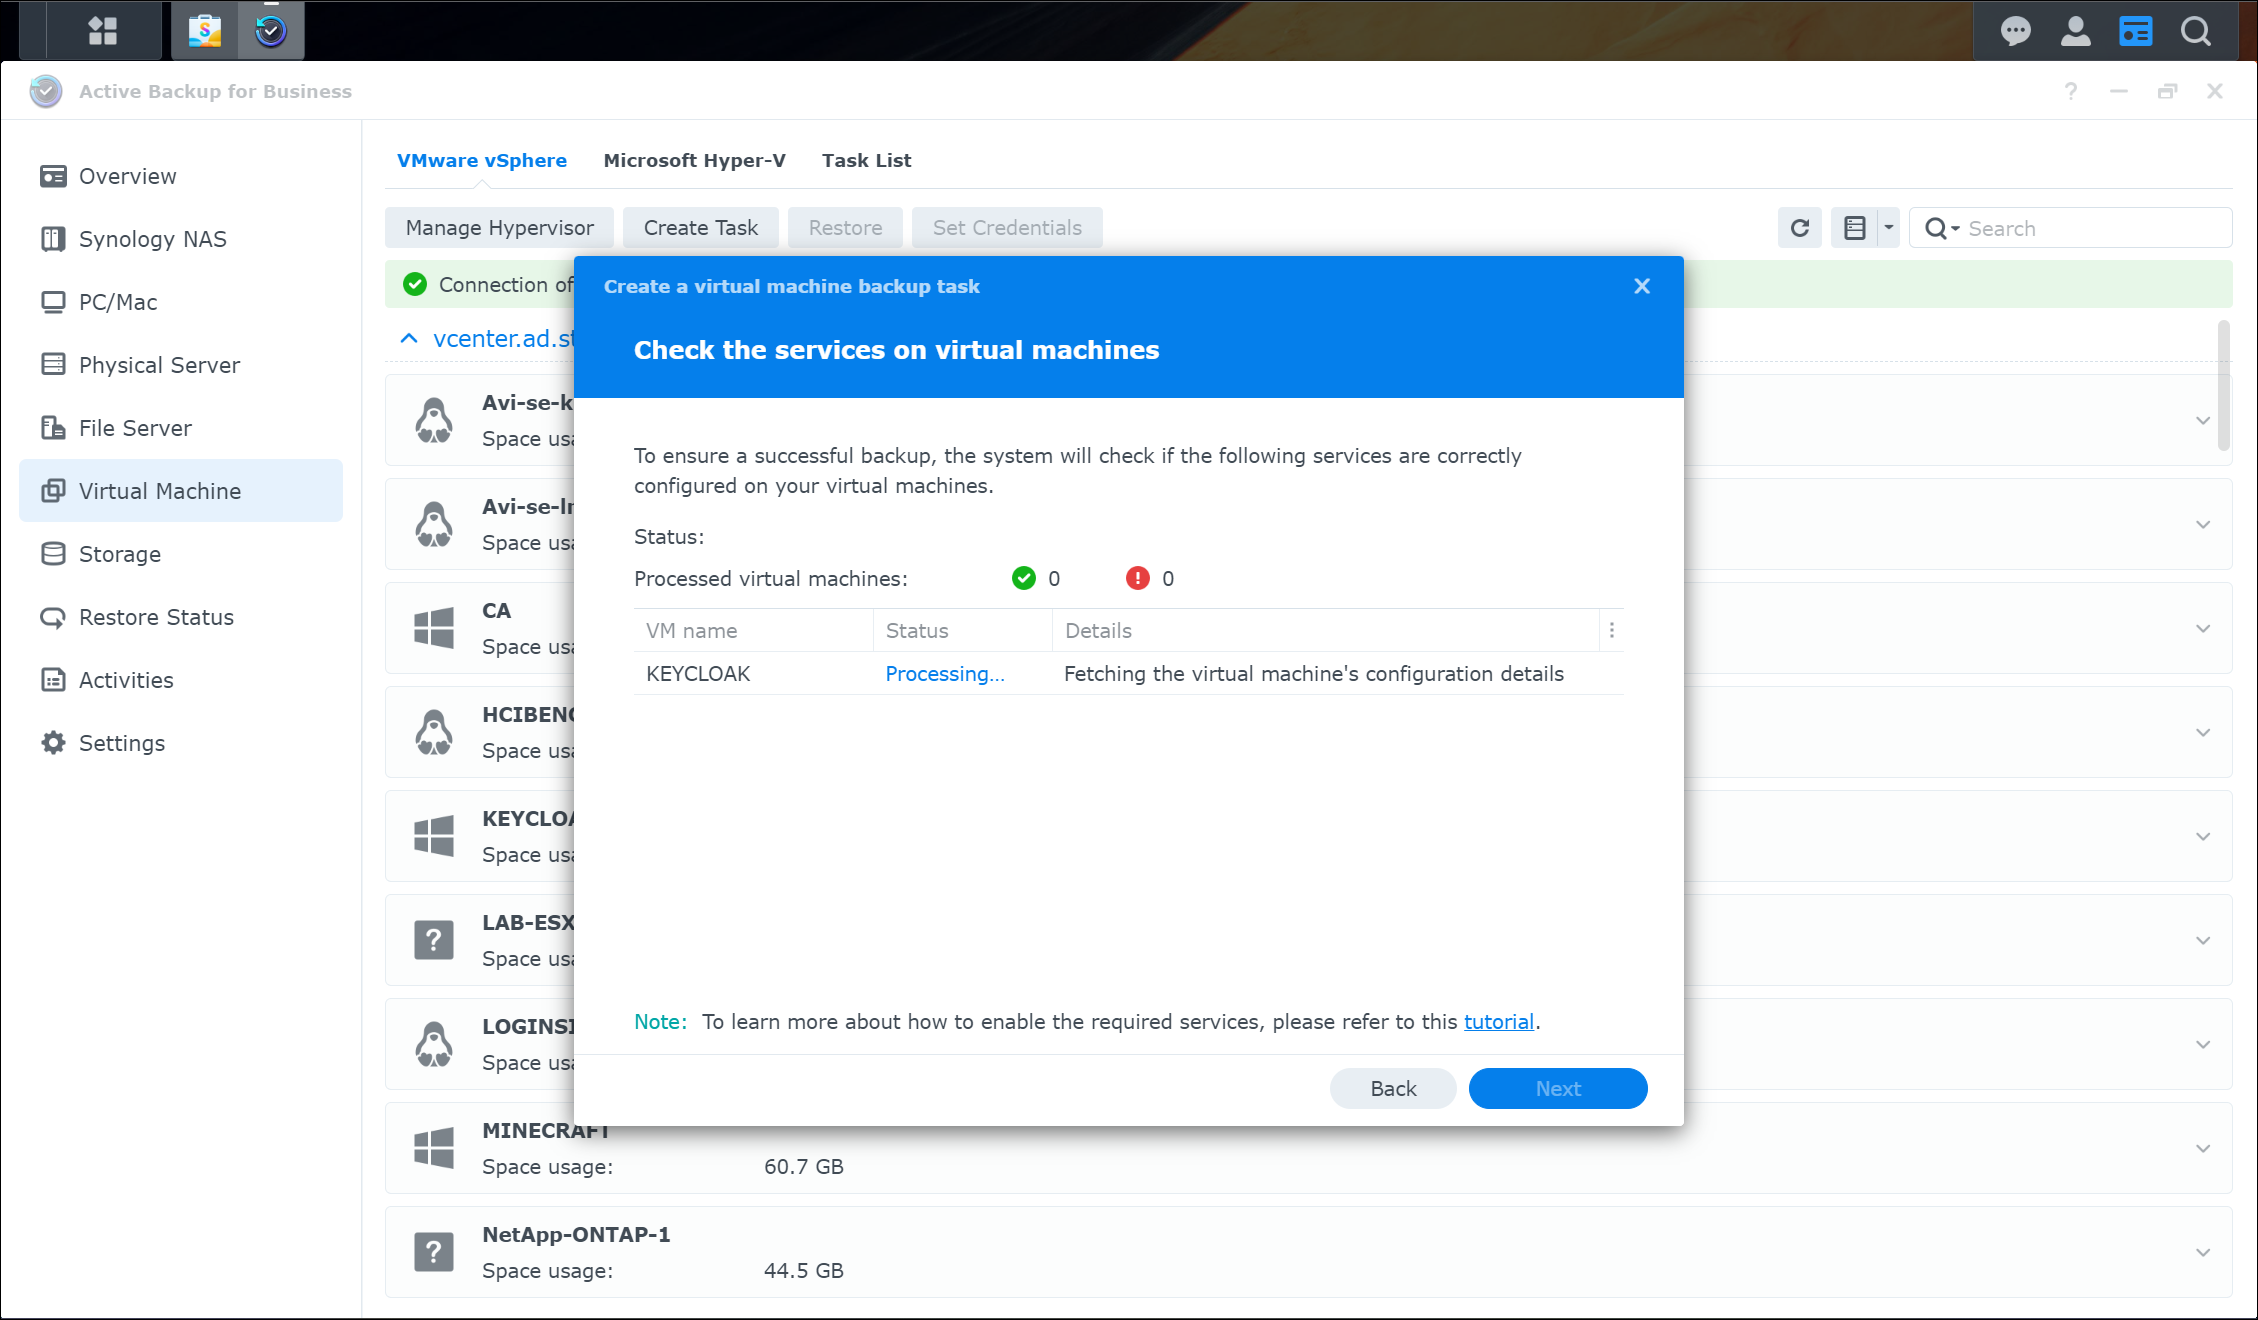
The next screen in the wizard will begin configuring and verifying the virtual machine settings such as change block tracking. When complete, it lists the number of VMs completed and their status. Click Next again to continue.
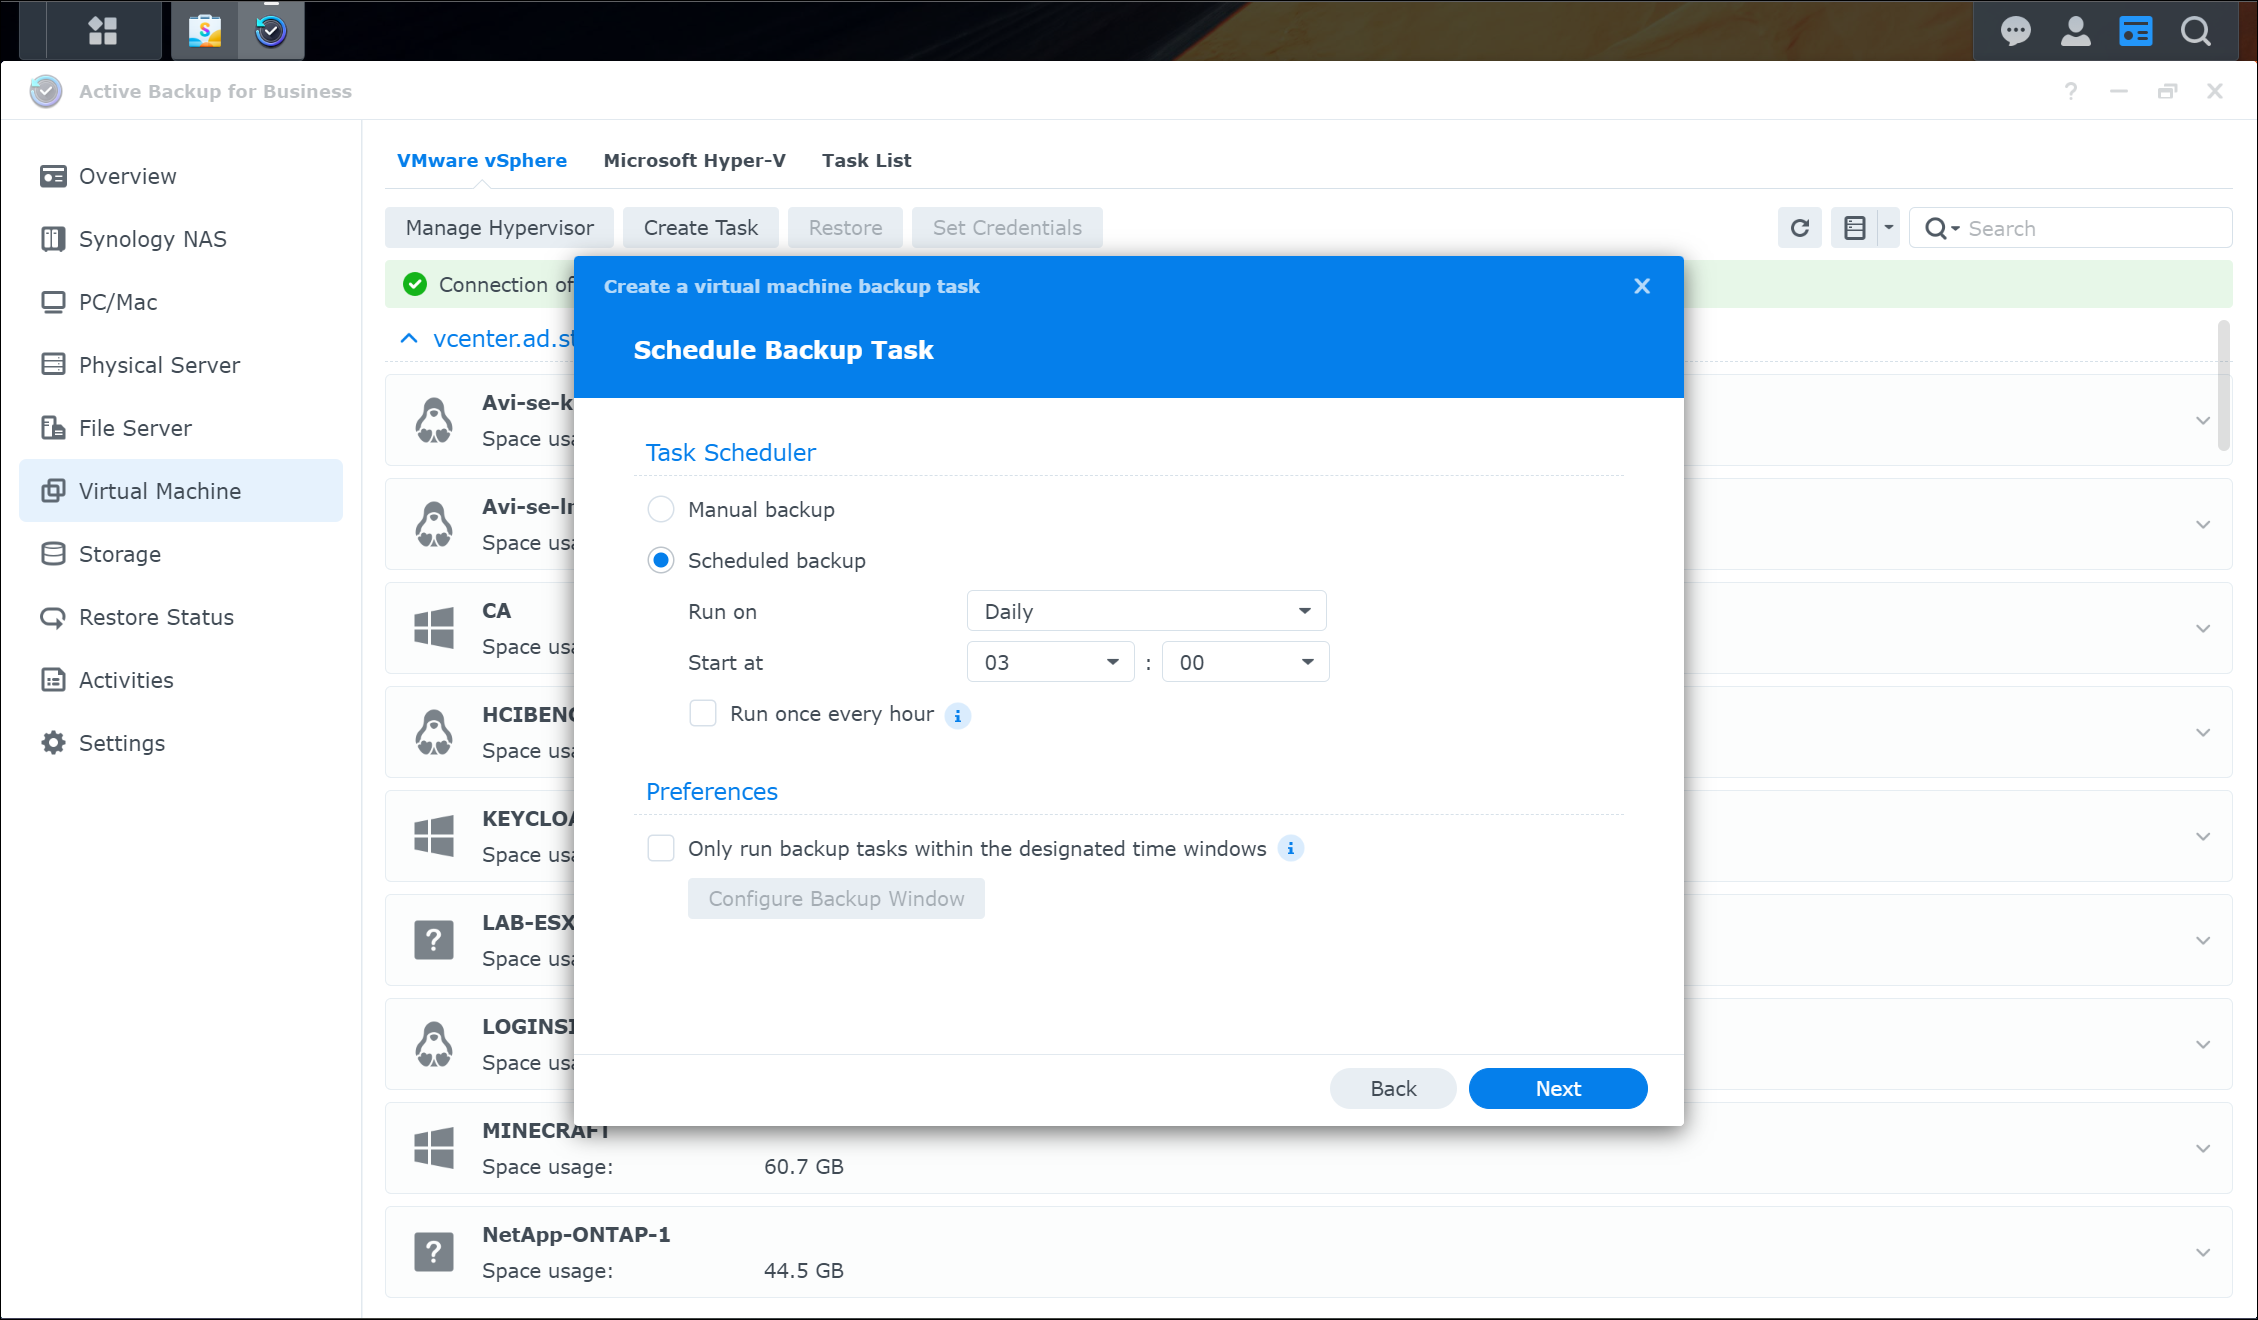
Now, we can configure the backup job to be run manually or to schedule it. The options are straightforward, including an interval option and a date and time picker. Additionally, the option is provided to set a time window within which the job must be executed.
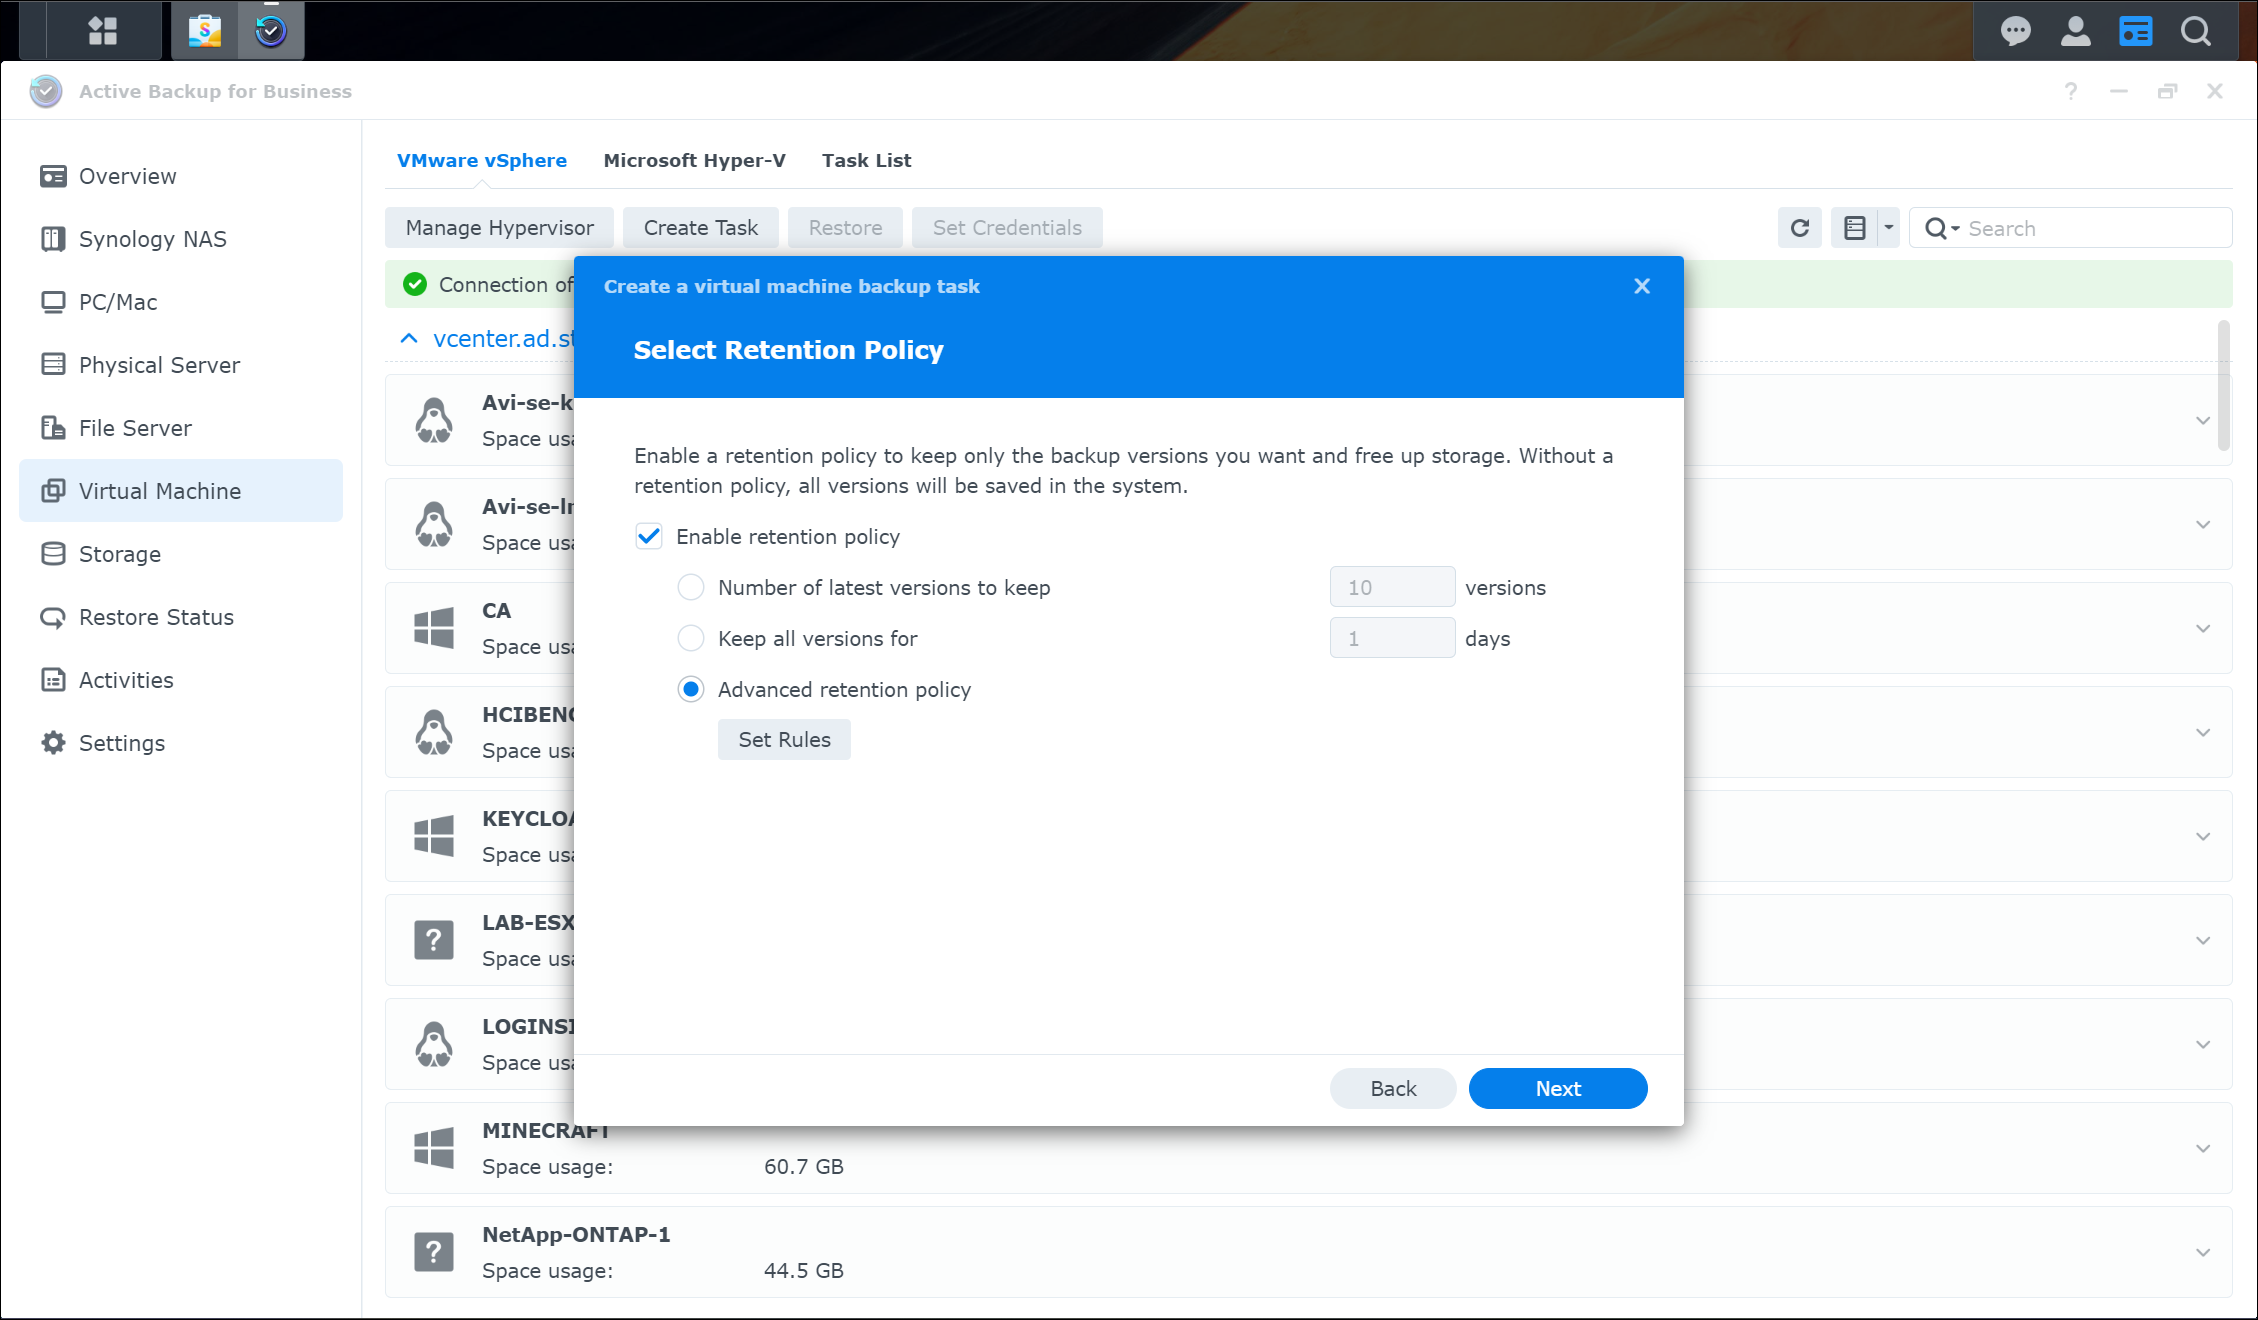
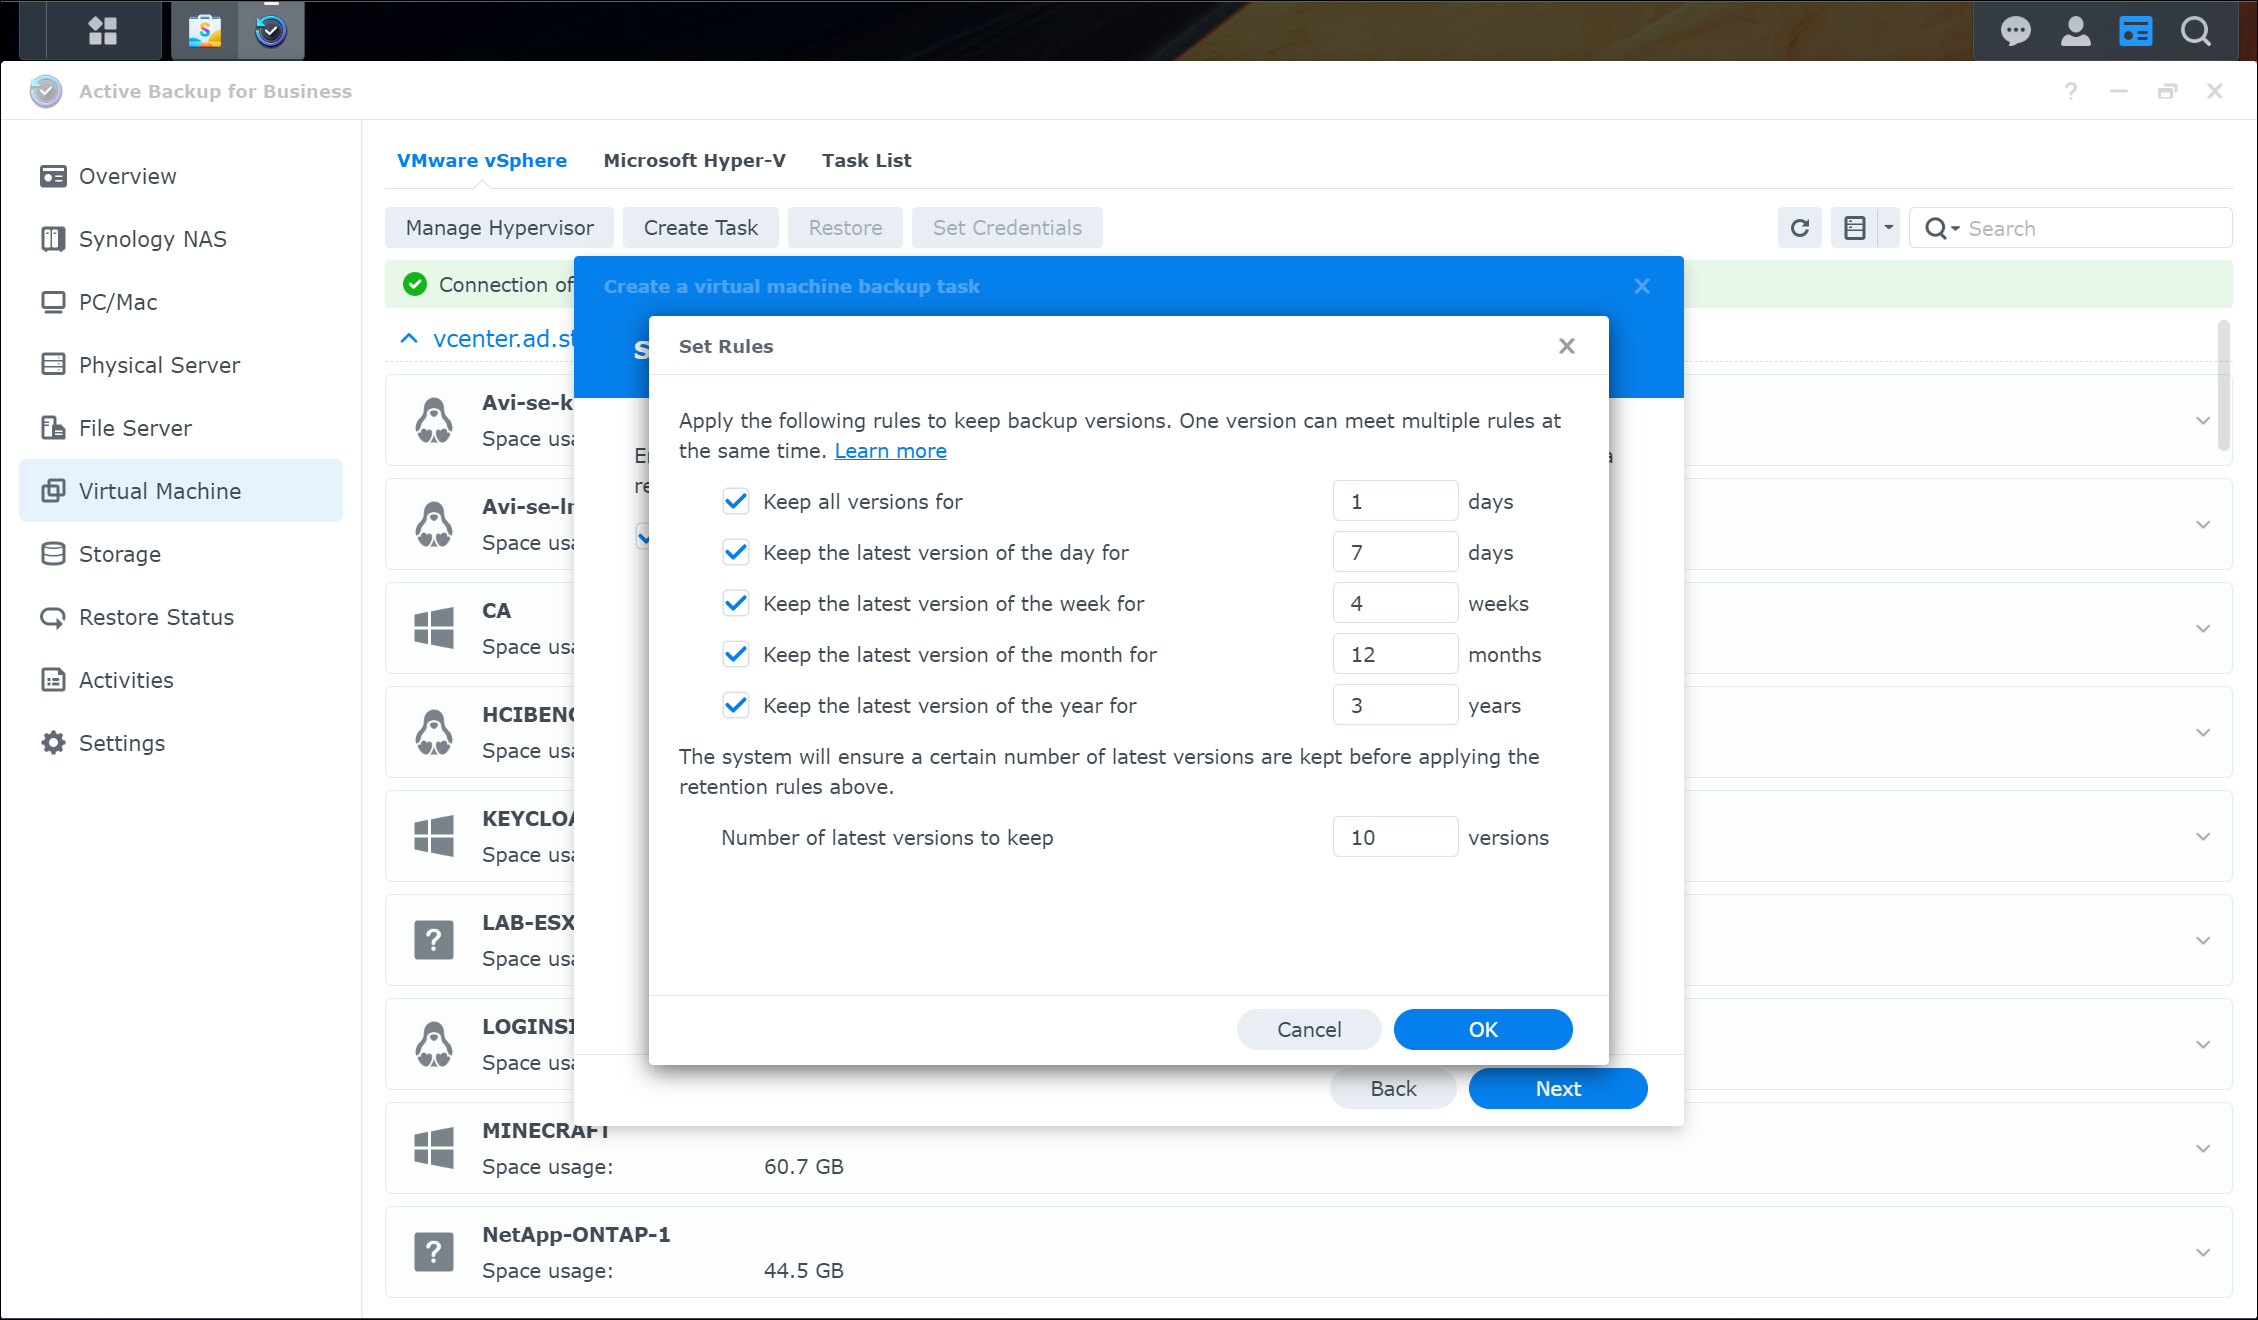
Once we have selected our options, we again click the Next button to continue. The next screen presented by the wizard allows us to schedule our backup retention policy. The options provided are typical of most backup solutions that allow for a basic policy such as “keep the last X versions” and advanced policies that allow you to control the number of yearly, monthly, weekly, and daily versions that are kept.
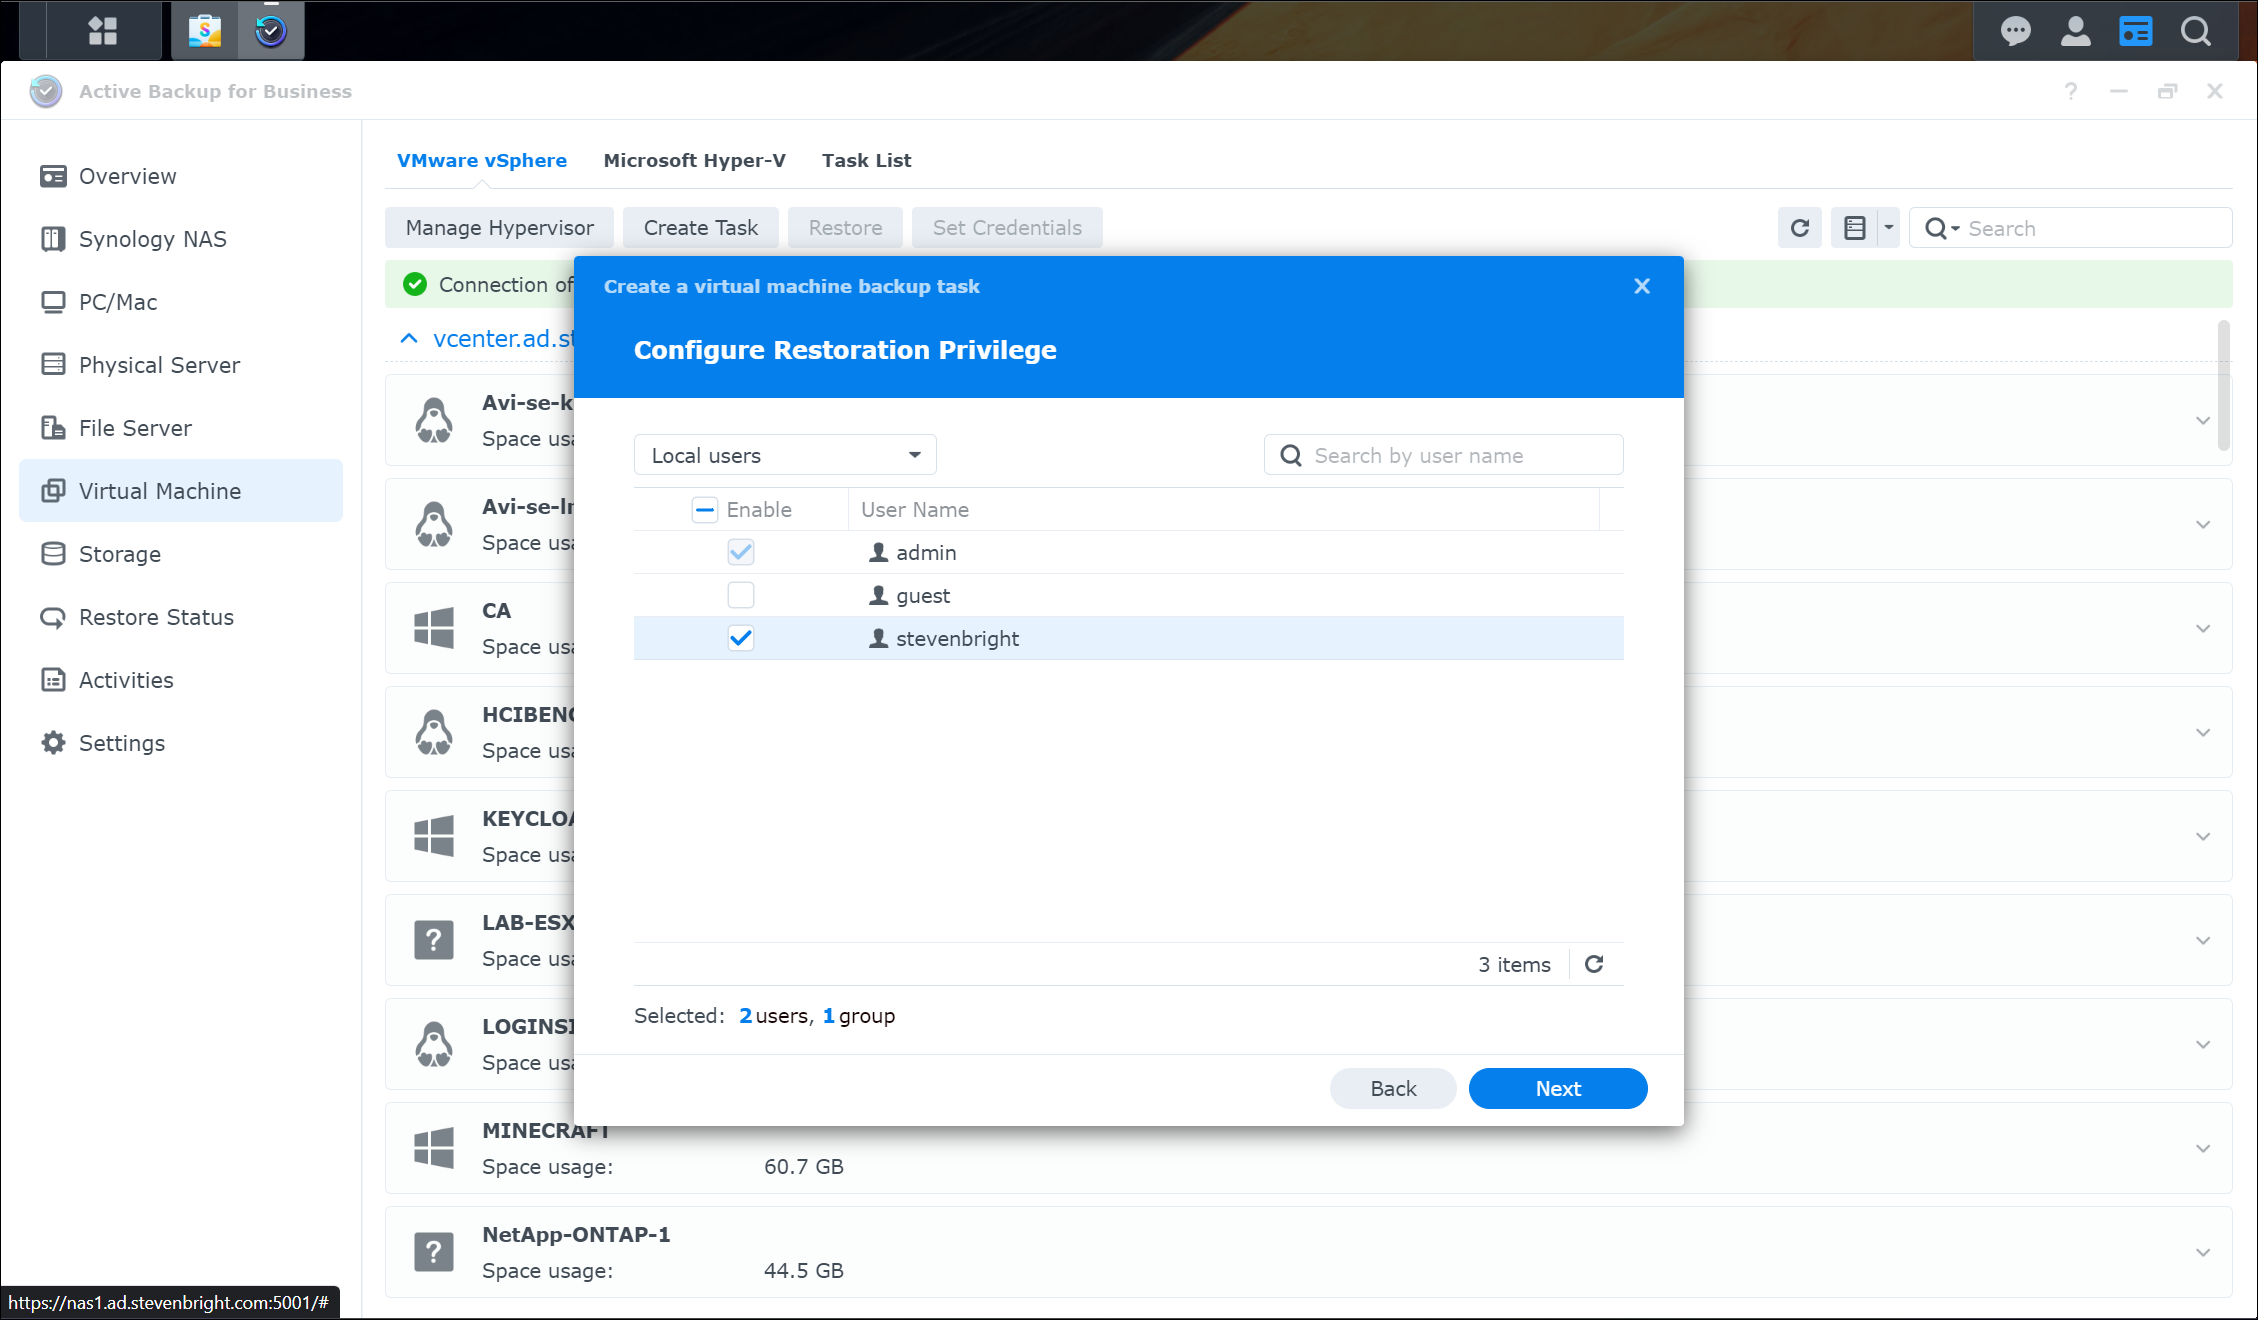
After configuring the desired retention policy and clicking Next , the wizard prompts us to define which users within our NAS will be allowed to initiate restore operations for the items backed up in this job. We place a checkmark next to the desired users and click Next again to continue.
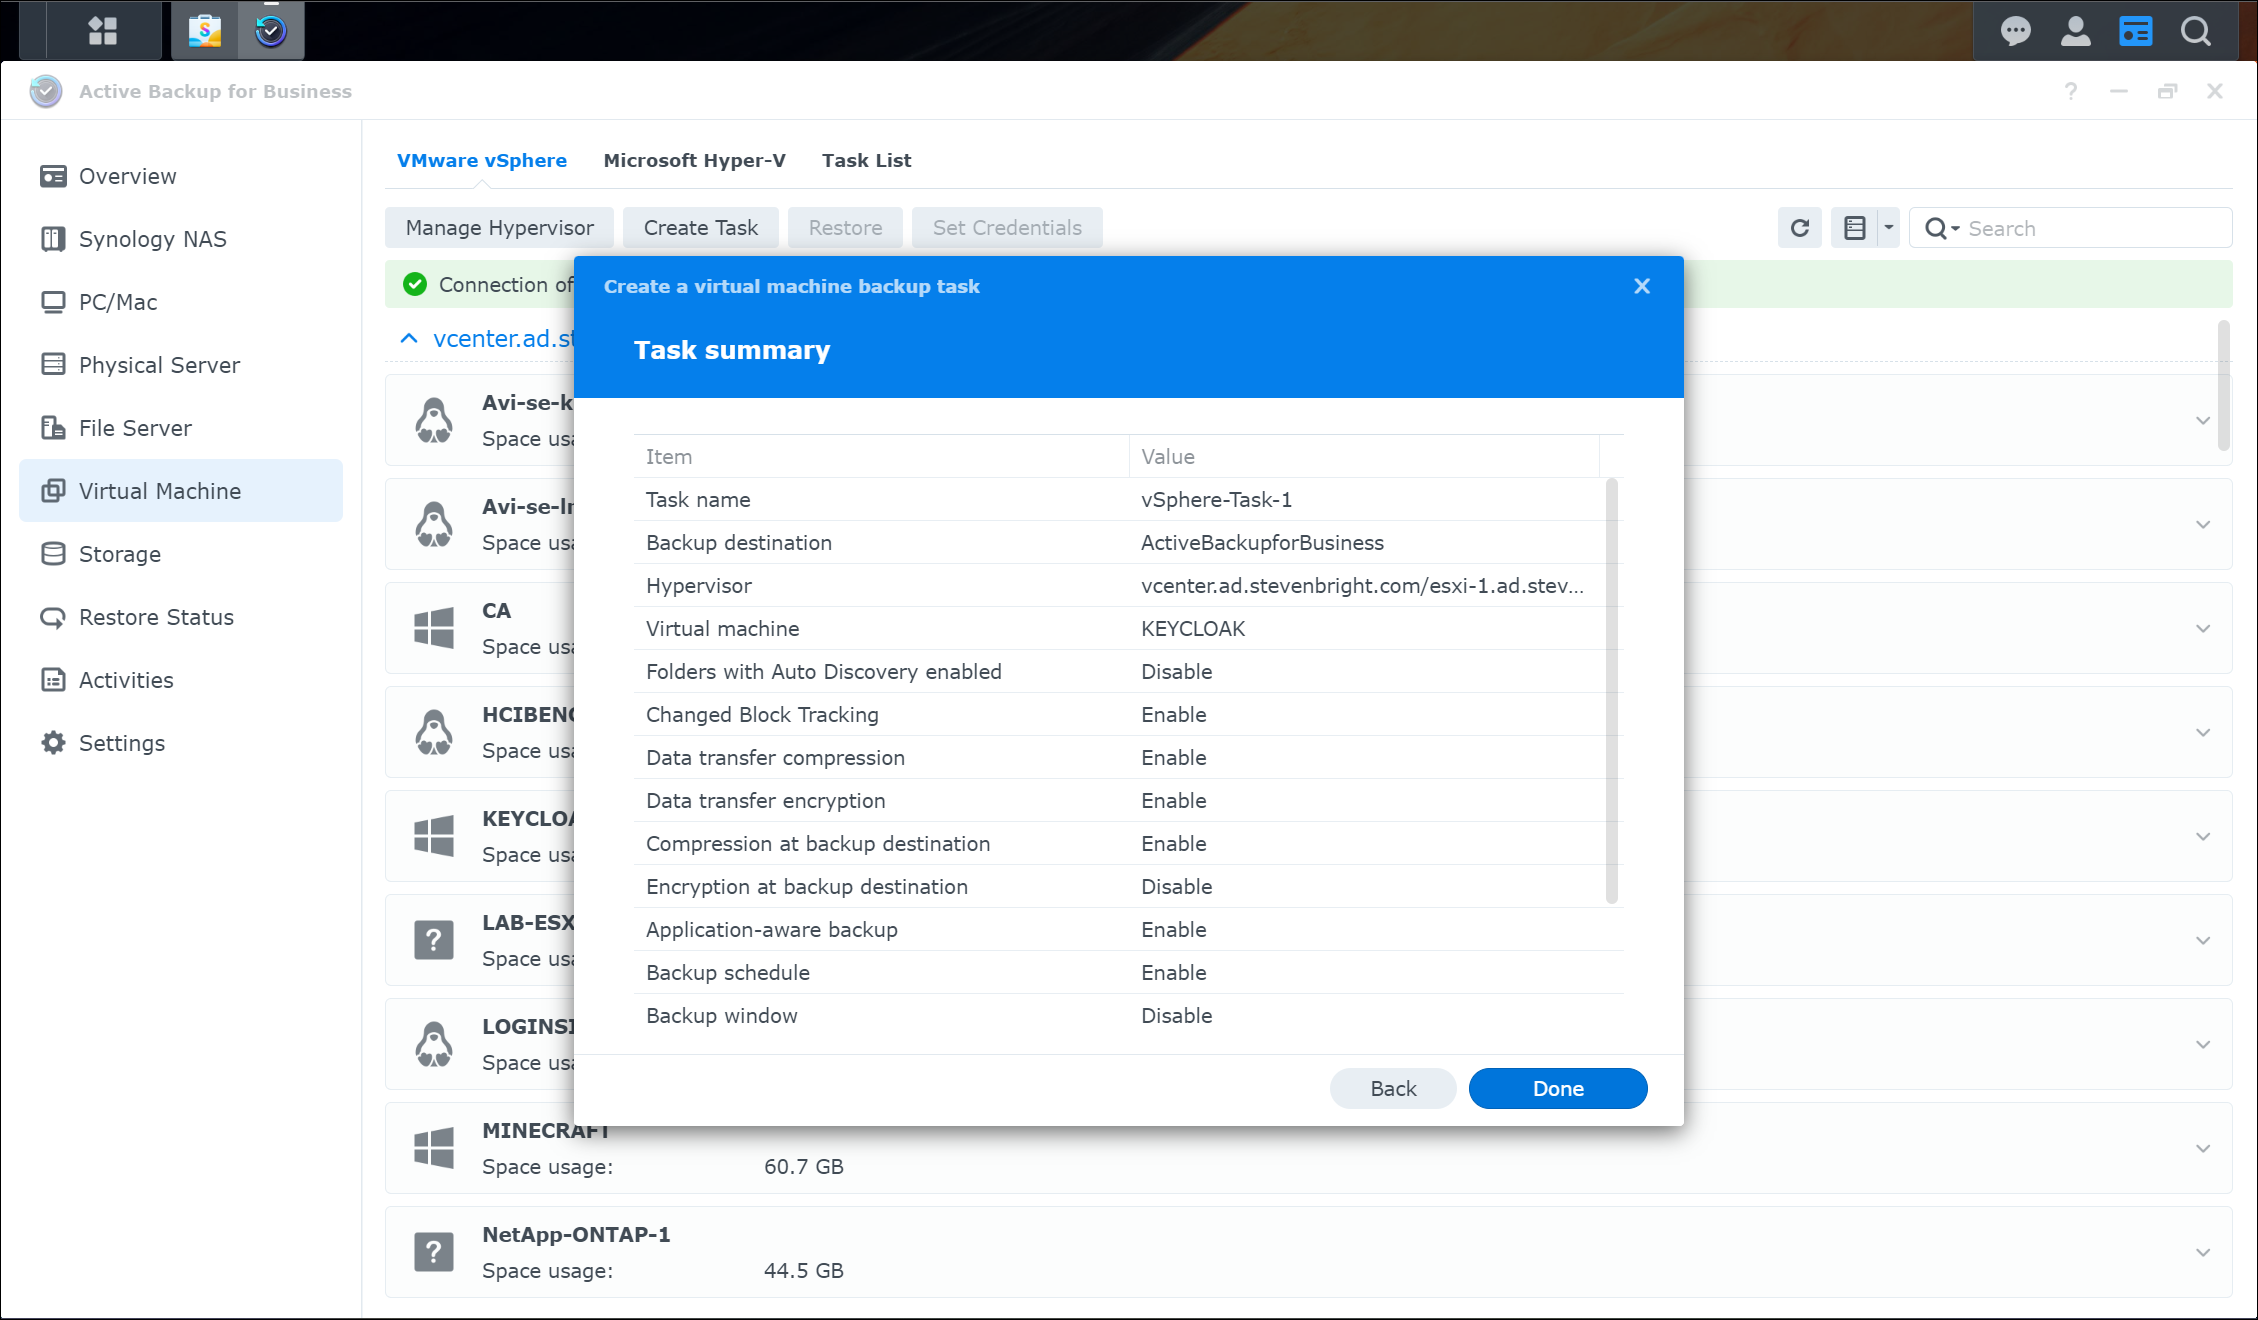
Finally, we are presented with a summary of our task configuration. Review the details, then click the Done button to create the task.
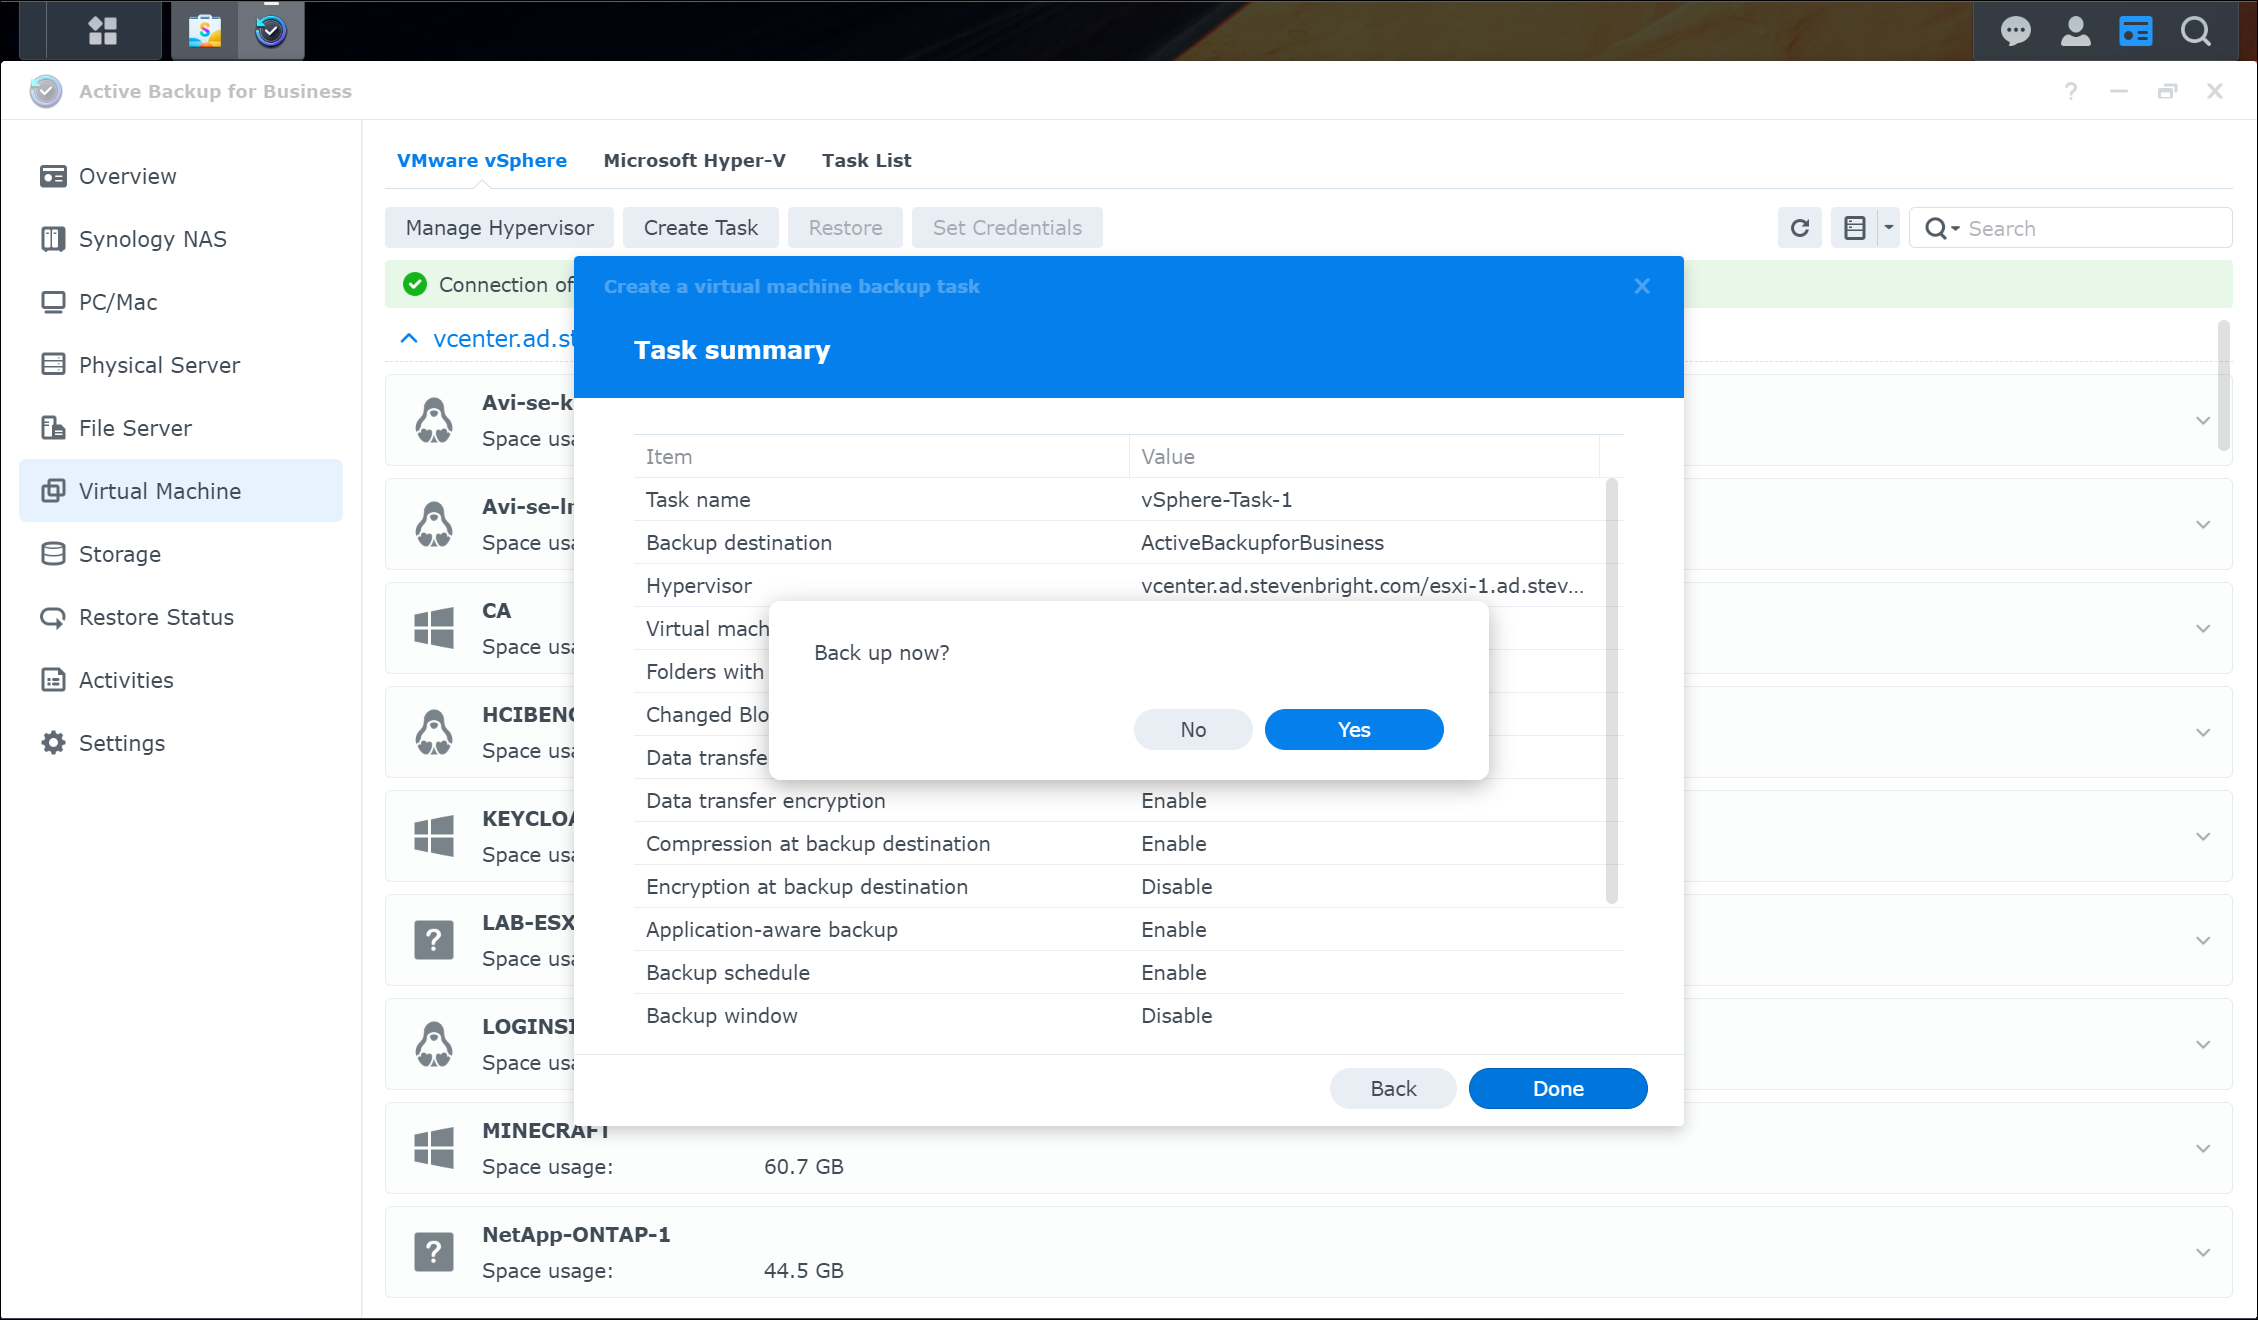
After clicking the Done button, Synology Active Backup for Business will ask if we wish to run the job now or wait until the next scheduled backup.
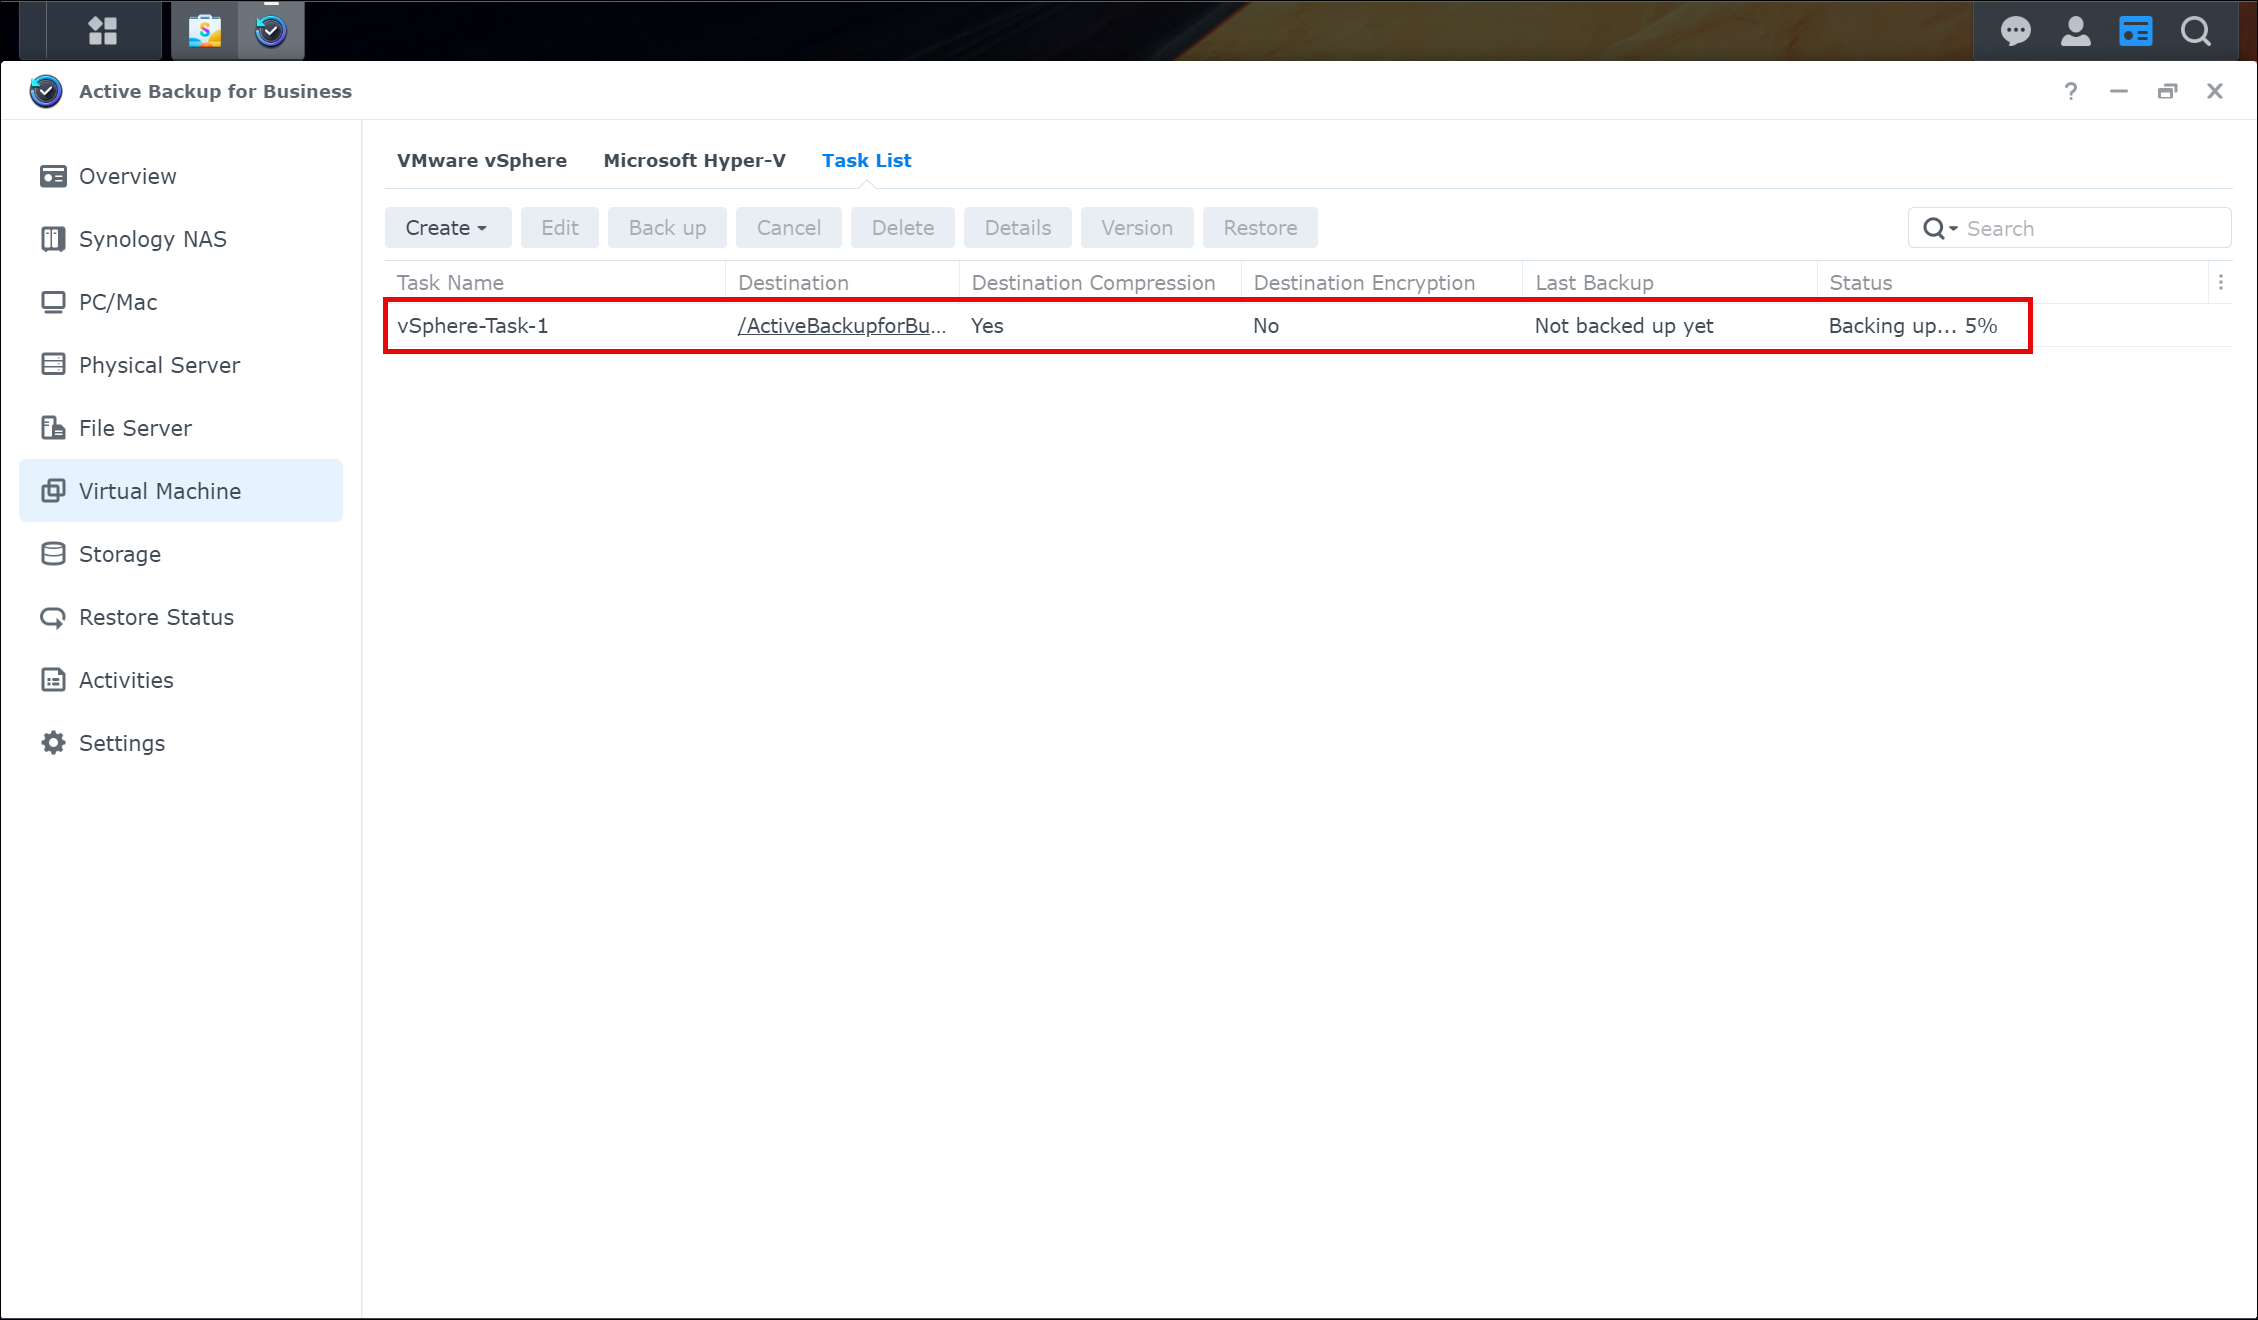
In this example, I selected the Yes option. The task wizard is closed and we are taken to the Task List which shows our new task as well as the current status of the task.
Synology Active Backup for Business is now actively backing up the virtual machine. The Task View will show the current status of the job. When complete, it lists either Successful or Failed. You can select the task from the list and click the Details button from the top to get additional job status details.
Monitoring Backup Job Progress
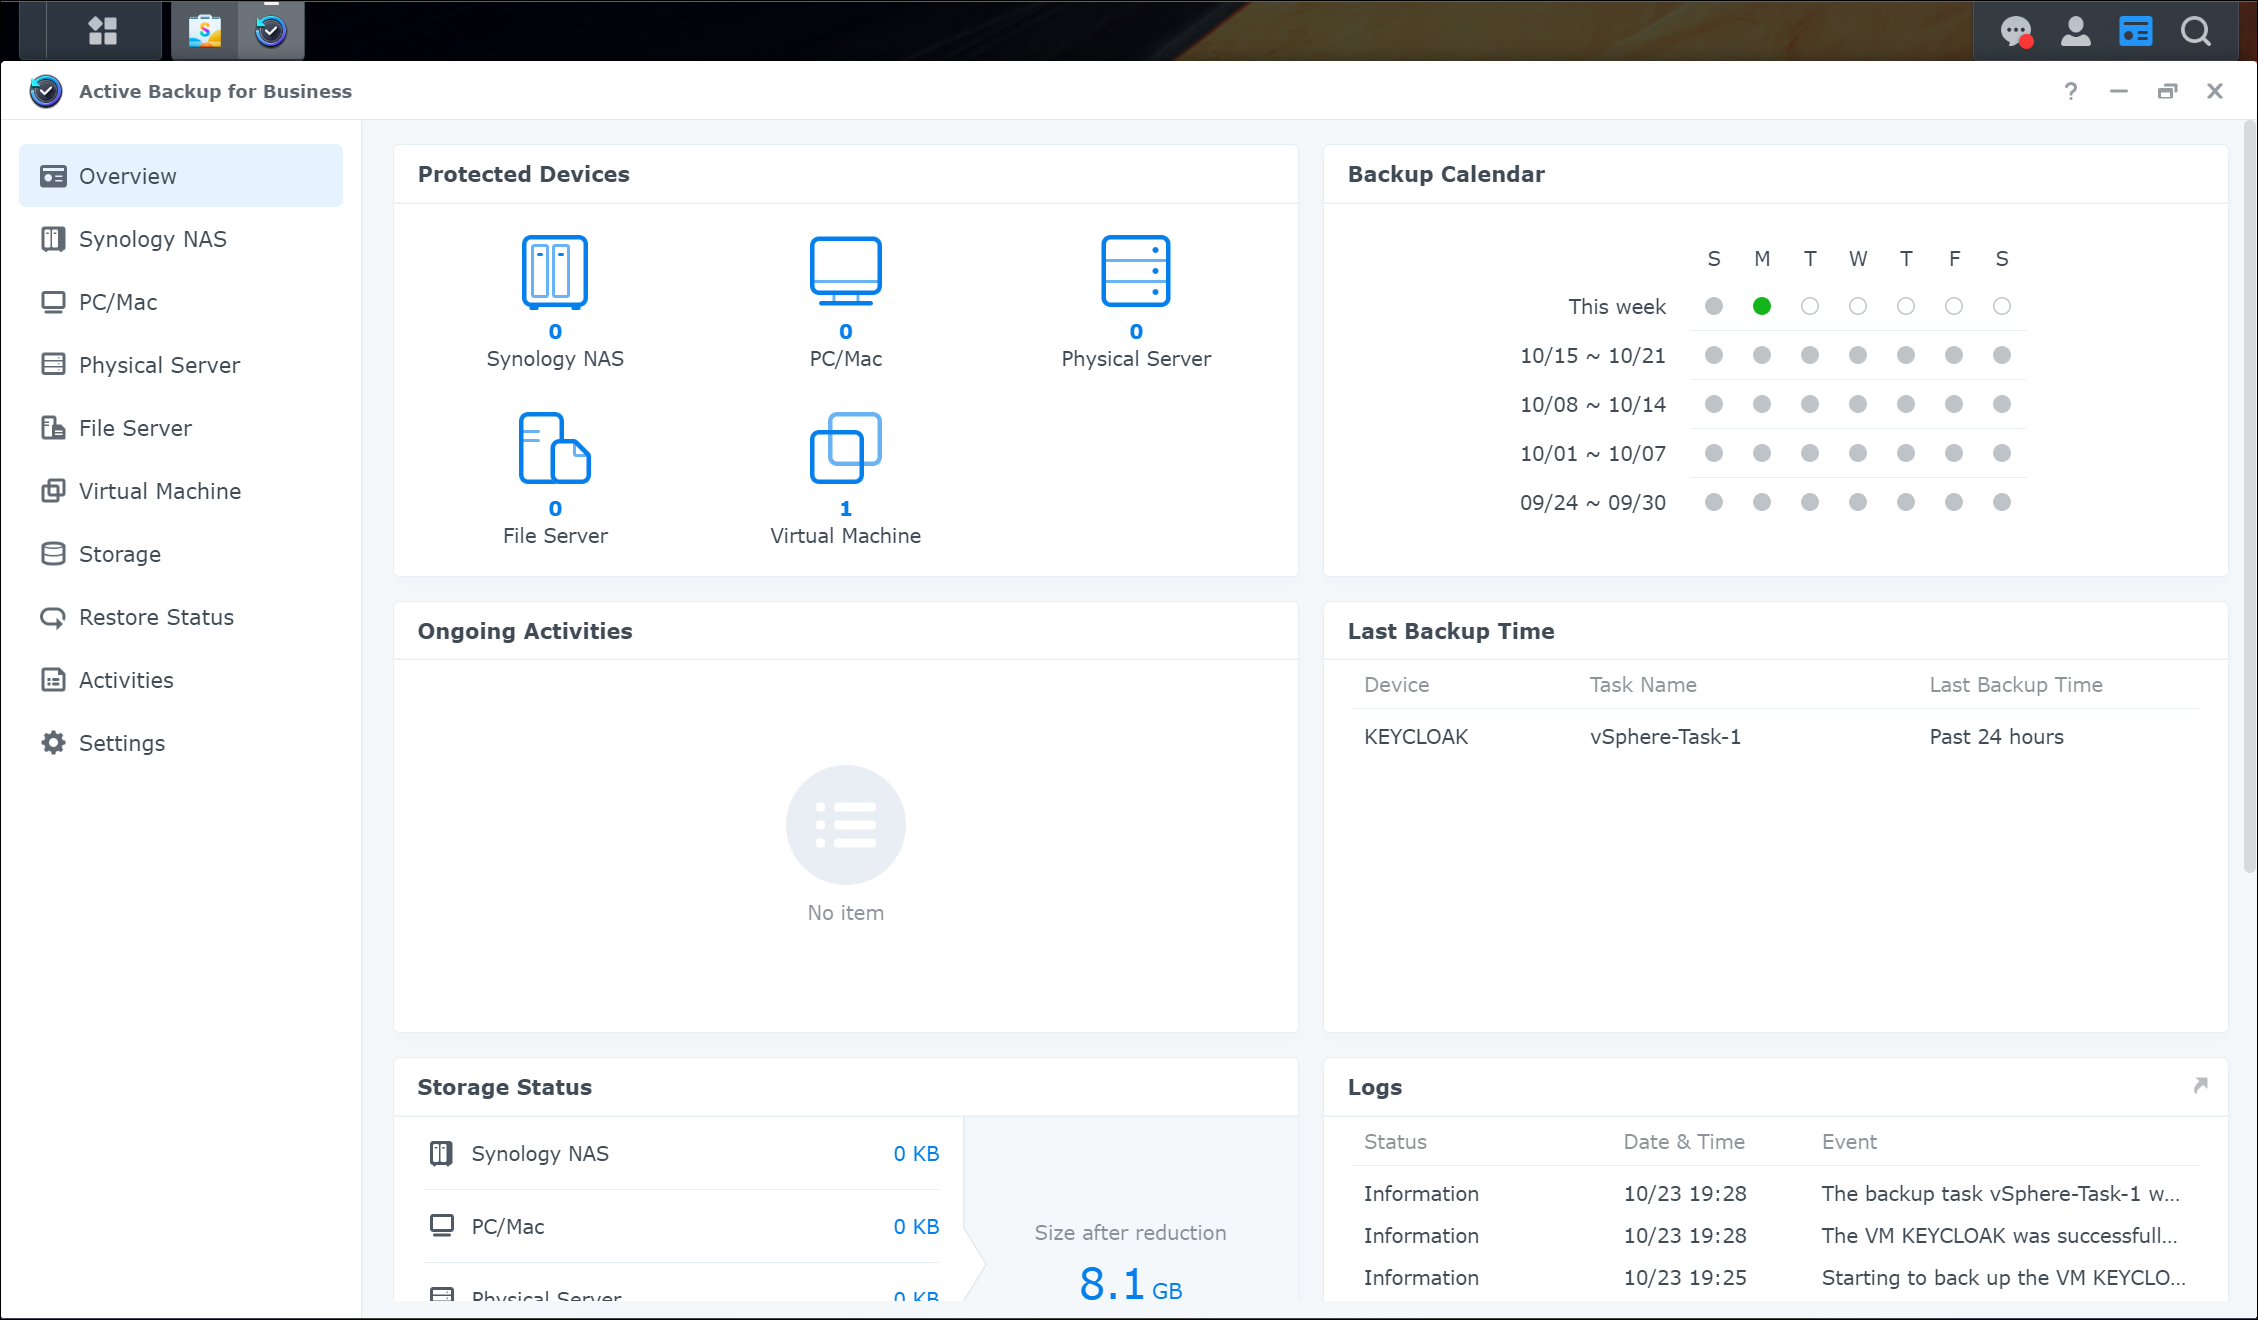
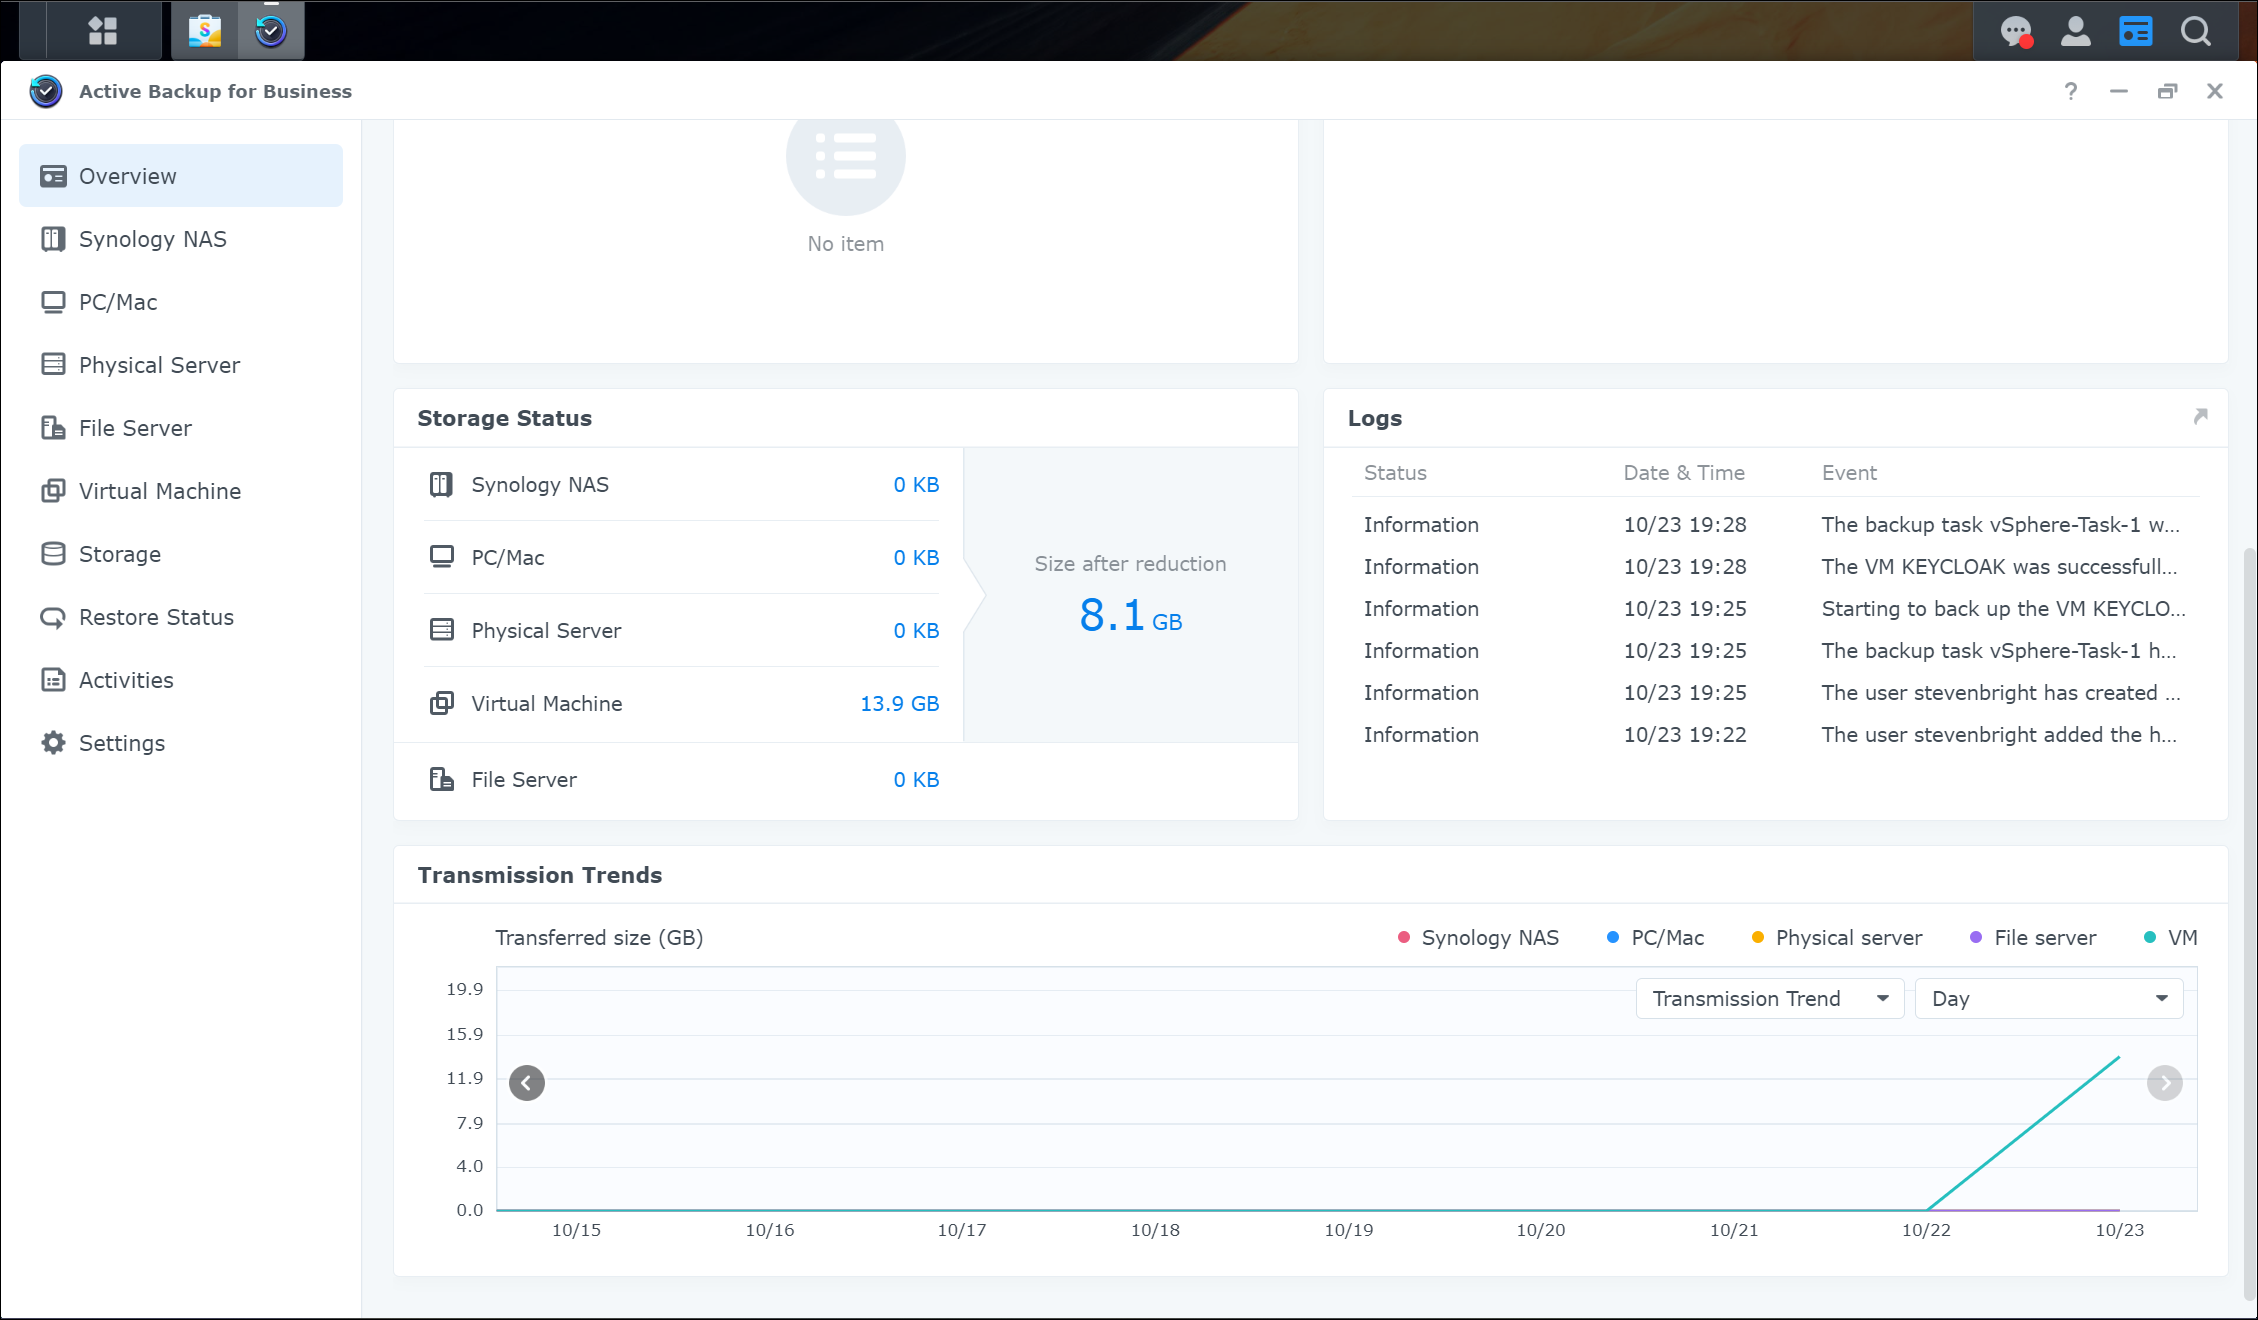
Now that we have configured our virtual machine backup job and completed our first successful backup, we can begin monitoring all of our backup jobs for success/failure as well as our storage utilization from the Overview screen of Synology Active Backup for Business. This screen provides an overview for all backup jobs, including the number of protected devices, an overview calendar that indicates if our jobs were successful for each day, a list of ongoing activities, a list of protected objects, and the last time they were backed up, our storage utilization, our logs, and a chart showing our data transmission for each day based on the job types.
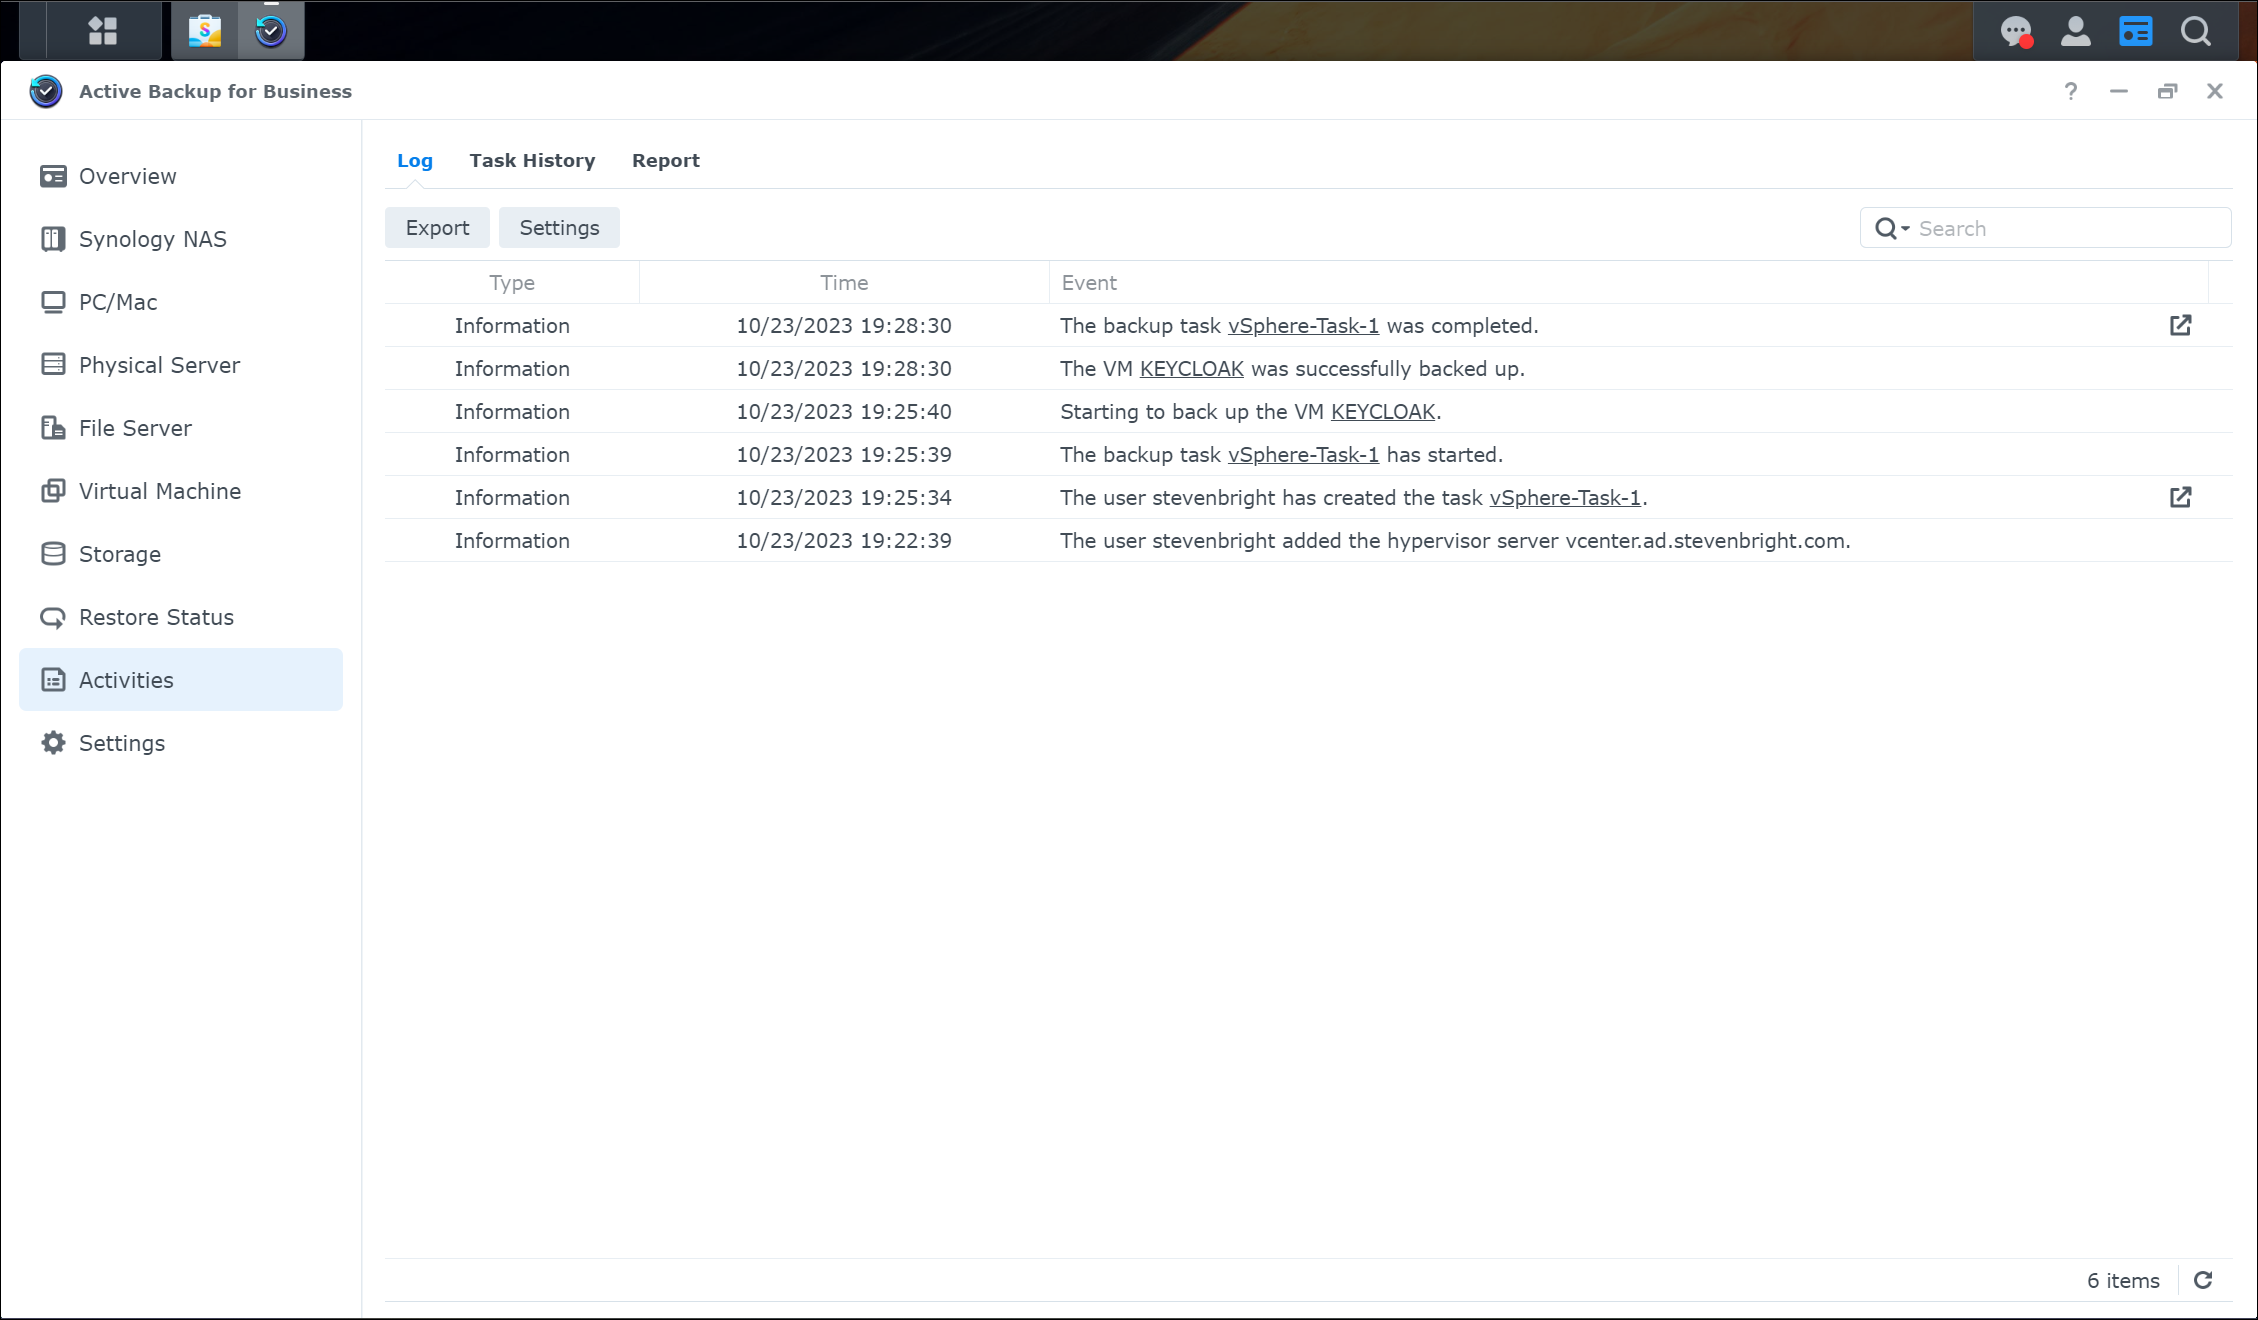
Additionally, for more details on all tasks completed by Synology Active Backup for Business, we can select the Activities view from the left side to view the complete log, task list, and reports.
Deleting Jobs and Removing Backed-Up Data
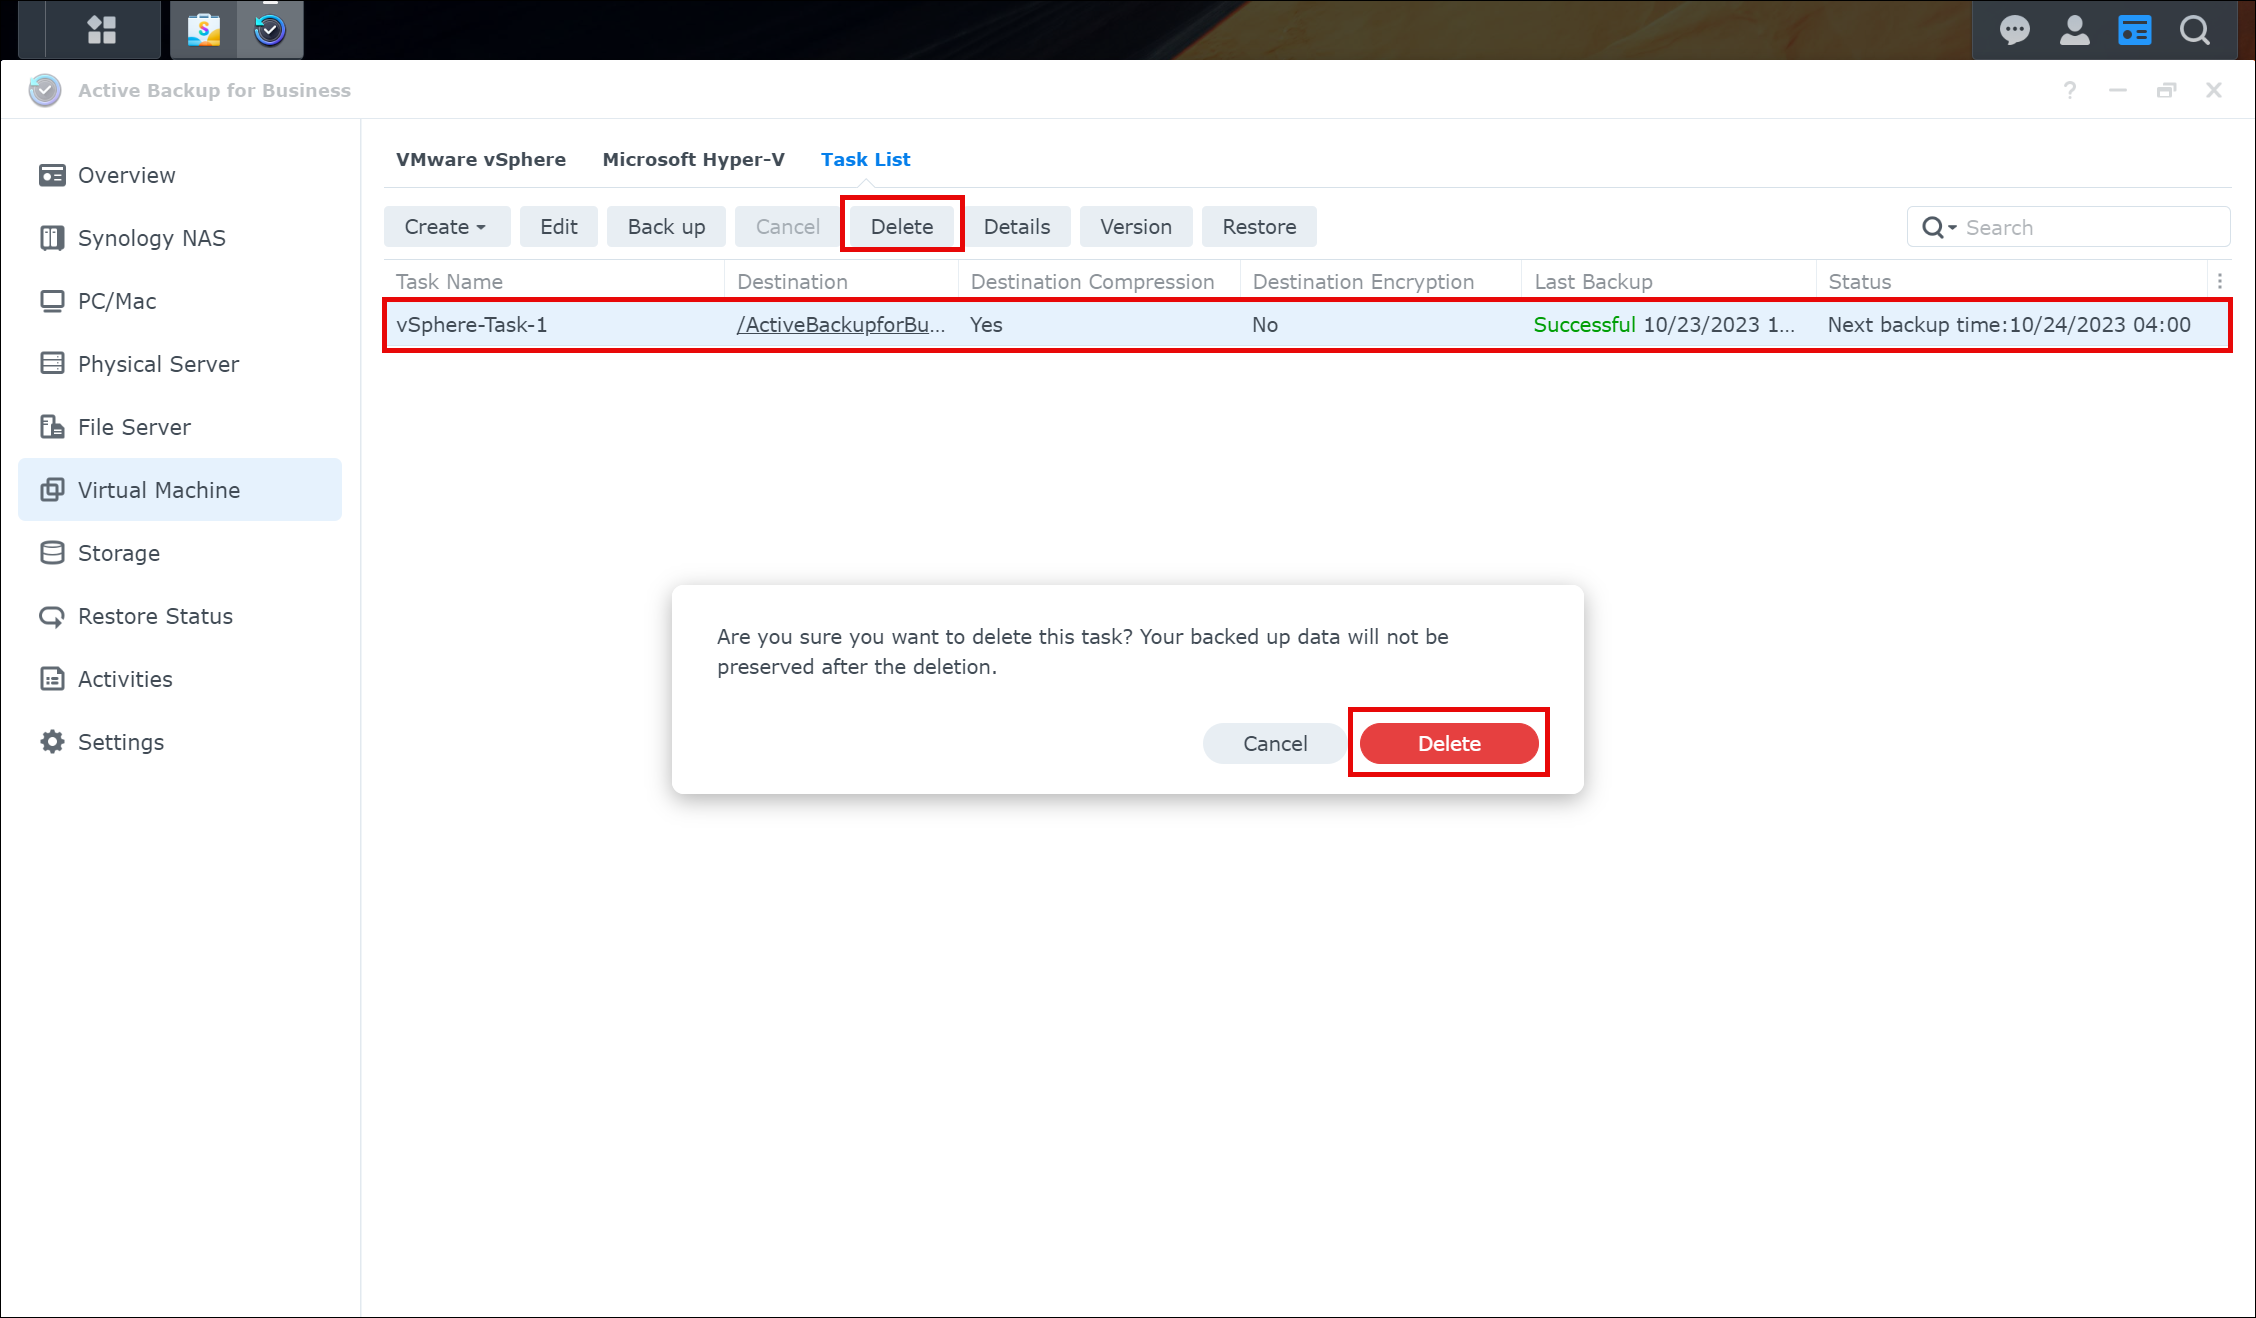
In some situations, we may wish to delete a backup job and delete all data that has been backed up as part of the job. This process is quite easy and is accomplished from the Task List within the Virtual Machine view within Synology Active Backup for Business. To accomplish this, select the backup task from the list and simply click the Delete button. After clicking the Delete button, Synology Active Backup for Business will confirm that you wish to delete the task and all associated data. Click Delete to continue the cleanup process.
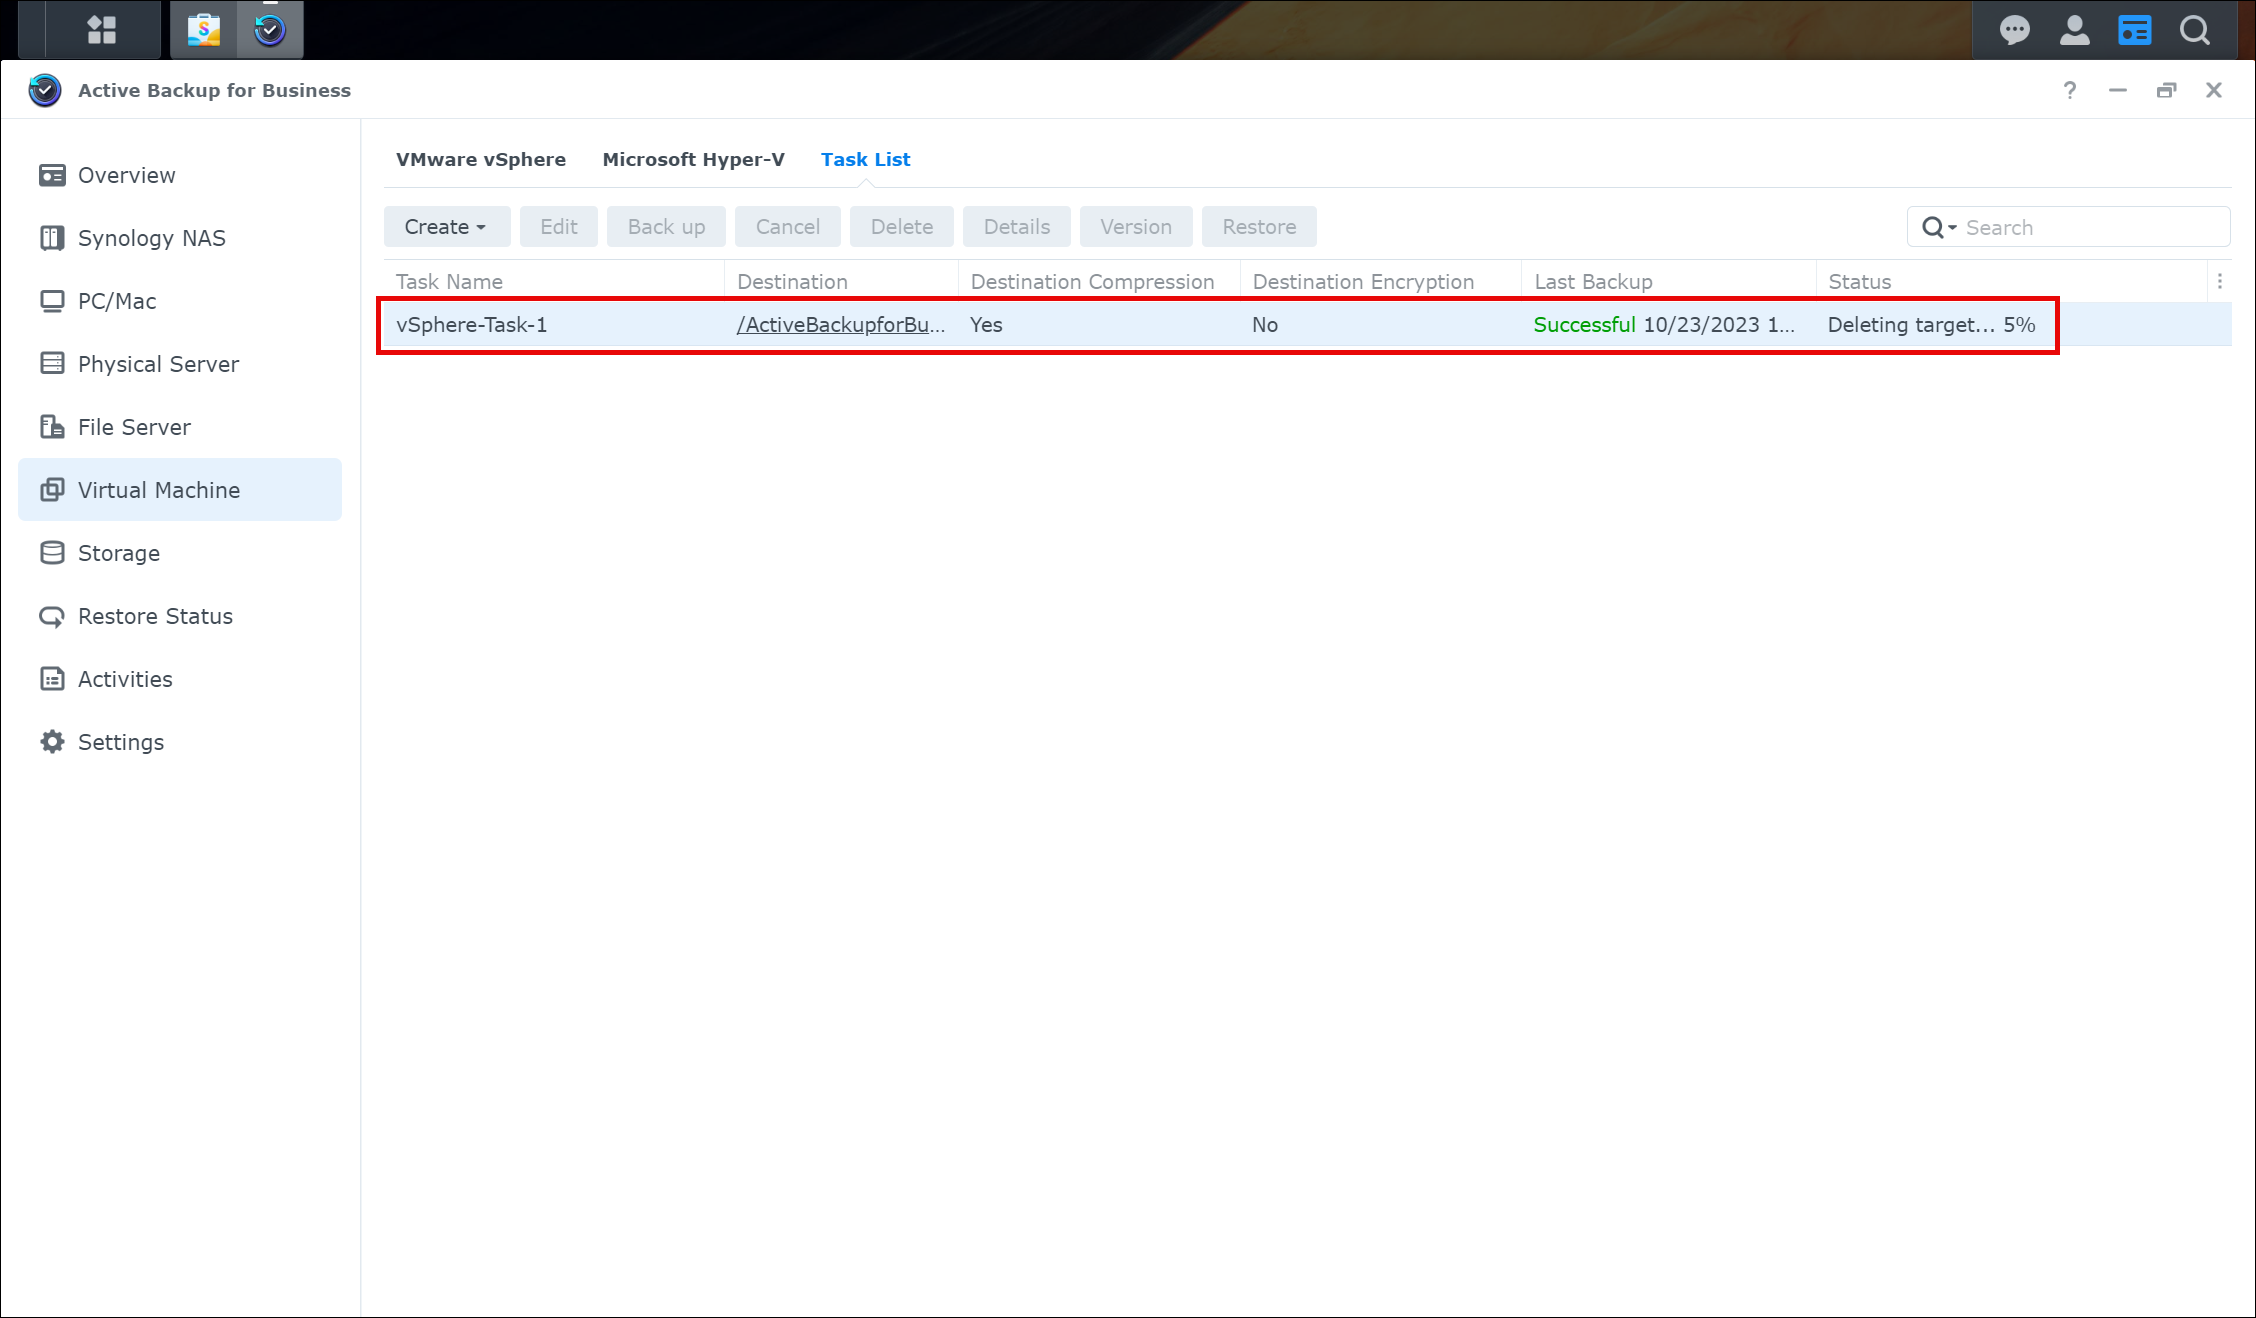
After confirming that you wish to delete the task and the associated data, you are returned to the task list where it will show the current status of the deletion. The task will remain listed for some time as it deletes the backup data from your NAS.
That’s it for backing up virtual machines with Synology Active Backup for Business. In a future blog post, I will walk through the process and the various options for restoring a virtual machine back to your VMware vSphere environment using Synology Active Backup for Business.
See Also
- Instant VM Restore with Synology Active Backup for Business -
- Getting Started with the Synology Storage Console for VMware -
- Managing ESXi Local User Accounts from Aria Automation Orchestrator -
- Managing ESXi Local User Accounts from vCenter Server Using PowerCLI -
- Getting Started with the Aria Automation Orchestrator Plug-in for the vSphere Client -
Search
Get Notified of Future Posts
Recent Posts
